A Little Tipsy

Creative Tips & Ideas

  • home
  • About Me
  • the tipsy top
  • press
  • projects
  • contact me
[print_thumbnail_slider]

Iron-on Version Shirts for Father’s Day or New Dads

May 27, 2014 By Michelle Barneck 6 Comments

Product was provided by Expressions Vinyl.

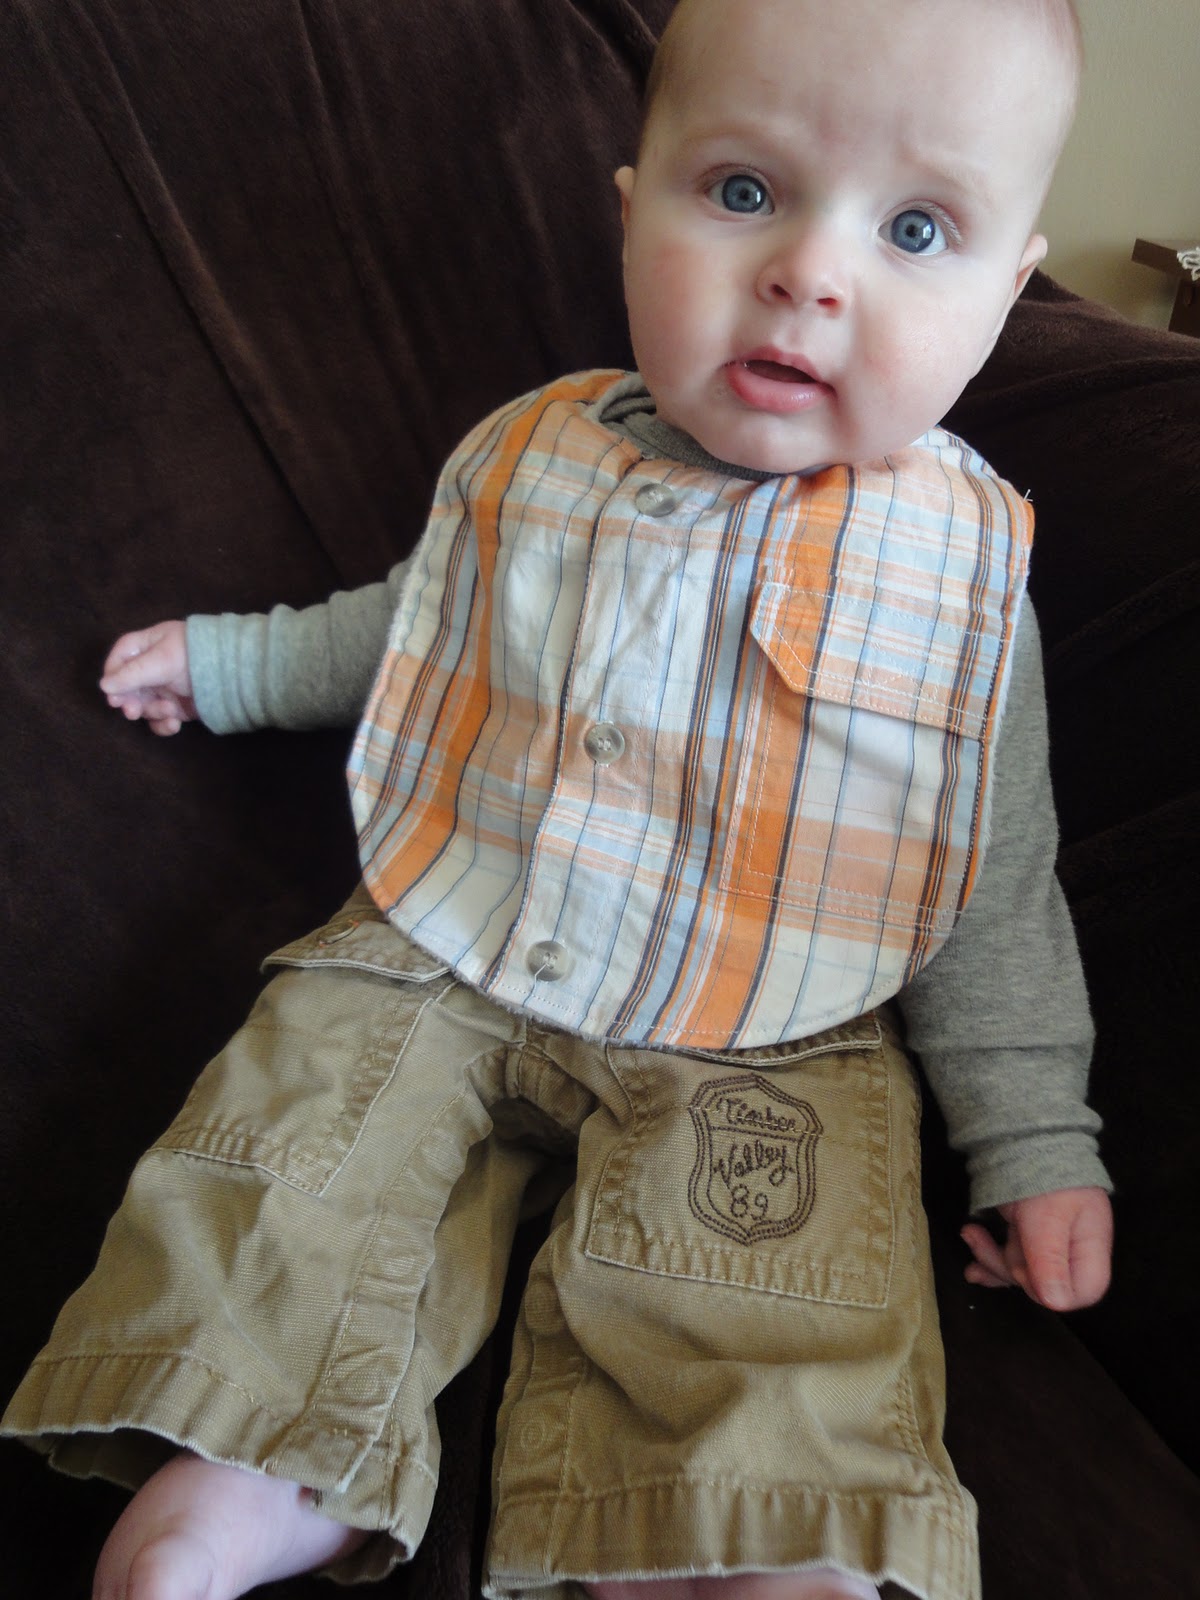
It seems simple to shop for the Dad who loves fishing or golf. But, what about those of us married to computer geeks? They already have their laptop, tablet, and accessories. And even if they didn’t, sometimes it is hard to know what would be best with all the tech lingo specs that can confuse even the most savvy. We love to make Dad something special for Father’s Day and involving the kids is a total bonus. With a new little one on the way I wanted some coordinating shirts for them to sport so what do you do with a Computer geek dad and soon to be three boys? I introduce the version shirt.

version shirts for computer geeks

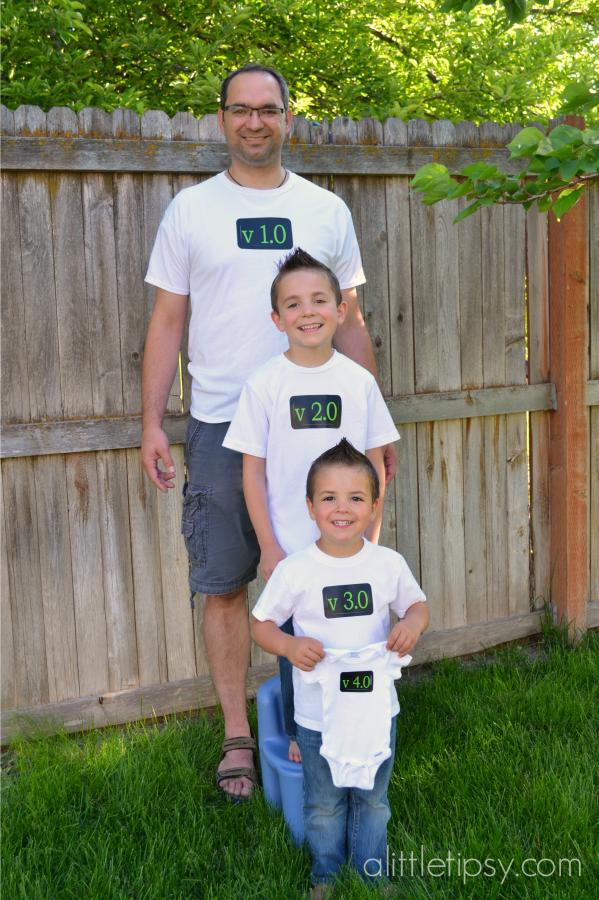
Hubby is a software developer and is always talking about how they are getting the next version ready for launch so I thought how perfect to incorporate that into shirts with our brand new version on his way in August!

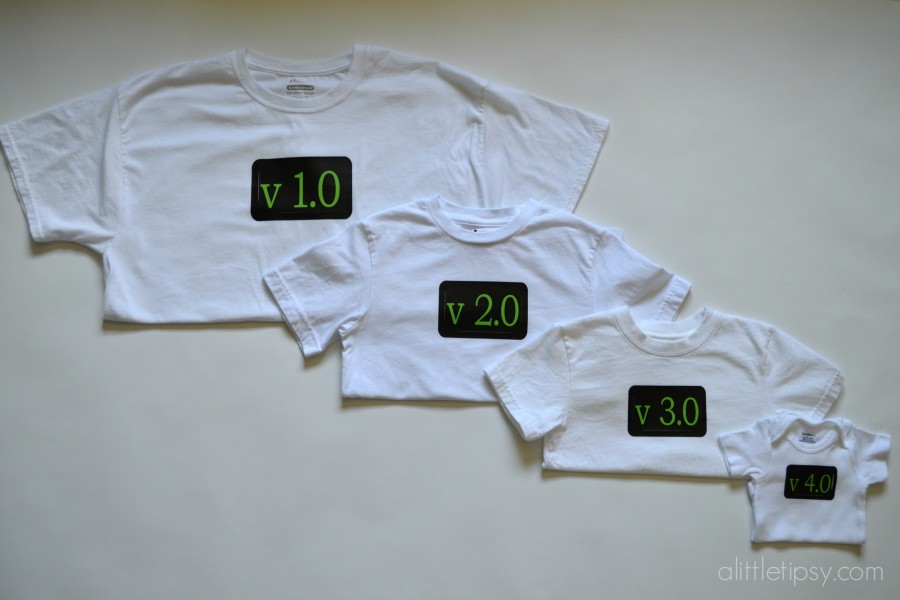
I wanted our version shirts to look like the old school command prompt screen so I chose green apple on black for the heat transfer vinyl. The process is so simple!

1. In the Cricut Design Software find a rounded rectangle and using Bookman Old Style font place the letters v 1.0 for Dad, v 2.0 for the first child, and so on in each rectangle. I sized the rectangles and letters according to the size of shirt. Now you are ready to cut.

2. Be sure to flip the letters horizontally before cutting so they won’t be backwards! Cricut Design software has a check box to remind you of this on the cut screen. Select the iron-on setting (I use a Cricut Explore so mine is on a dial on the machine) and you are good to go. Load the heat transfer vinyl shiny side down and cut.

3. Weed your vinyl removing all excess from between the designs.

iron on version shirts

4. Cut apart the rectangles and version groups to prepare for ironing. Preheat the iron on it’s hottest setting with the steam turned off. Place a black rectangle down 1-3 inches from the neck of the shirt (depending on size of shirt) with the shiny side up. Place a clean cloth over it (I use a tea towel) and press firmly for 30 -40 seconds. Let it cool a bit and check for adherance. If it lifts up try 20 more seconds. If it is stuck remove the clear sheet and place the letters in the center of the rectangle. Cover with cloth and iron as before.

version shirt iron on

That’s it! You have a personalized gift for Dad that appeals to his fabulously geeky nature!

Version shirts for dad and kids

These version shirts are a huge hit with the hubby and I can’t wait for version 4.0 to arrive so he can don his!

version 4 shirt for 3rd baby

Our little family just keeps getting better with each new version!

Computer geek version shirts

15 Sprinklicious Party Ideas

June 10, 2013 By Michelle Barneck 6 Comments

It’s was my birthday yesterday. Since I could not fit you all in my house I decided why not throw a little sprinkle party here and share a whole bunch of super fun ideas. I was looking over my perfect party pinterest board and a sprinkles cake caught my eye. That was it. I love polka dots and I also love a nice crunch and sprinkles combines the two. It was a match made in heaven!

15 Fun Sprinkle Party Ideas

The sprinkle party idea all started with this amazing sprinkle cake…
Sprinkle Cake from Birchgrove Bakery via Storyboard Wedding
Birchgrove Bakery 4 Tier Sprinkle Cake With White Bows
Sprinkle votive candles from BHG.com
So easy and so cute!
Valentine Votive
Confetti Balloons from Kojo Designs
Love this simple idea for a big impact!
Sprinkles Tablescape from Mirabelle Creations via Hostess with the Mostess
So many adorable dots!
Confetti Wall from Beci Orpin via Wee Birdy
Even the kiddos could take care of this one!
Find & Keep by Beci Orpin via WeeBirdy.com
DIY Confetti Tablecloth from Oh Happy Day
Spotted Masking Tape from Papermash to make these cute cups.
Easy and economical!
Spotted masking tape
Confetti Dot Ice Cream Spoons from Shop Sweet Lulu
Sprinkle Waffle Cones from Cake Time
I could take one right about now!
wafers-ice cream cones
Mini Milkshake Shooters from Hey Gorgeous Events
How cute and tasty is this?!
Sprinkle Push Up Cake Pops from Kiki’s List
I love the colorful layers to complement the sprinkles!
Sprinkle Cake Pops from Veronica’s Cornicopia
Sprinkle Strawberries via Pinterest (no original source, please let me know if you know it so I can credit)
The “healthy” treat option.
Homemade Oreos from A Little Tipsy
A colorful addition to a classic.
Sprinkle Popcorn Balls from Sprinkle Bakes
For more awesome sprinkle party ideas, be sure to visit my Perfect Party Pinterest board.  We are always adding fun new themes and ideas to throw awesome parties with ease.

Baby Week: Shirt Bib

November 10, 2010 By Michelle Barneck 133 Comments

Let me introduce myself.
My name is Rebecca and I blog over at Better Life Bags… the blog.

When I’m not crafting, I also run a small business creating custom diaper bags, hand bags, and accessories called Better Life Bags.

I donate 10% of every purchase to low income entrepreneurs in developing countries – which is why we are called “Better Life Bags… making lives better one purse at a time!”

The fun part is that YOU get to pick your own fabrics for the bag you want!
I hope you’ll come check things out.

Anyway…Today I have a great tutorial for you to try out.
When my son was born, I had the biggest distaste for baby bibs. I hated how “babyish” they looked, yet I knew how functional they were for drool, food, etc…


So, I came up with an alternative. Bibs made out of upcycled shirts! So much better.

baby wearing orange plaid shirt bibBaby wearing graphic tee shirt bib

You can make these with either:
adult graphic tees

Shirt bib examples: green with dandelion, blue with recycle symbol, brown with "smooth like butta"

or toddler button down shirts
{You can use an adult men’s shirt, you just won’t be able to fit the cute pocket on the bib.}

Shirt bib examples: green plaid, red plaid, and red, yellow and green plaid

Shirt Bib Instructions:

1. First, download the bib pattern here and here.

Pattern and cut steps:

2. Then, cut out the pieces.

3. Next, trace the pieces backwards onto separate sheets of paper.

4. Cut out the second pattern pieces except leave a small tab on the side of the bib piece and the bottom of the strap piece (shown below).

5. Then, tape together your bib pattern piece.

6. Cut your t-shirt down the side seams and lay it open on the table.

Do the same if you’re using a toddler shirt. I usually look for 3T or 4T at the thrift store.

7. Place your pattern piece over the graphic you want to capture.
{You will have to fudge with the strap pieces. It seems that neck holes on adult tees are too big, so the strap ends up a little thinner than the pattern piece. This is upcycling after all!}

With the toddler shirt, be sure cut around the collar.
Also, cut at least 3/4″ above and below any buttons so you don’t have to worry about sewing over them to finish the bib later.

8. Now, cut your bib out.
{Just do your best to shape the straps}

9. Next, use your shirt as the pattern piece to cut out the back of your bib.
Lay your bib upside down on top of the fabric you choose for the bib back, pin, and cut. I use the super soft minky chenille you can find at fabric stores. SO SOFT!

Sewing Steps:

10. Keeping the right sides together of your two pieces, sew with a 1/4″ seam allowance all the way around. Leave a small opening on the side of the bib to turn it inside out.

11. Turn your bib inside out and press out the seams.
Fold the opening in and pin it shut.

12. Next, sew around the entire bib with a 1/4″ seam allowance.
This is where you need to be careful of buttons getting in the way.

13. Cut a small strip of velcro and place it on the shirt side of one strap.

14. Then, sew around the edges of the velcro.

15. Place the other half of the velcro on top of the one you just sewed.

16. Overlap your straps and peel off the second piece of velcro (keeping it in place on the second strap of the bib). Sew this piece of velcro on like you did the first.

17. You’re shirt bib is done!

These make such great baby gifts!
Please use this tutorial for personal use only. Do not sell these bibs.

Come visit me to find lots of tutorials like…

  • Bloglovin
  • Facebook
  • Google+
  • Instagram
  • Pinterest
  • RSS
  • Twitter

Hi there! I'm Michelle. Mother of three little boys and one little princess. Welcome to A Little Tipsy, a place for exploring creativity and sharing inspiration.

Follow on Bloglovin


Visit Michelle Barneck {A Little Tipsy}'s profile on Pinterest.

Tutorials by Category


15 Family Reunion Games

Family Reunion Games Collage

15 Sprinkle Party Ideas

Sprinkle Birthday Party
Creative Commons License

© Copyright 2014 A Little Tipsy · Site Designed by The Fairy Blogmother · Web Hosting by RFE Hosting

This website uses cookies to improve your experience. We'll assume you're ok with this, but you can opt-out if you wish.Accept Read More
Privacy & Cookies Policy