When I’m not crafting, I also run a small business creating custom diaper bags, hand bags, and accessories called Better Life Bags.
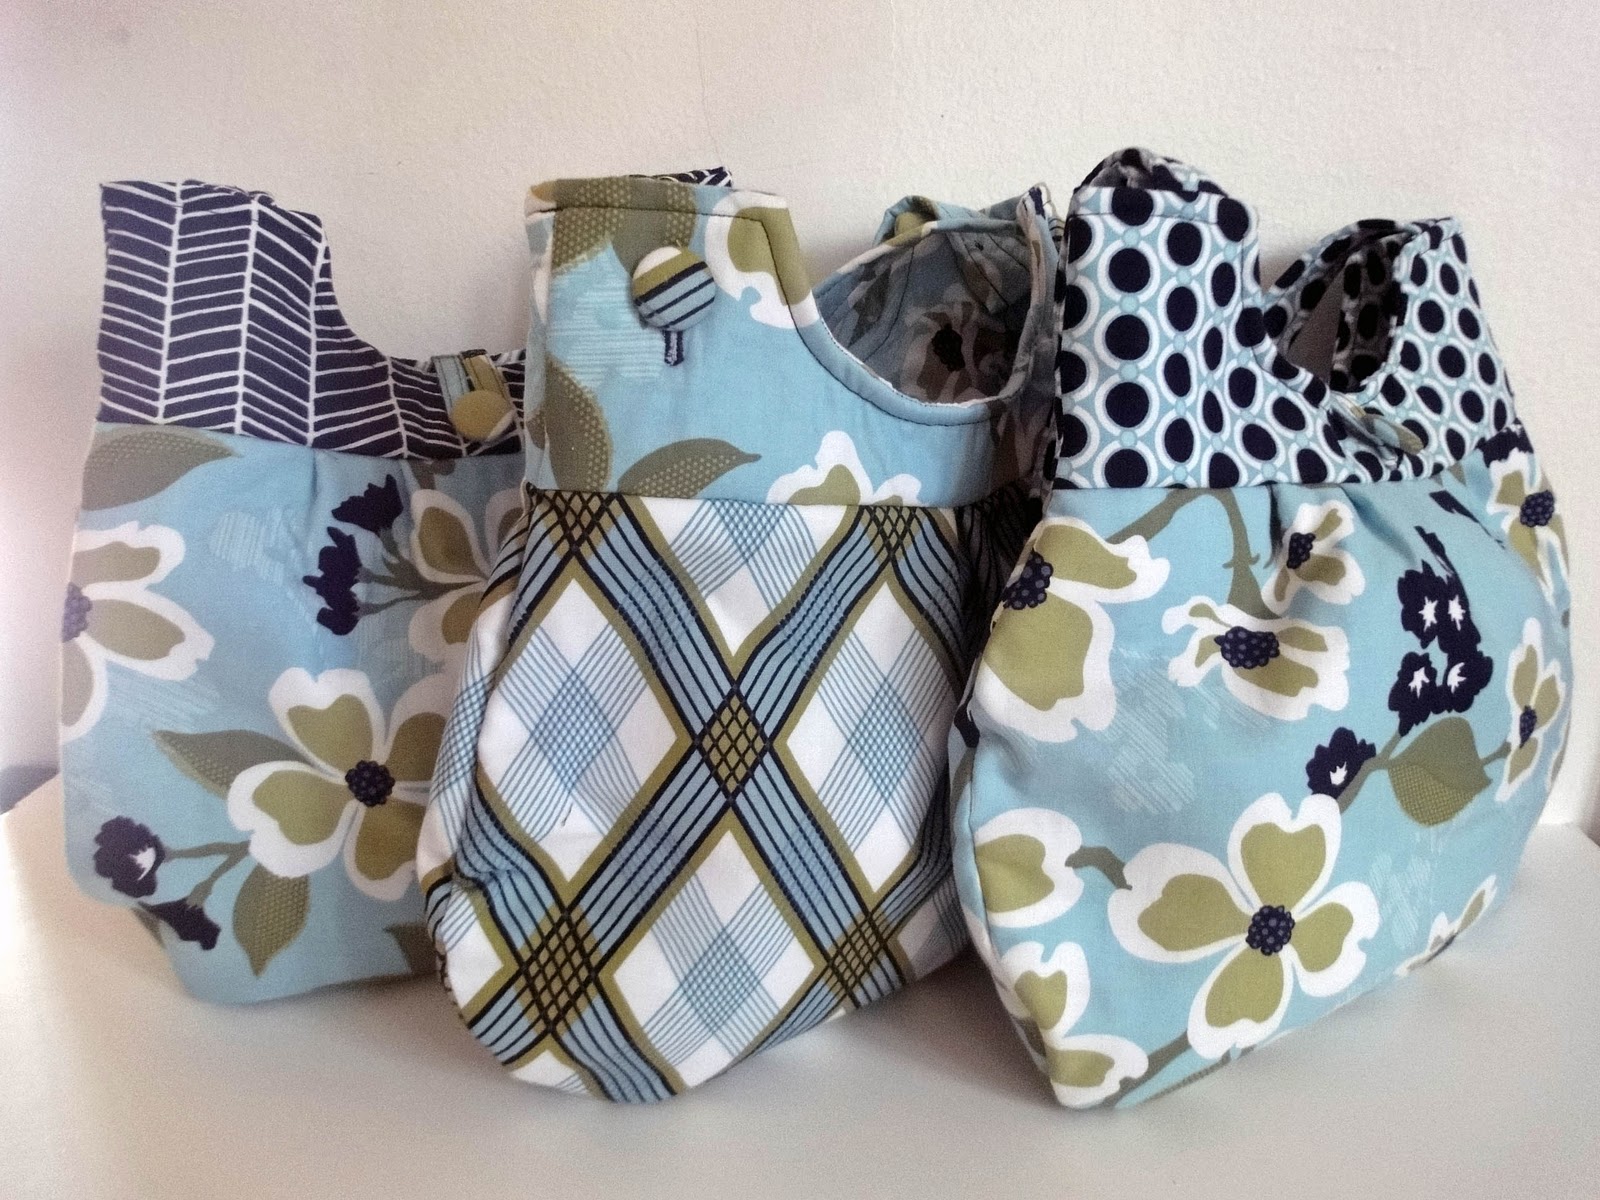
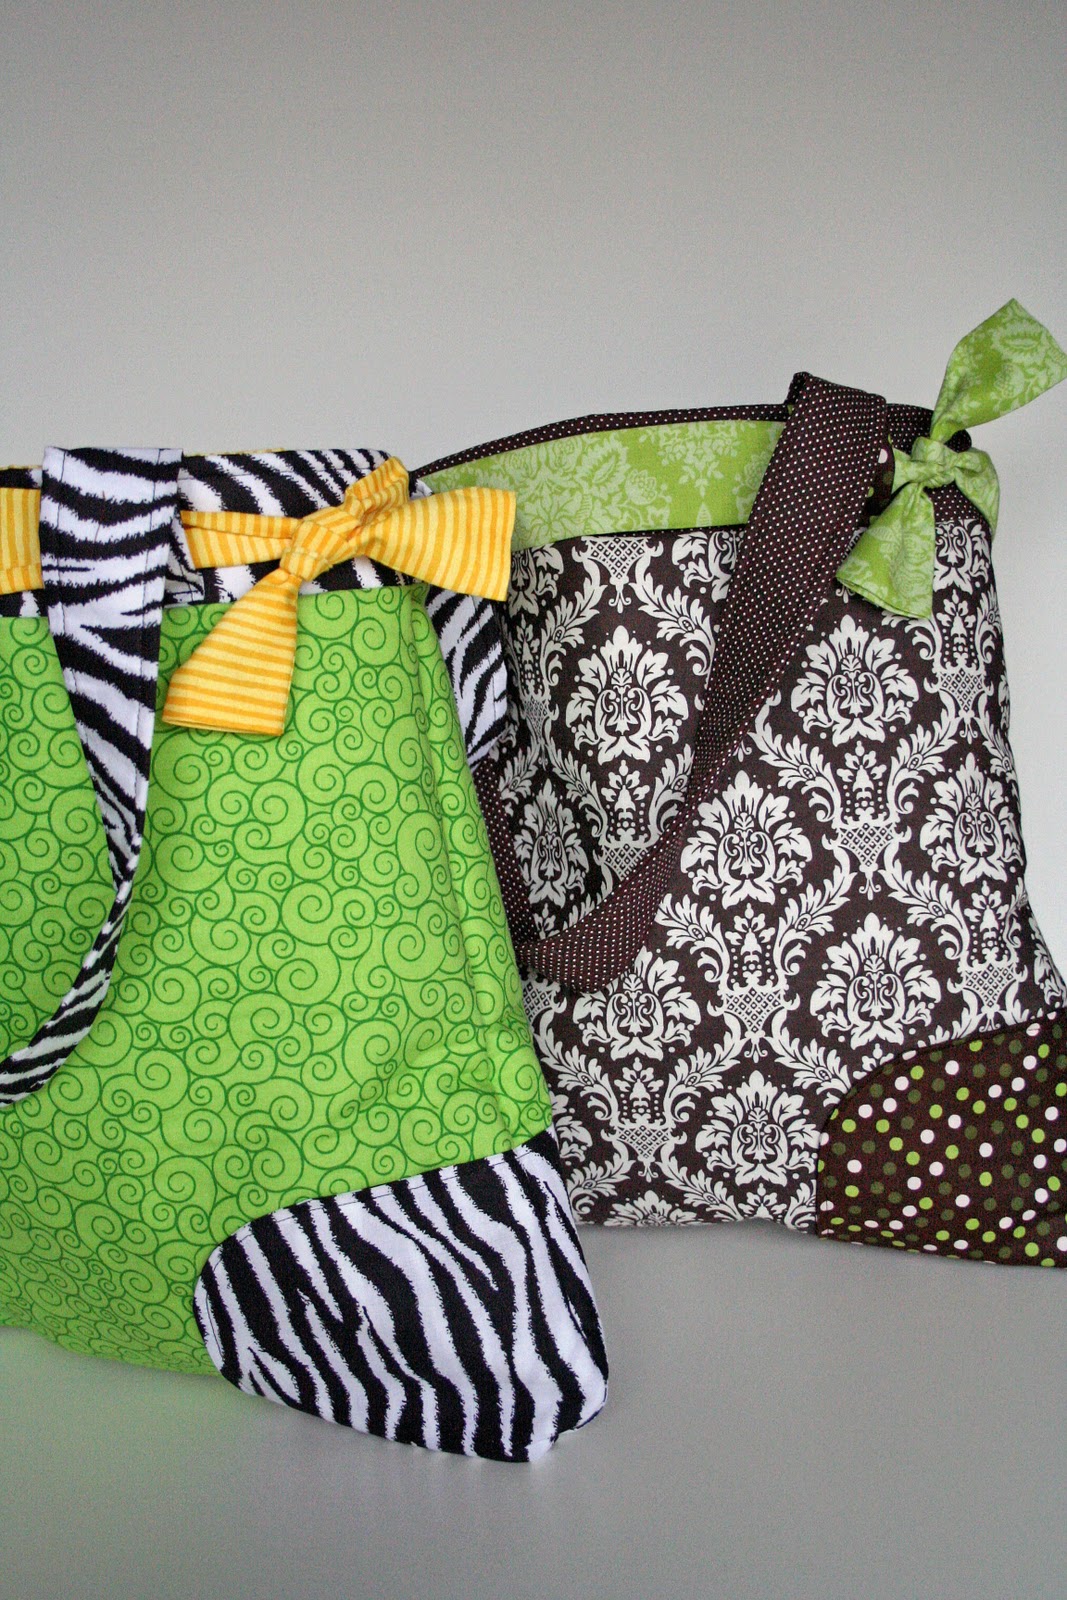
I donate 10% of every purchase to low income entrepreneurs in developing countries – which is why we are called “Better Life Bags… making lives better one purse at a time!”
The fun part is that YOU get to pick your own fabrics for the bag you want!
I hope you’ll come check things out.
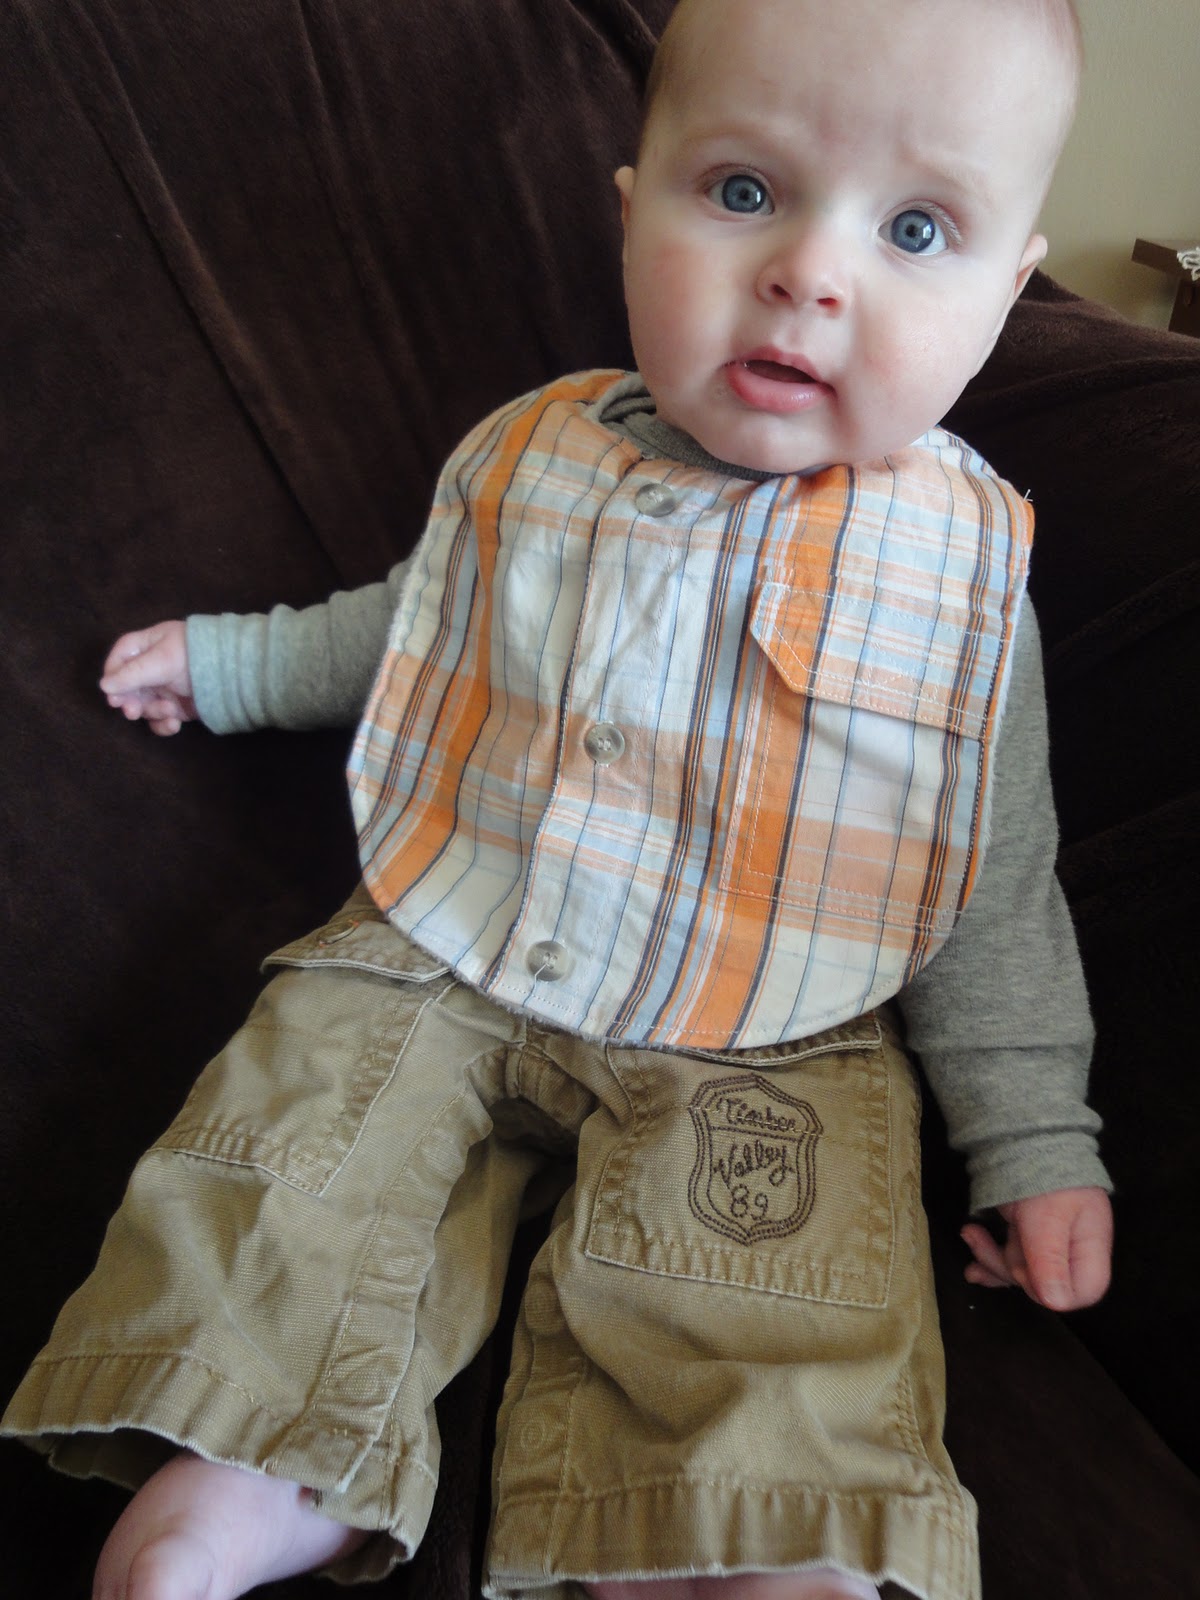
So, I came up with an alternative. Bibs made out of upcycled shirts! So much better.

You can make these with either:
adult graphic tees

or toddler button down shirts
{You can use an adult men’s shirt, you just won’t be able to fit the cute pocket on the bib.}

Shirt Bib Instructions:
1. First, download the bib pattern here and here.
Pattern and cut steps:
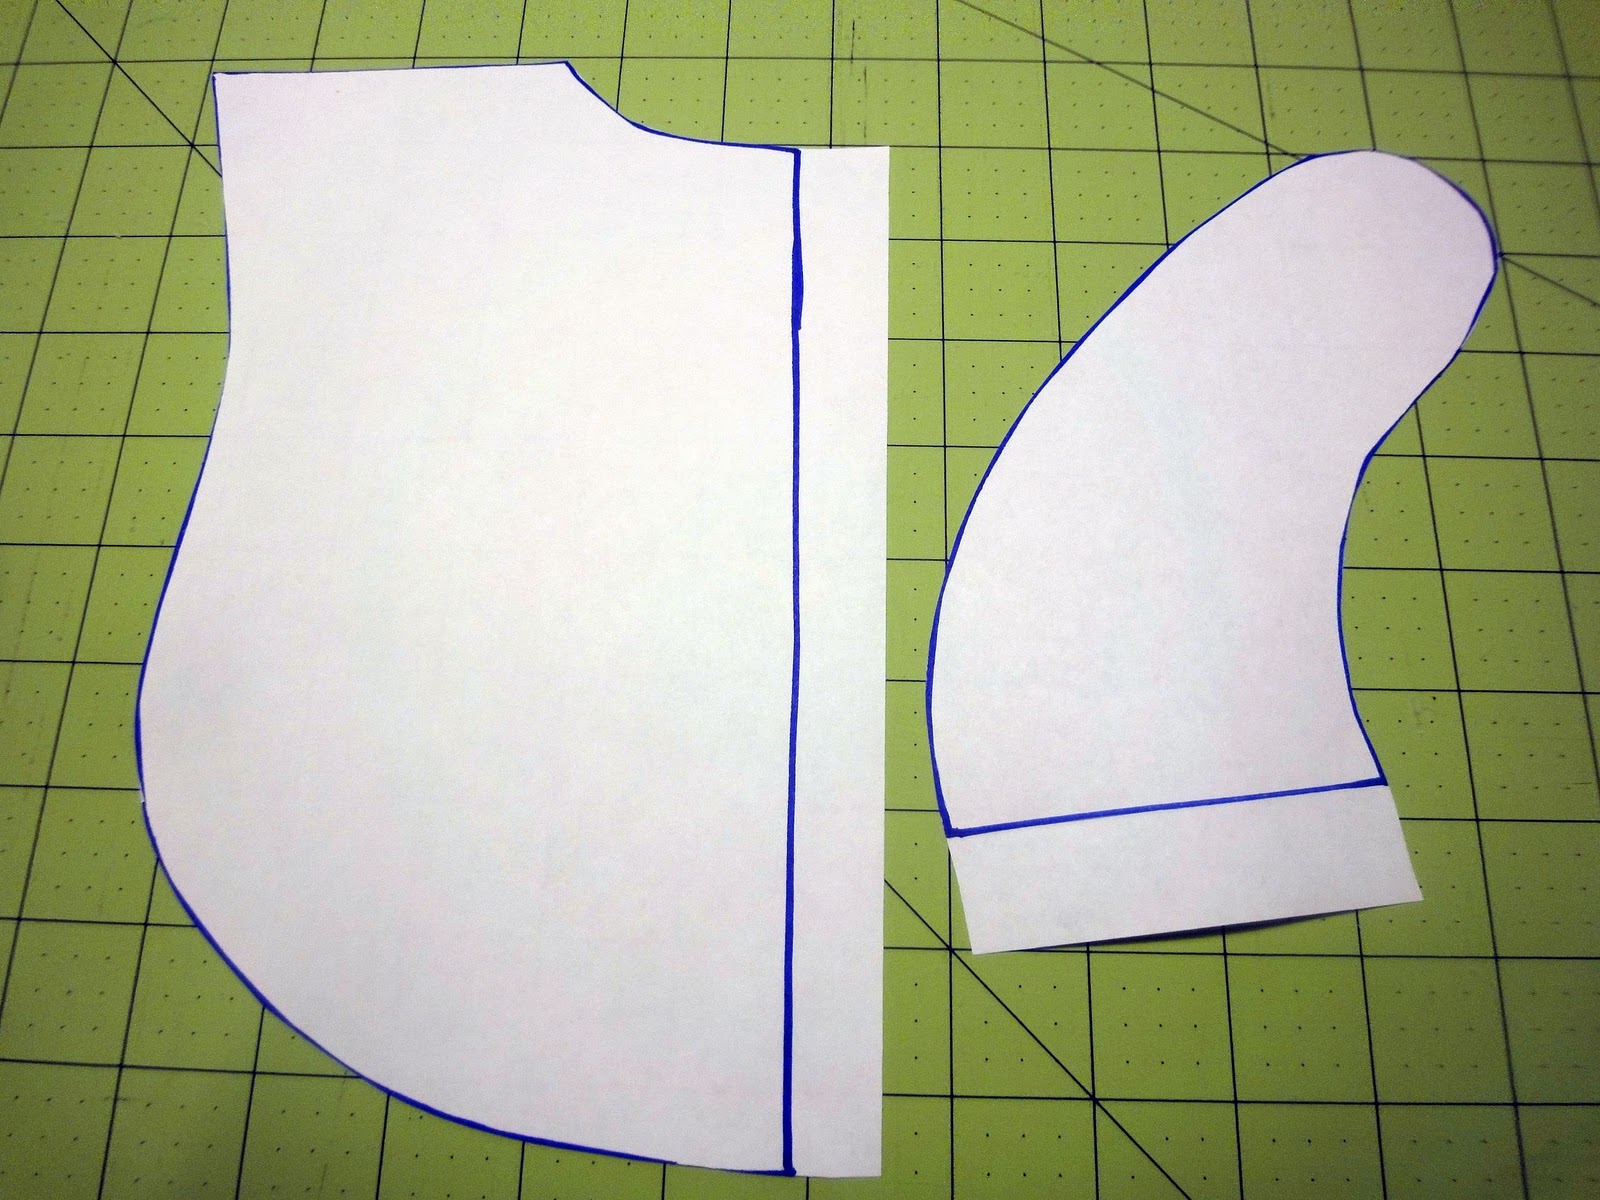
2. Then, cut out the pieces.
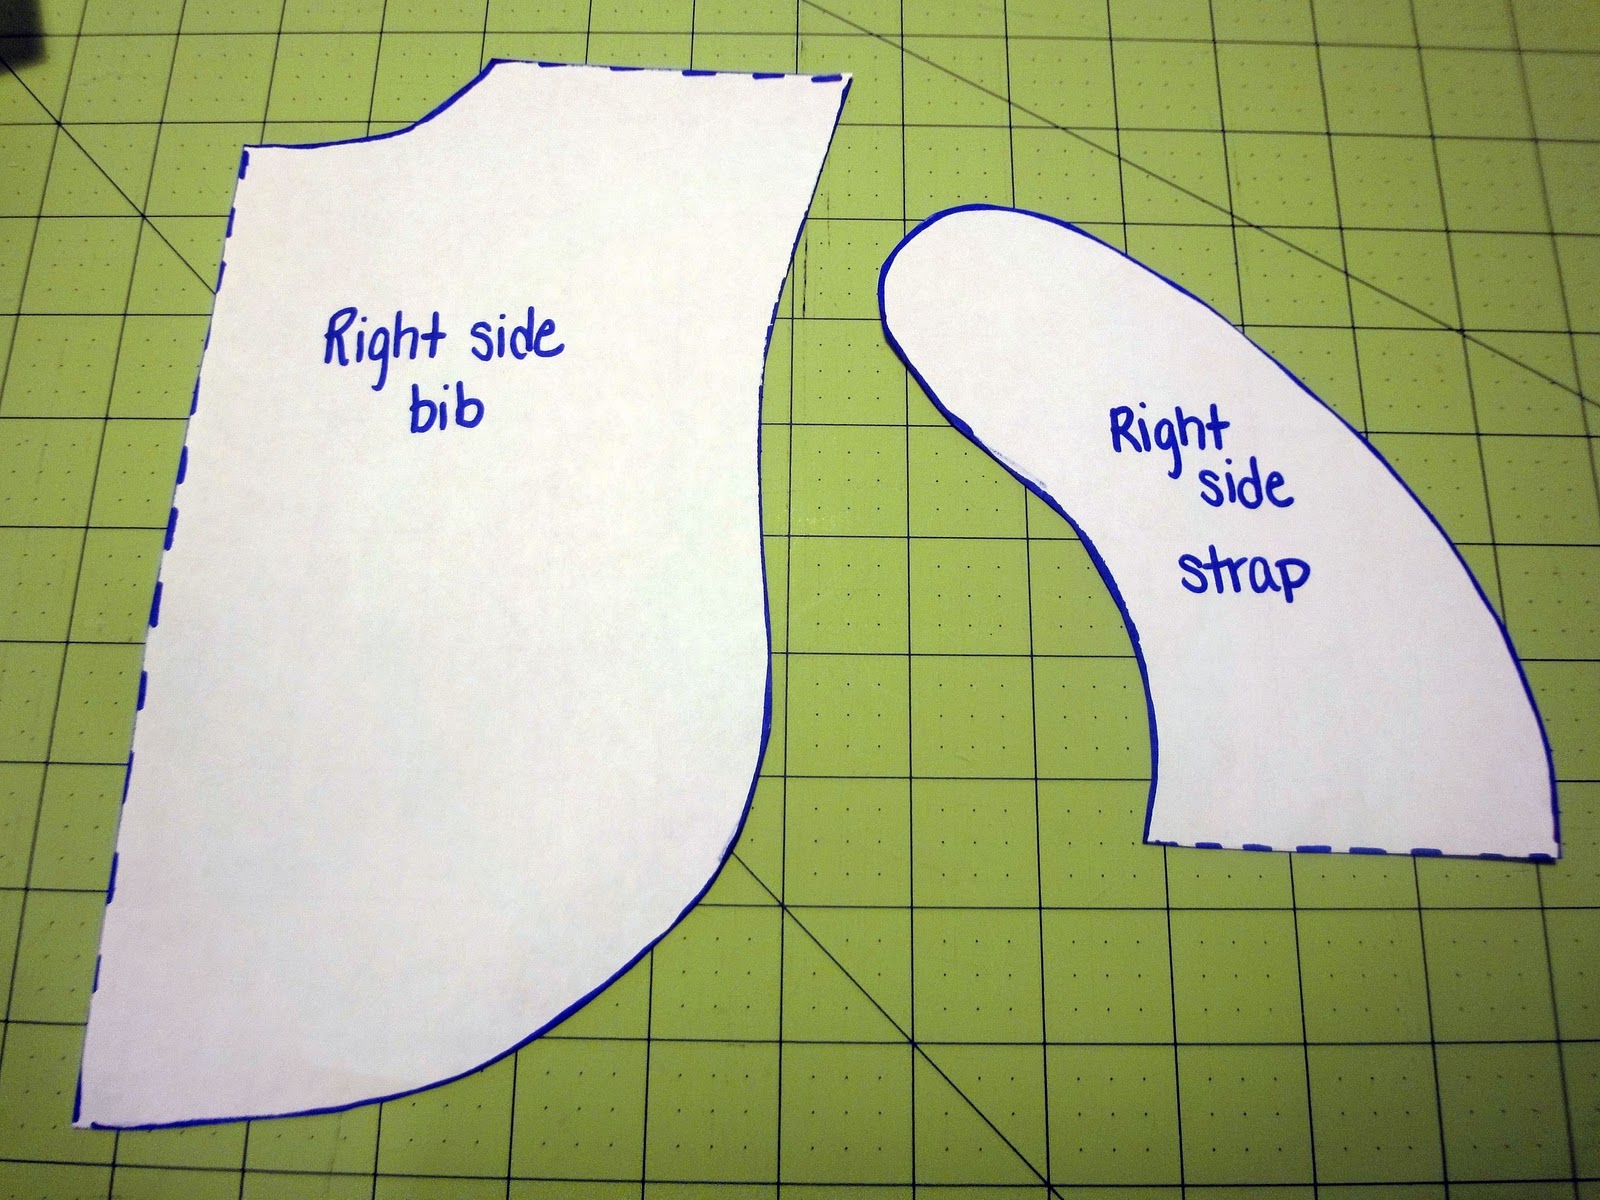
3. Next, trace the pieces backwards onto separate sheets of paper.
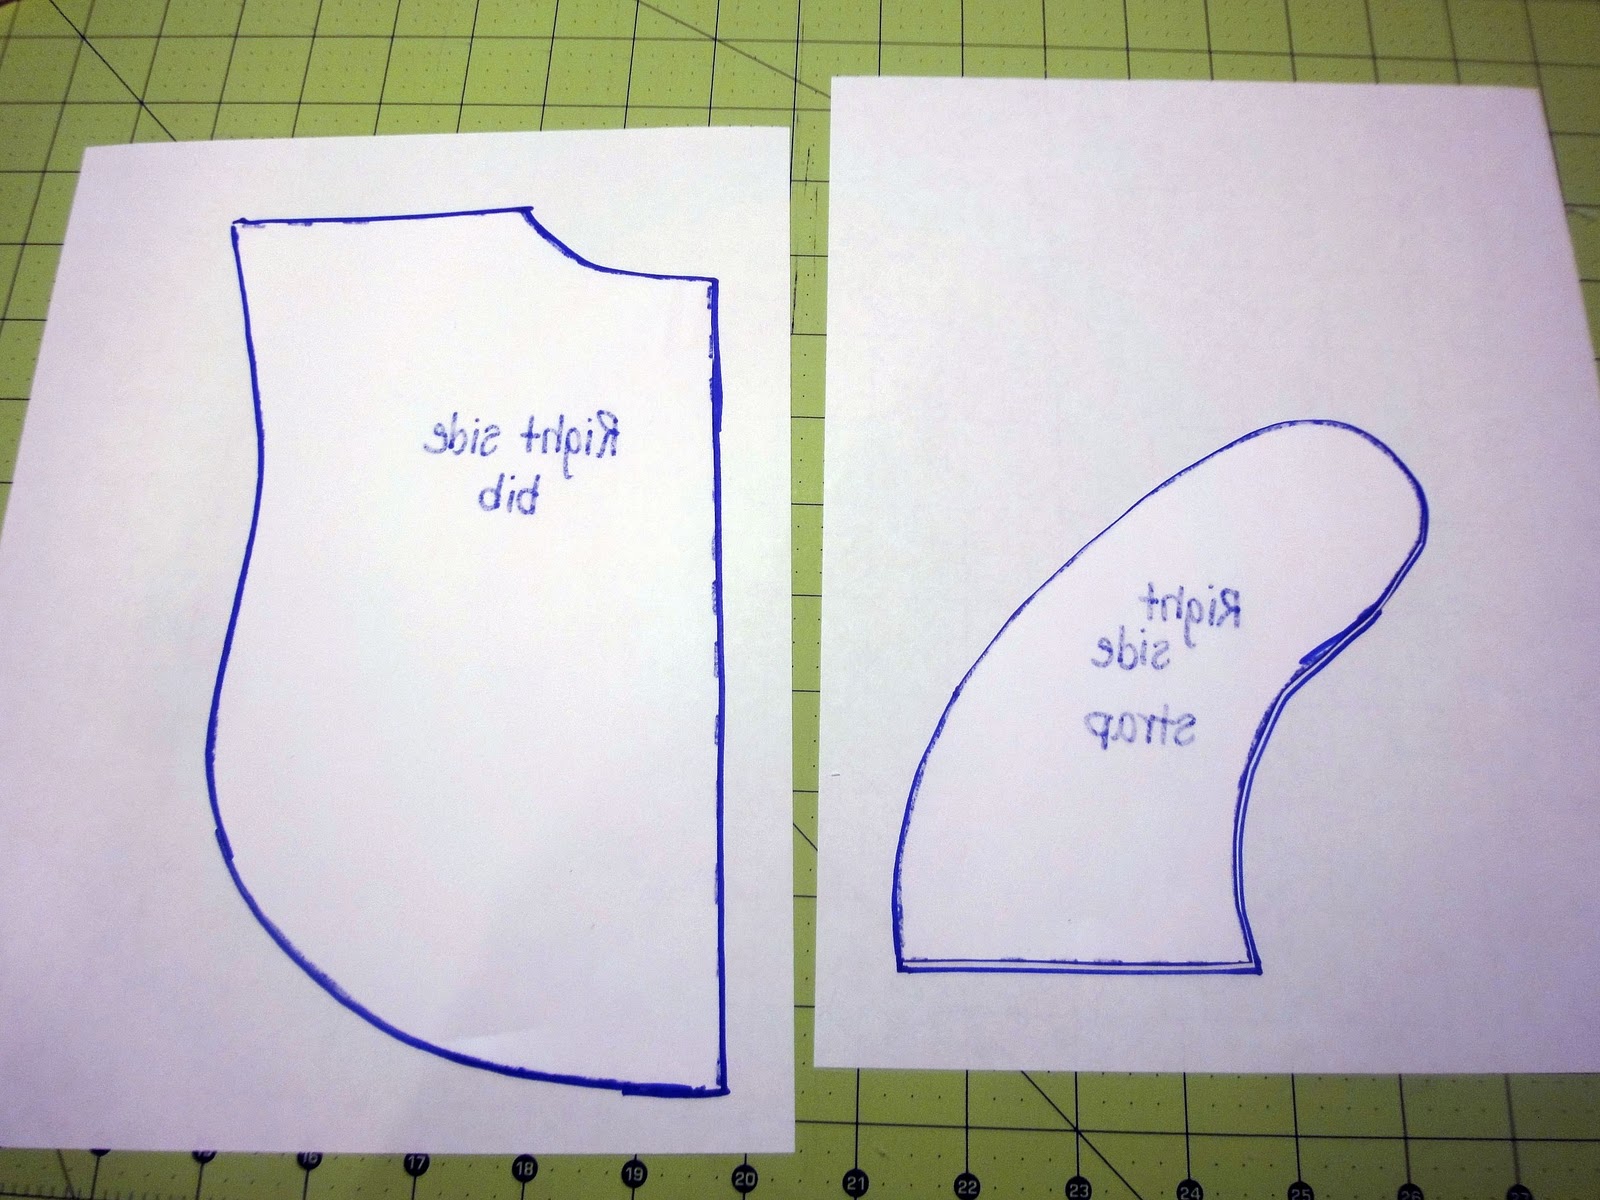
4. Cut out the second pattern pieces except leave a small tab on the side of the bib piece and the bottom of the strap piece (shown below).
5. Then, tape together your bib pattern piece.

6. Cut your t-shirt down the side seams and lay it open on the table.

Do the same if you’re using a toddler shirt. I usually look for 3T or 4T at the thrift store.

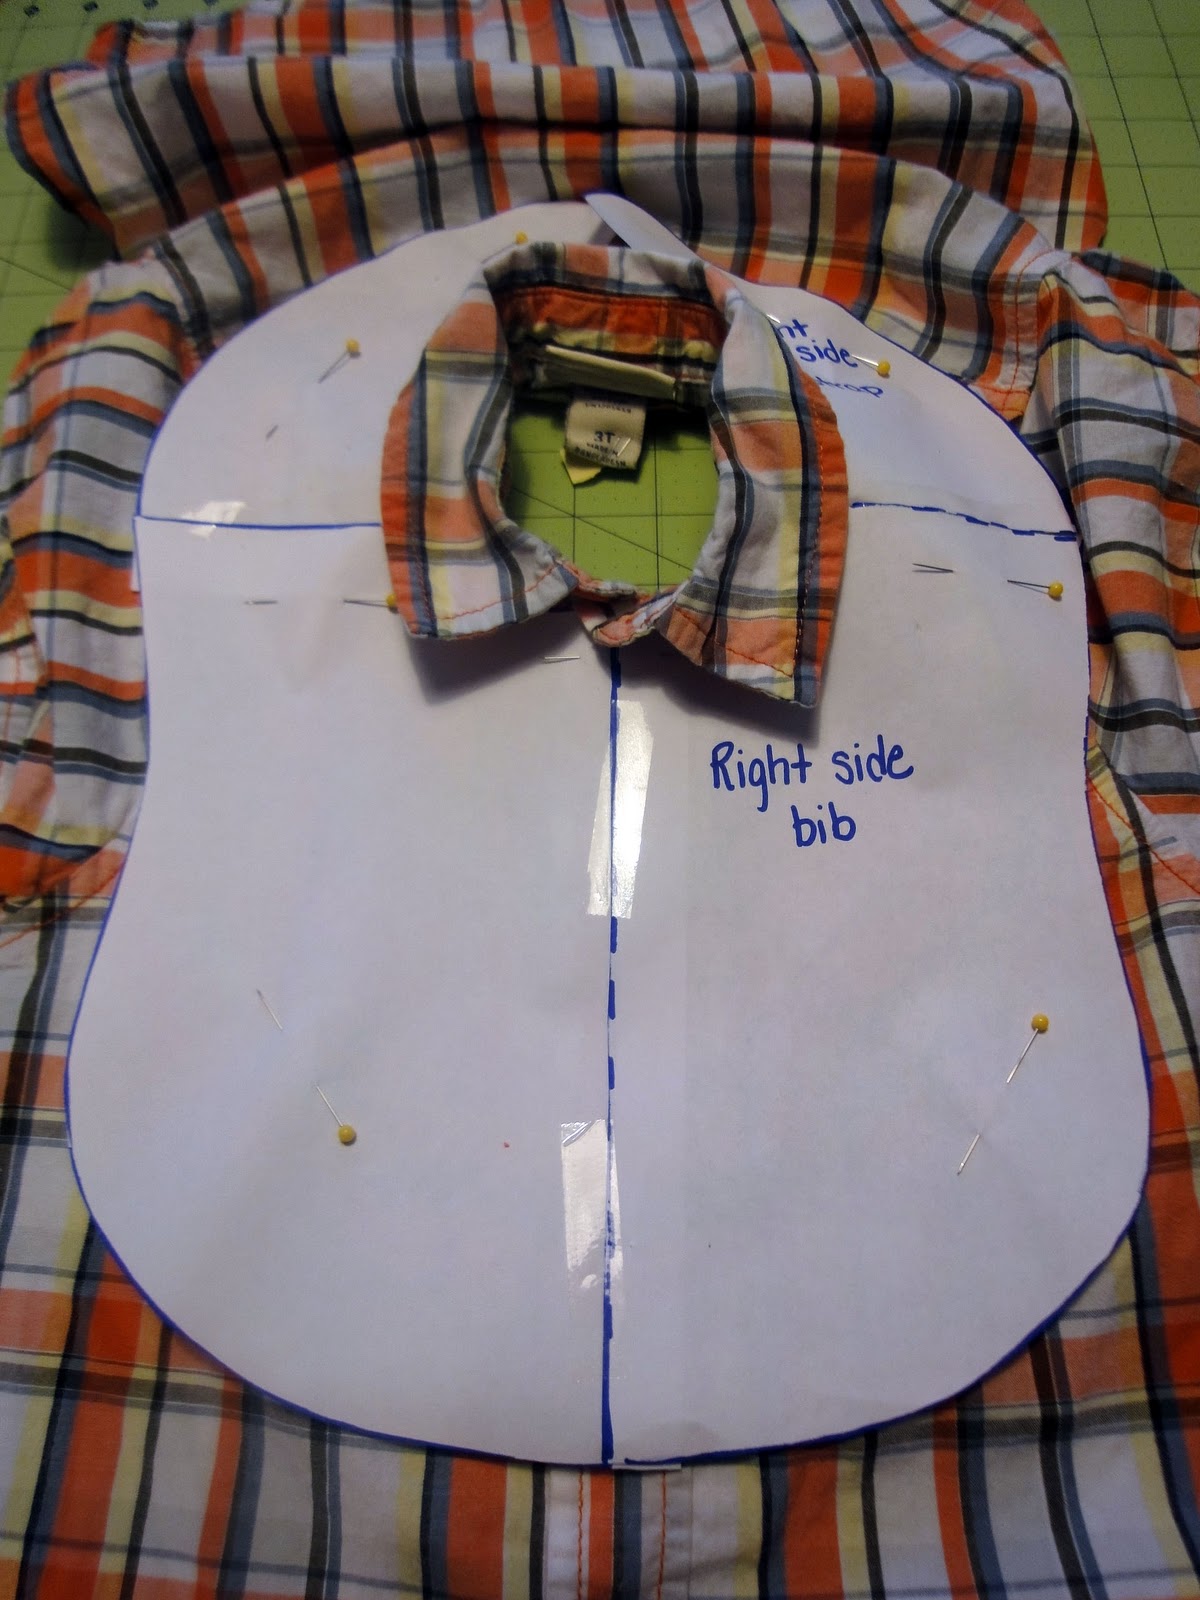
7. Place your pattern piece over the graphic you want to capture.
{You will have to fudge with the strap pieces. It seems that neck holes on adult tees are too big, so the strap ends up a little thinner than the pattern piece. This is upcycling after all!}

With the toddler shirt, be sure cut around the collar.
Also, cut at least 3/4″ above and below any buttons so you don’t have to worry about sewing over them to finish the bib later.
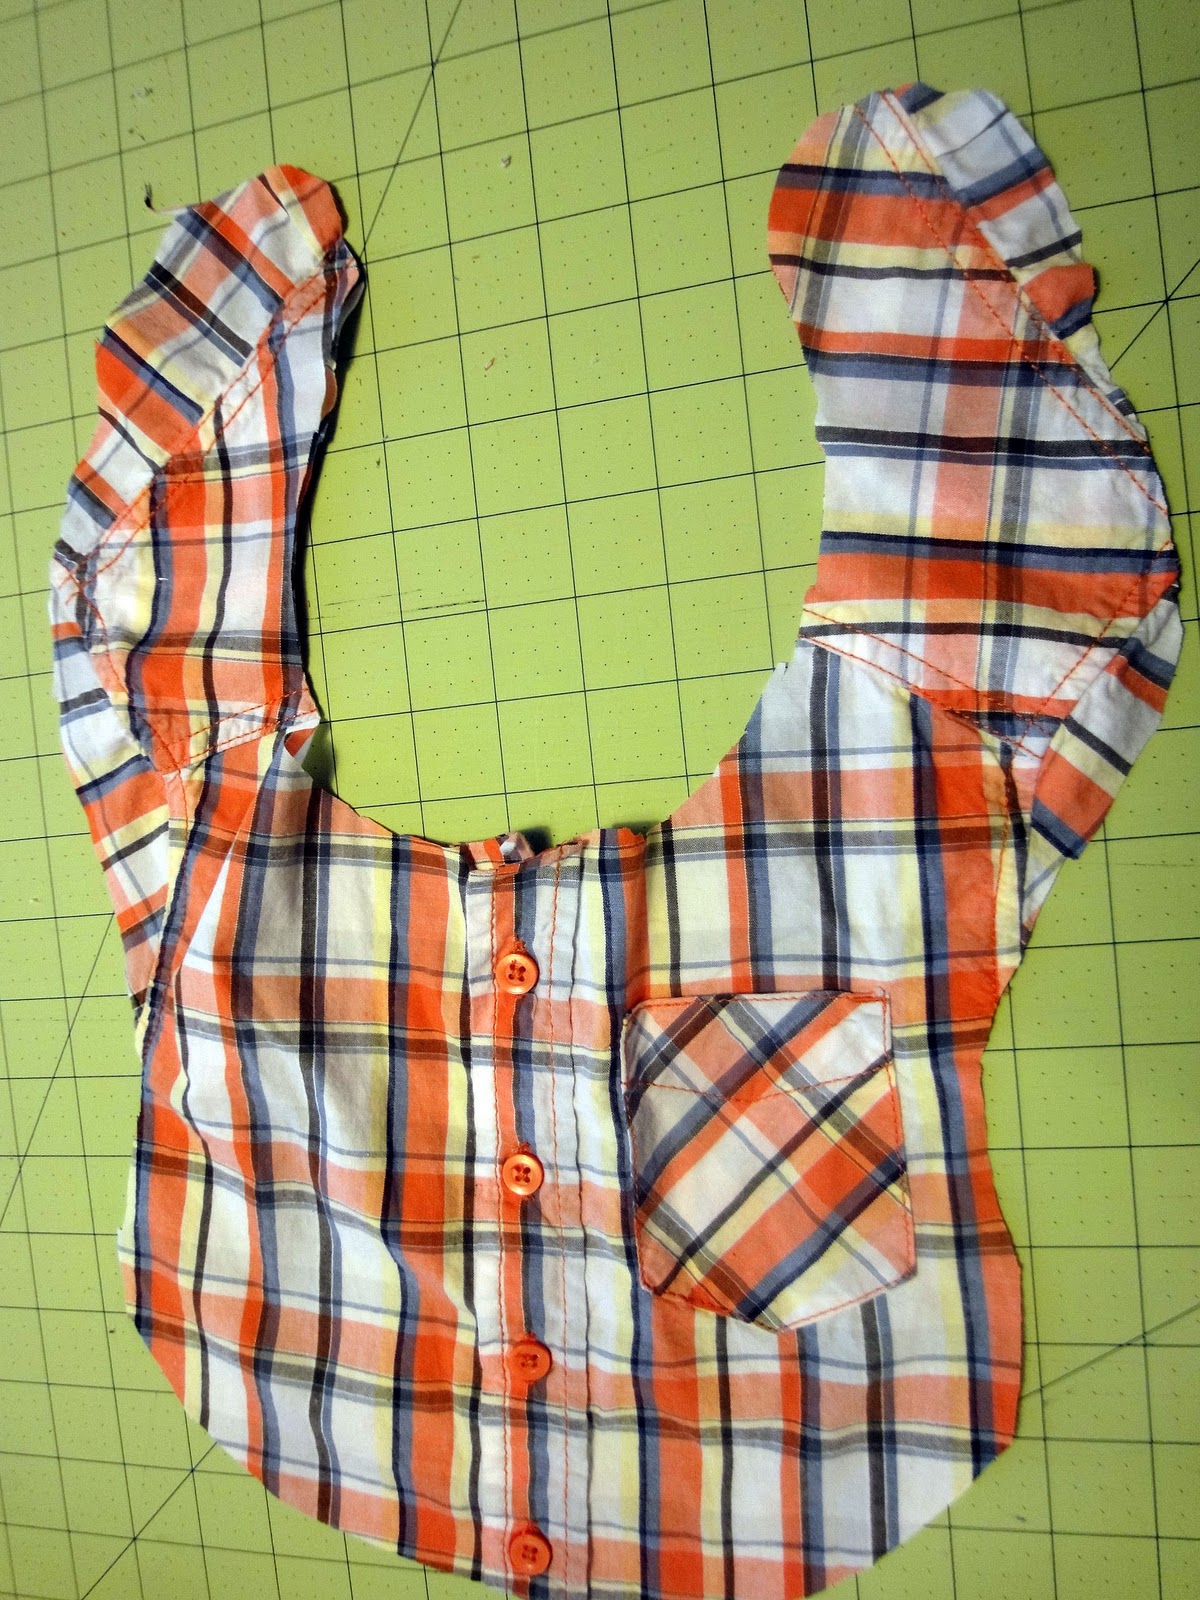
8. Now, cut your bib out.
{Just do your best to shape the straps}

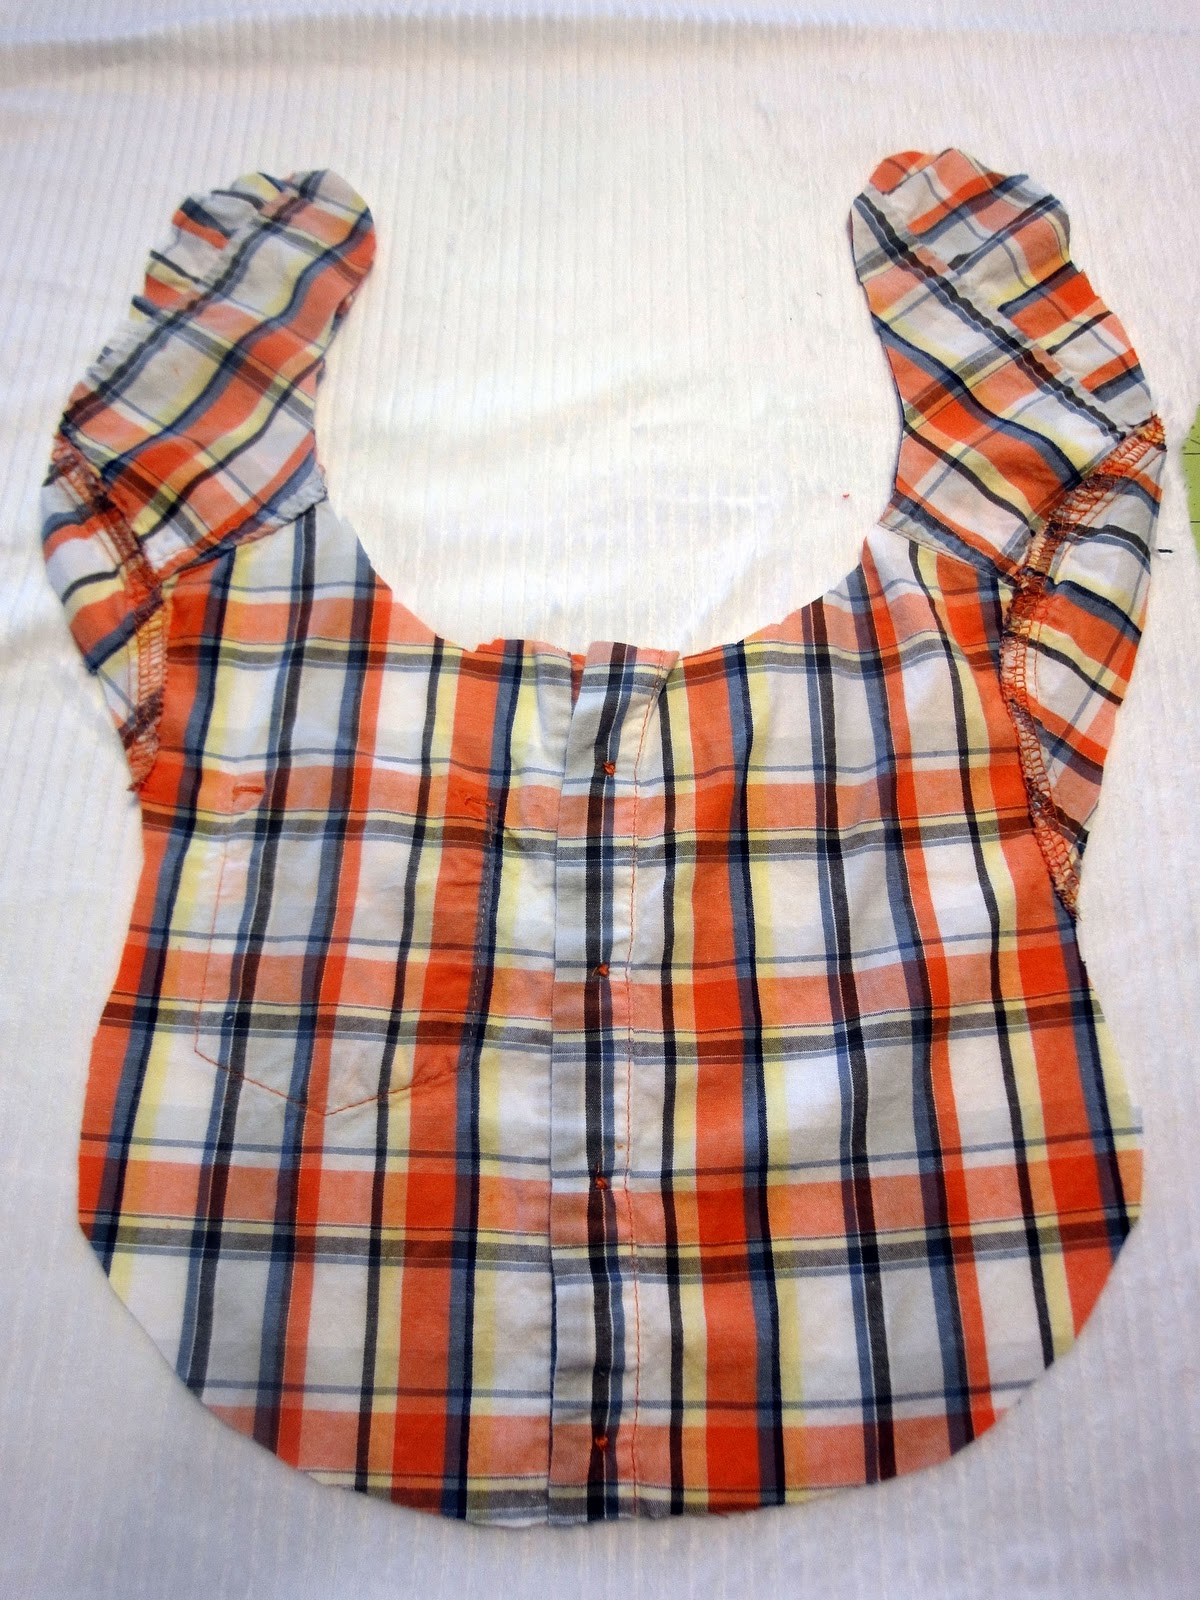
9. Next, use your shirt as the pattern piece to cut out the back of your bib.
Lay your bib upside down on top of the fabric you choose for the bib back, pin, and cut. I use the super soft minky chenille you can find at fabric stores. SO SOFT!
Sewing Steps:
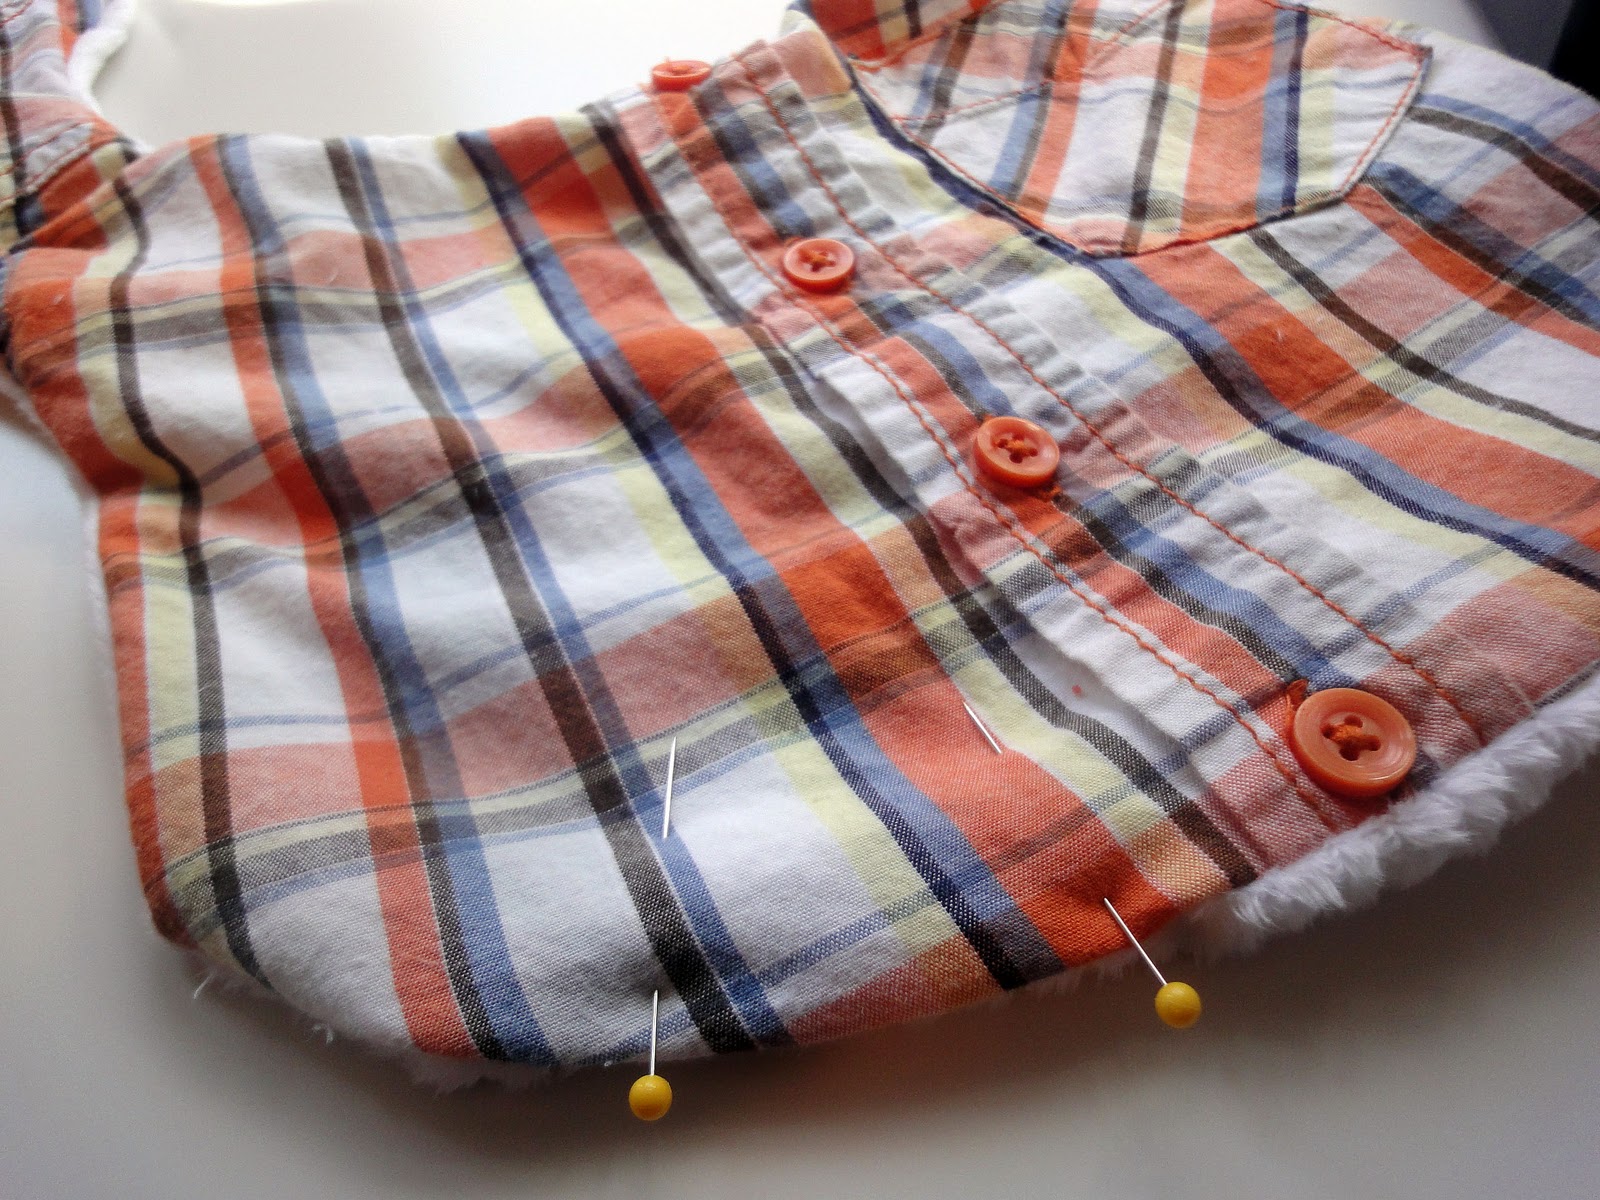
10. Keeping the right sides together of your two pieces, sew with a 1/4″ seam allowance all the way around. Leave a small opening on the side of the bib to turn it inside out.
11. Turn your bib inside out and press out the seams.
Fold the opening in and pin it shut.
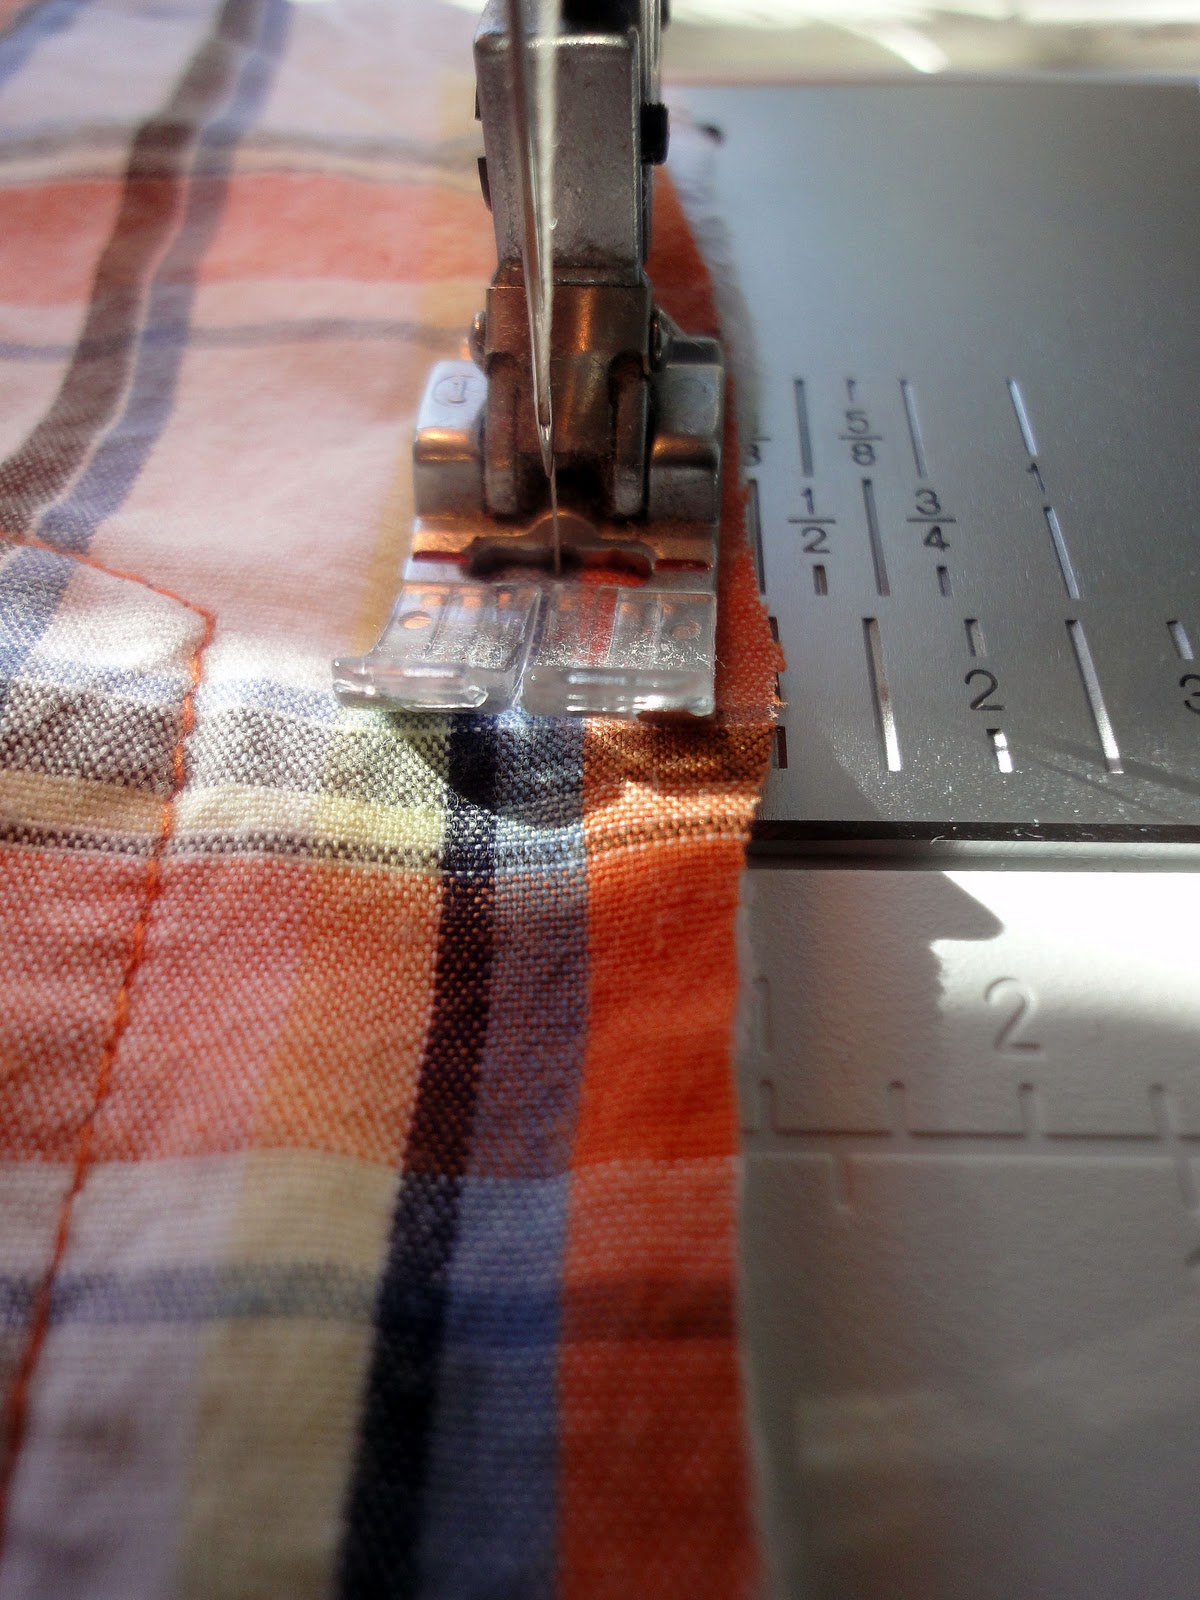
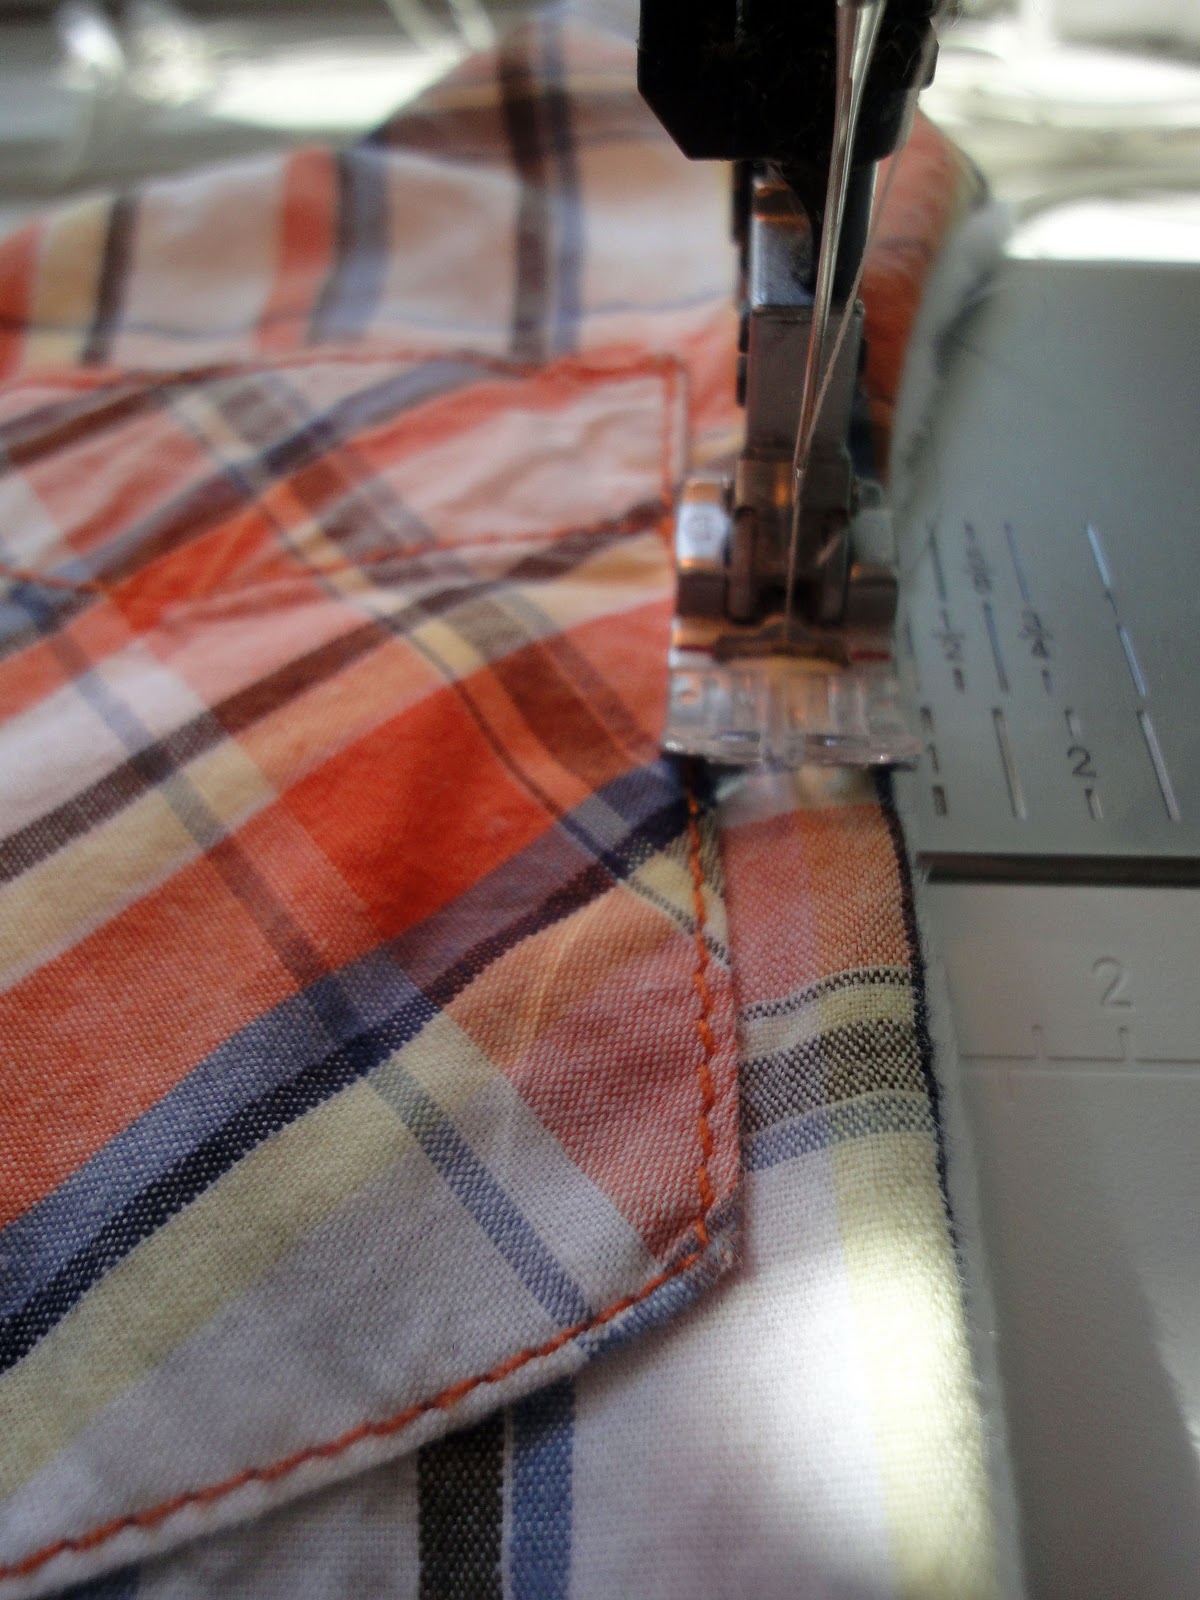
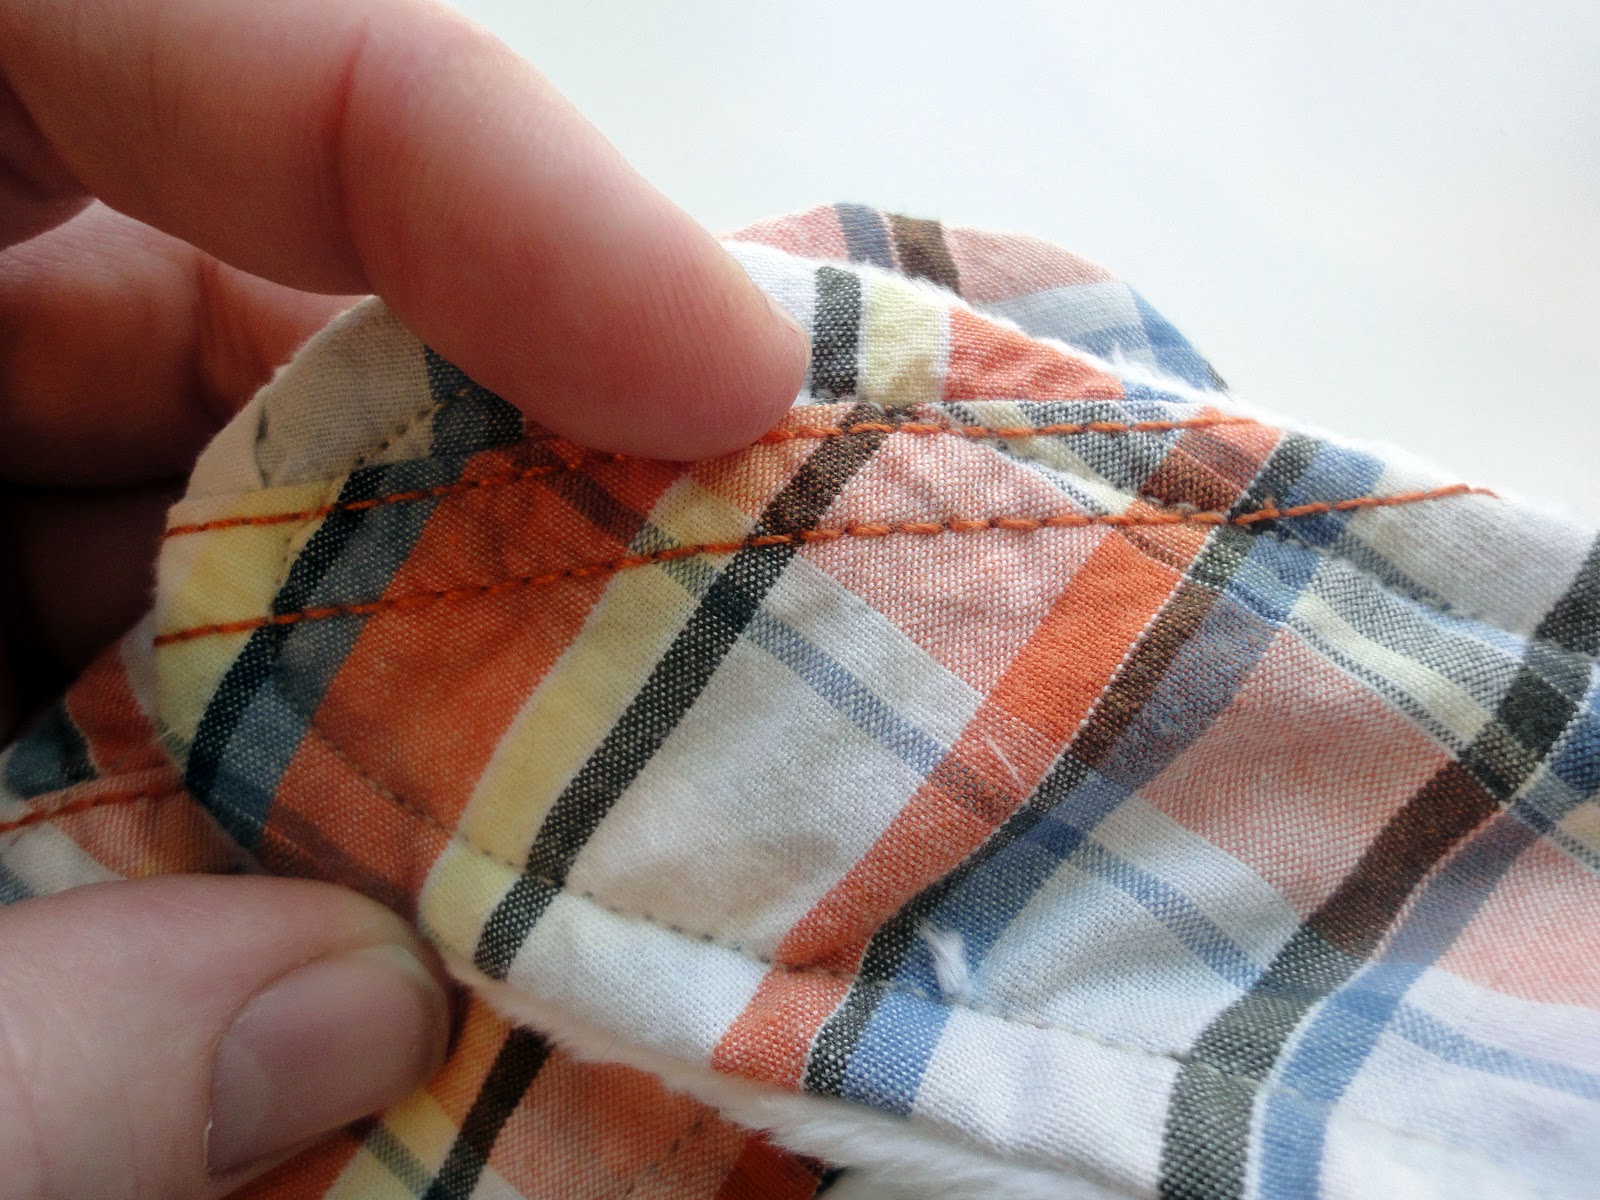
12. Next, sew around the entire bib with a 1/4″ seam allowance.
This is where you need to be careful of buttons getting in the way.
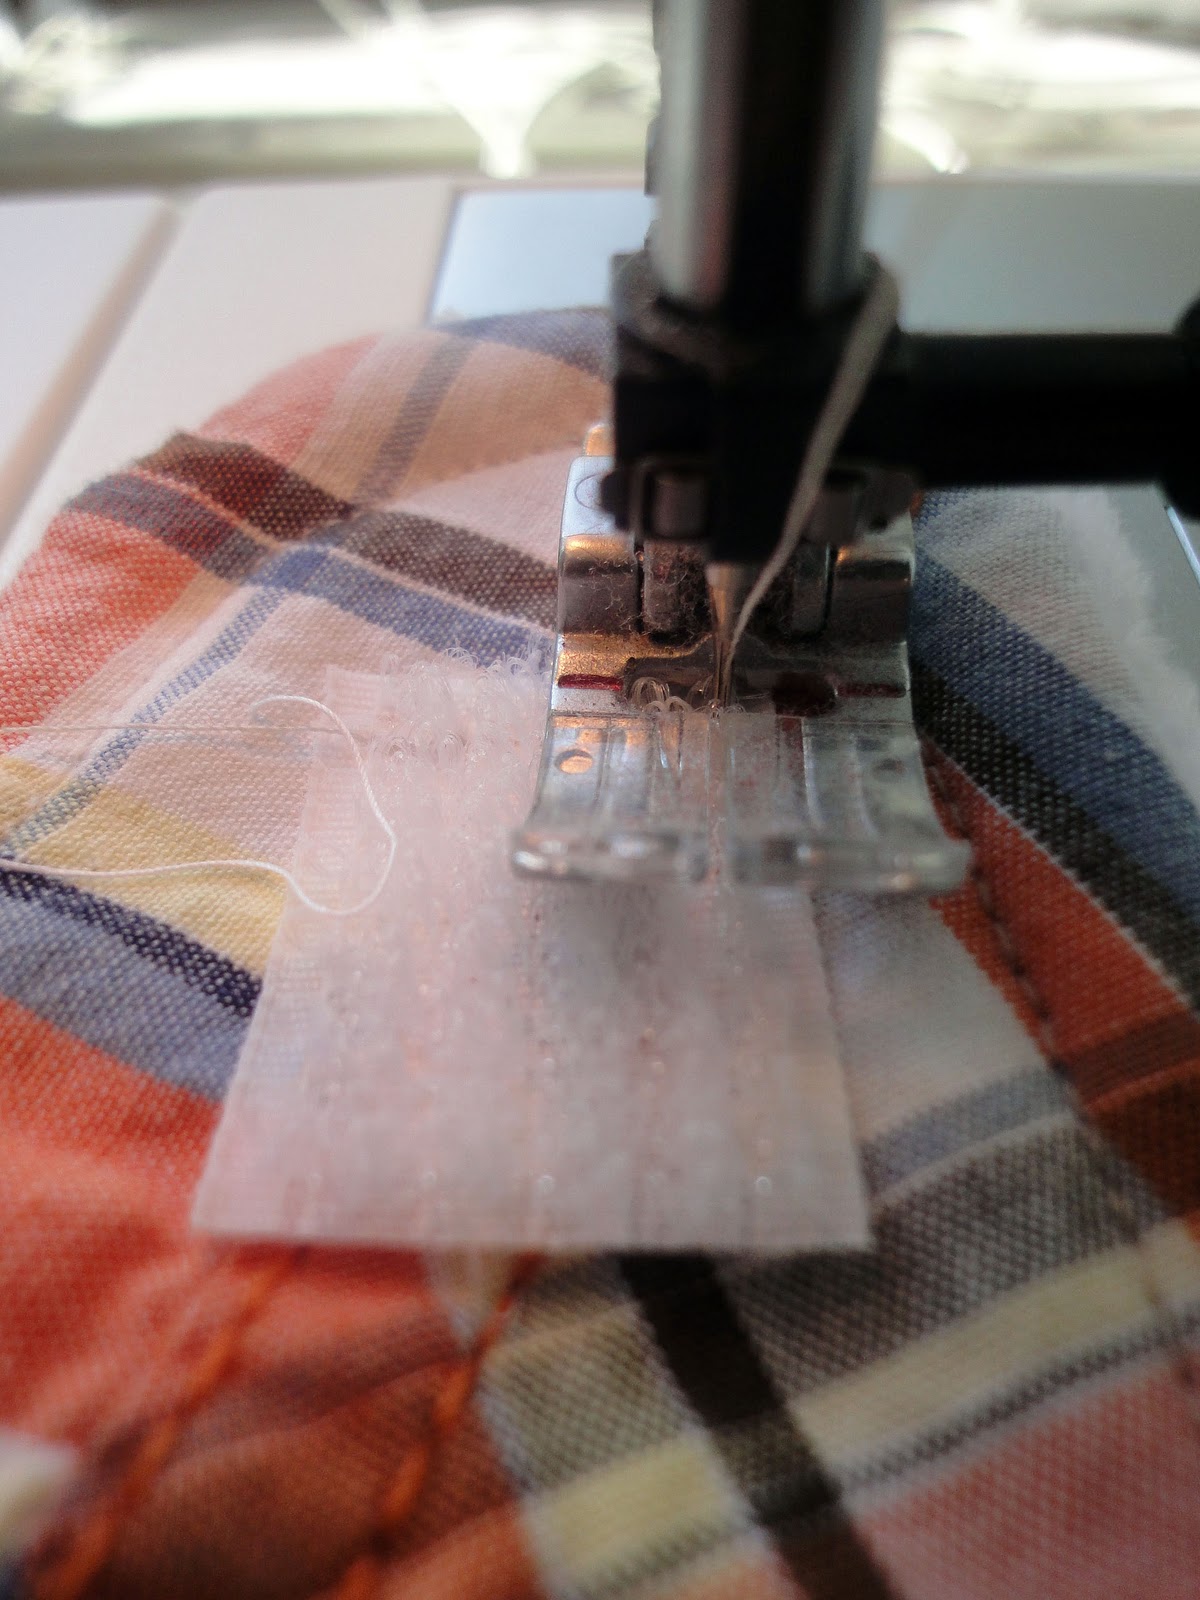
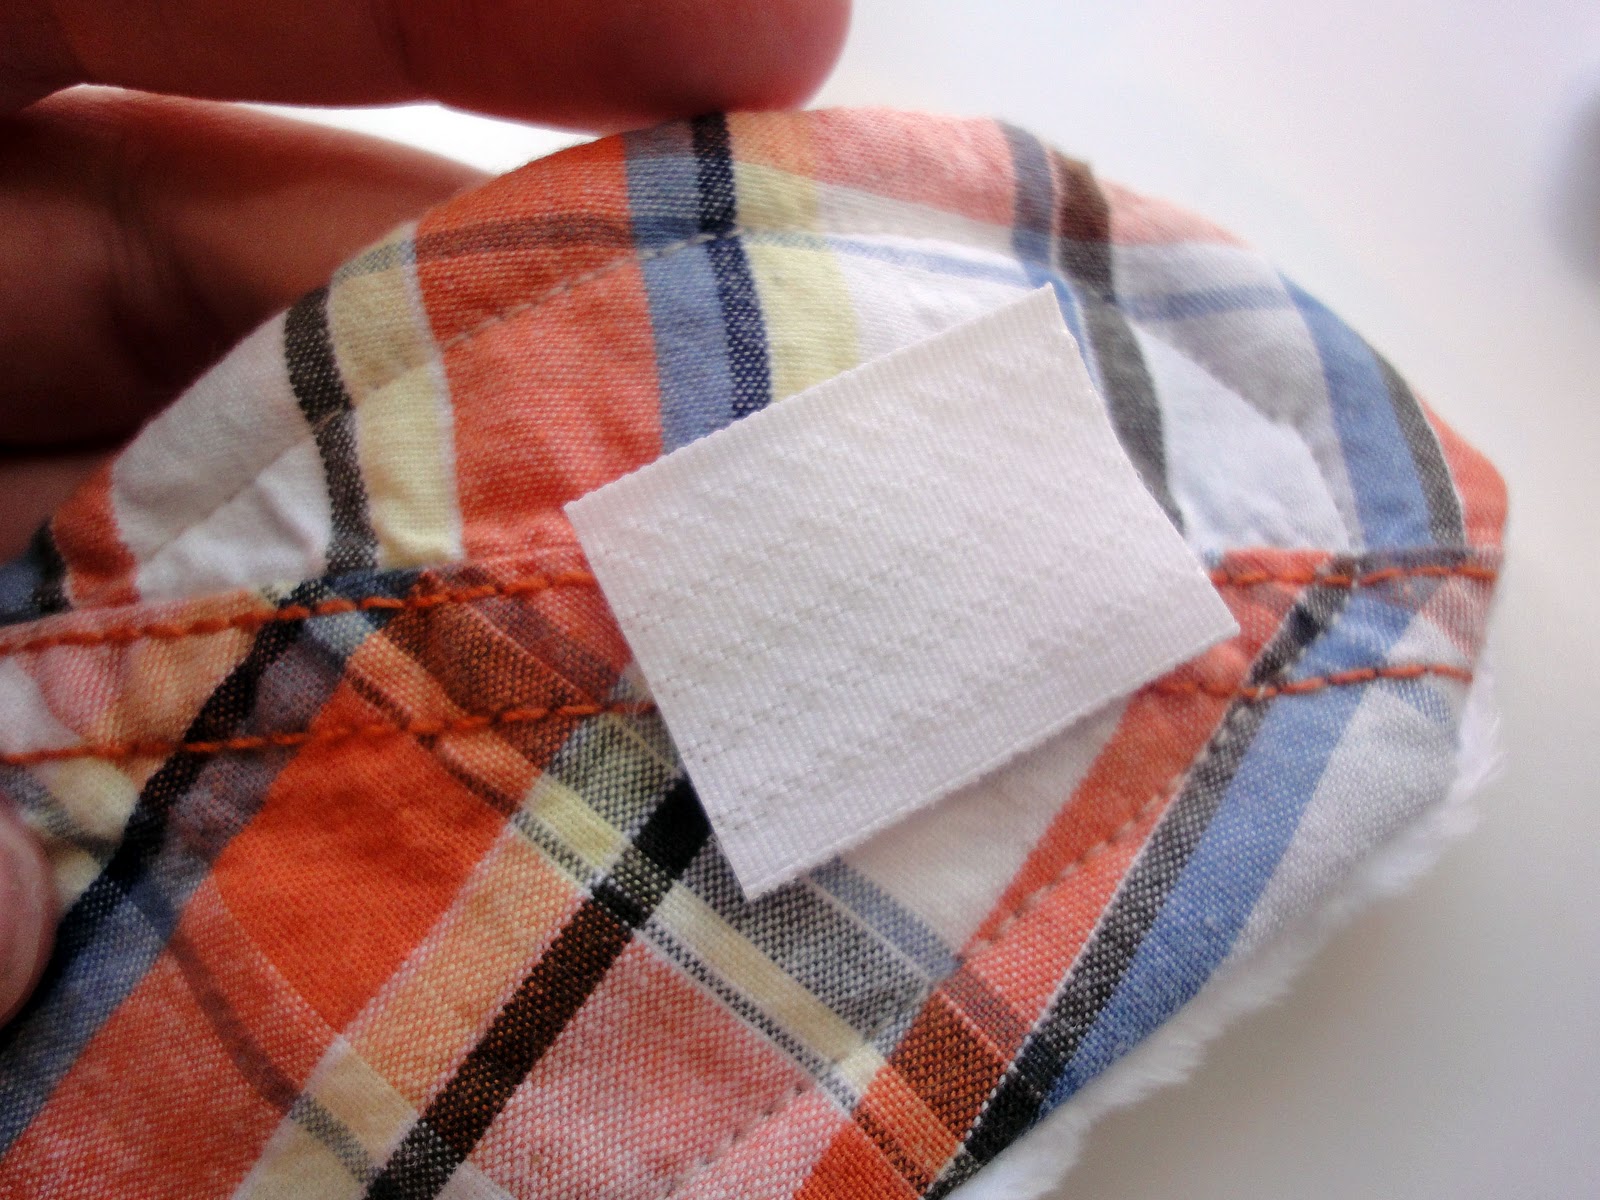
13. Cut a small strip of velcro and place it on the shirt side of one strap.
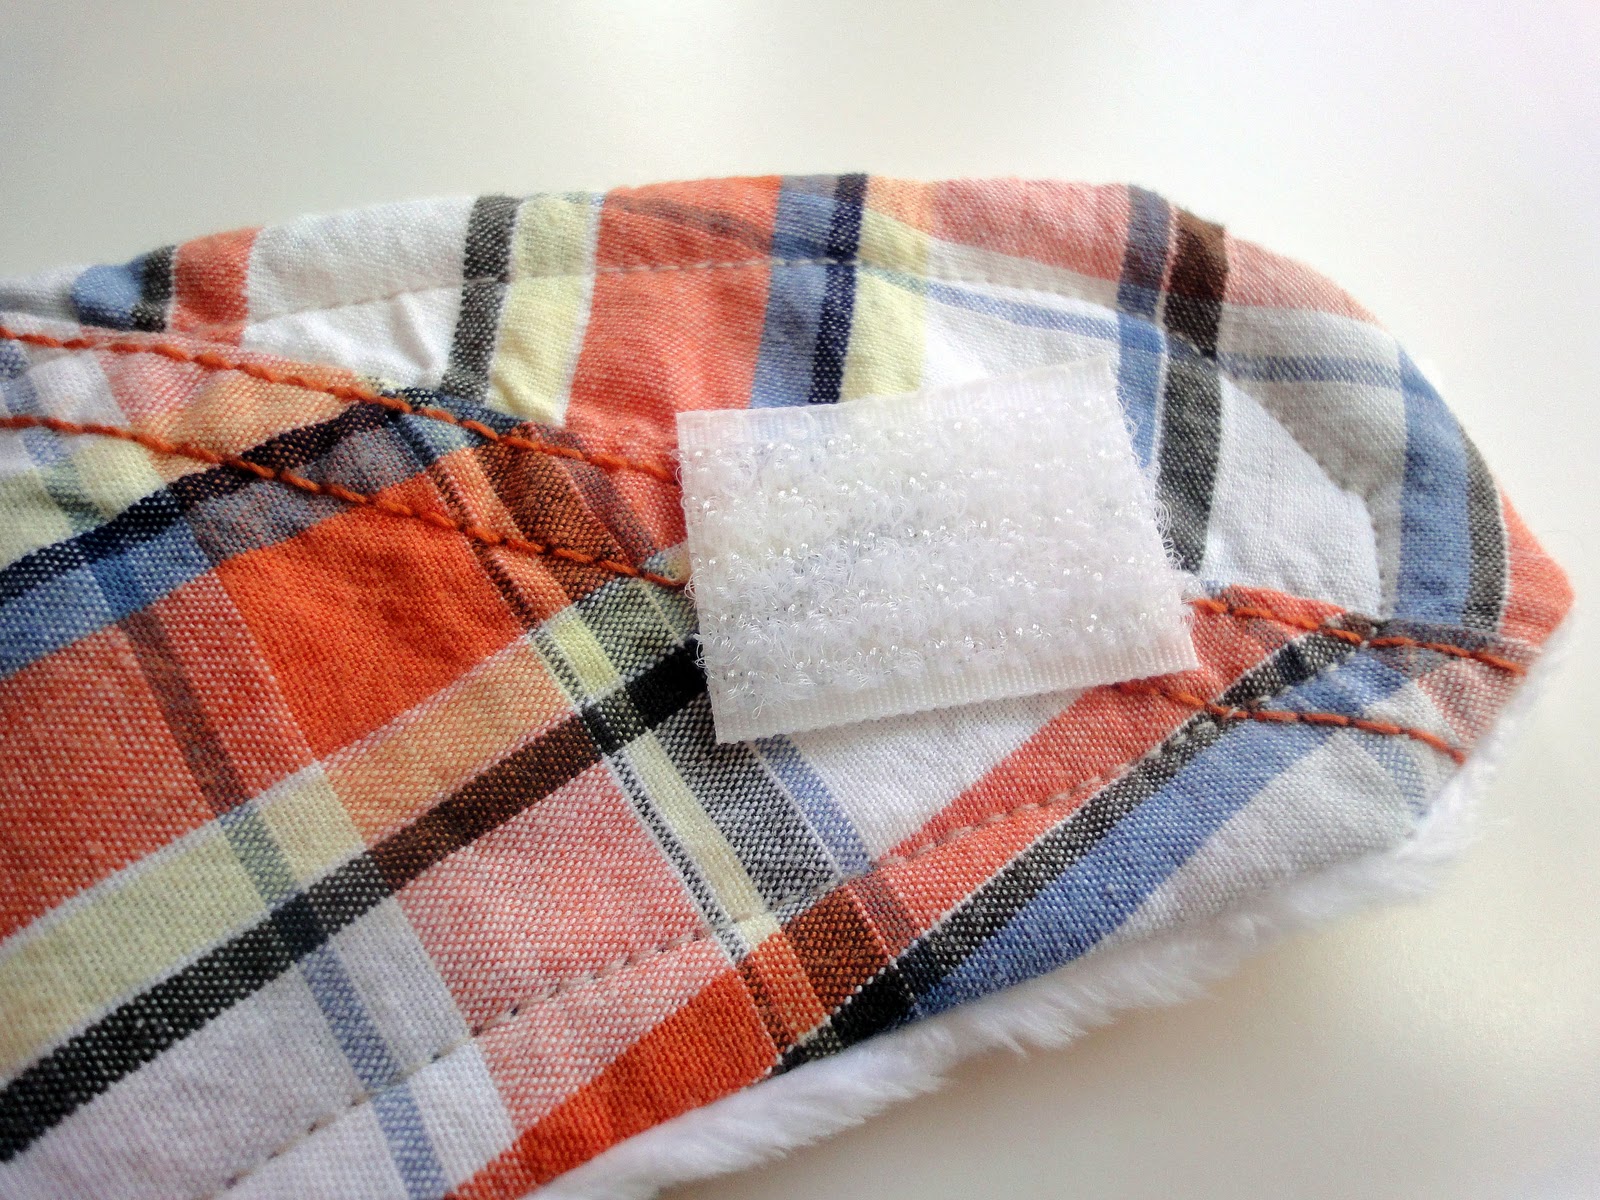
14. Then, sew around the edges of the velcro.
15. Place the other half of the velcro on top of the one you just sewed.
16. Overlap your straps and peel off the second piece of velcro (keeping it in place on the second strap of the bib). Sew this piece of velcro on like you did the first.
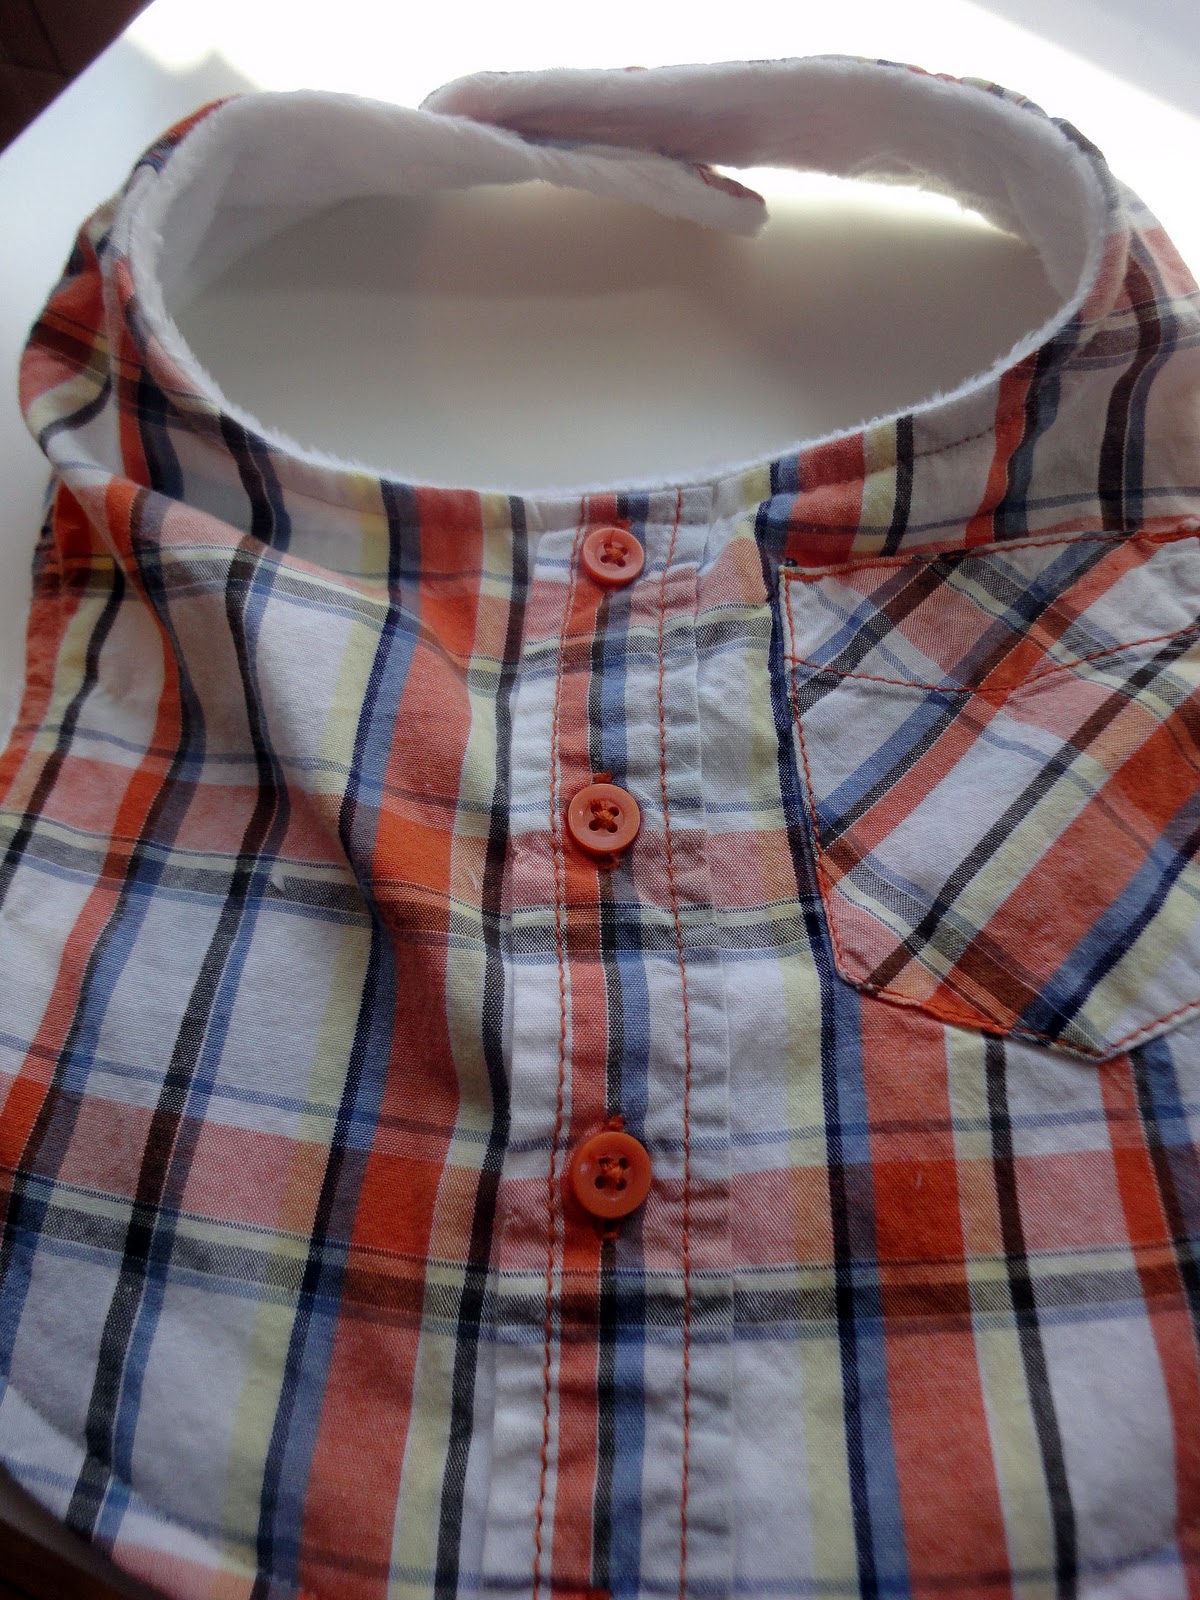
These make such great baby gifts!
Please use this tutorial for personal use only. Do not sell these bibs.
Come visit me to find lots of tutorials like…