A Little Tipsy

Creative Tips & Ideas

  • home
  • About Me
  • the tipsy top
  • press
  • projects
  • contact me
[print_thumbnail_slider]

Pumpkin Pecan Loaf from Cooking with Ruthie

September 24, 2014 By Michelle Barneck Leave a Comment

Hi everybody… It’s Ruthie from Cooking with Ruthie.

I hope you’re having a totally fabulous morning and Happy Autumn! Oh my. It’s Pumpkin season and that’s one of the BEST times of the whole entire year 🙂

My Pumpkin Pecan Loaf with Orange Glaze will put you in the mood for some fall baking for sure! Yummmm.


Pumpkin Orange Pecan Loaf on www.cookingwithruthie.com

You maybe thinking that pumpkin and orange isn’t supposed to go together but I’m here to tell you that in these little loaves- it’s magic.

Delightful. You’ve just gotta give them a try and then you’ll see exactly what I mean 🙂 Everyone that sampled them could nothing but rave about how much they liked the pairing.


Pumpkin Orange Pecan Loaf
Recipe Type: Bread
Author: Ruthie
Prep time: 20 mins
Cook time: 50 mins
Total time: 1 hour 10 mins
Serves: 2
Ingredients
  • 3 eggs
  • 1 (15oz) can pumpkin puree
  • zest of one orange (approx 3 Tbsp)
  • juice of one orange (approx 1/2 C)
  • 1 1/2 C sugar
  • 1/4 C canola oil
  • 3/4 C fat free vanilla greek yogurt
  • 1 Tbsp vanilla
  • 2 C flour
  • 1 tsp ground cloves
  • 2 tsp cinnamon
  • 1/2 tsp nutmeg
  • 1 1/2 tsp baking soda
  • 2 tsp baking powder
  • 1/2 tsp sea salt
  • 3/4 C pecans, chopped
  • Orange Glaze:
  • 1/4 C butter, softened
  • 2-3 C powdered sugar (depending on the thickness you desire)
  • 2 Tbsp orange zest (approx half an orange)
  • Juice of one orange (approx 1/2 C)
Instructions
  1. Preheat oven 350 degrees.
  2. Coat 2- 9×5 loaf pans or 4 mini loaf pans with cooking spray.
  3. In large mixing bowl combine eggs and sugar; cream.
  4. Add oil, orange juice, orange zest, greek yogurt, vanilla; mix to combine.
  5. Add all dry ingredients, mix until 80% incorporated.
  6. Add pecans, mix just until combined.
  7. Don’t over mix.
  8. Divide batter between loaf pans.
  9. Bake mini loaf pans 25-30, full size 45-50 or until toothpick inserted in center removes clean.
  10. Cool 5 minutes in pans, remove to cooling rack.
  11. Orange glaze:
  12. In a small mixing bowl, cream butter, add 1 C powdered sugar; mix.
  13. Add orange zest and orange juice; mix until creamy.
  14. Add remaining powdered sugar 1/2 C at a time until desired consistency is reached.
  15. Drizzle on cooled loaves and enjoy!
3.2.2807

*adapted from www.mountainmommacooks.com


Pumpkin Orange Pecan Loaf on www.cookingwithruthie.com

AND to inspire your Autumn Baking alittle bit more…

Pumpkin Pancakes with Caramel Syrup by www.whatscookingwithruthie.com

Pumpkin Pancakes with Caramel Syrup

www.cookinwithruthie.com

Apple Pumkin Strudel Muffins

Pumpkin Spice Whoopie Pies1

Pumpkin Spice Whoopie Pie with Nutella Cream Cheese

Enjoy the Pumpkin Season with all of these yummyilicous recipes!

I hope you have a fabulous day and thanks so much for having me over to visit.. I’d love to have you stop by anytime over at my place.

Catch up with me at www.cookingwithruthie.com or on Pinterest, Google+, Facebook, Twitter and Instagram.

Happy Baking!

xoxo~ Ruthie

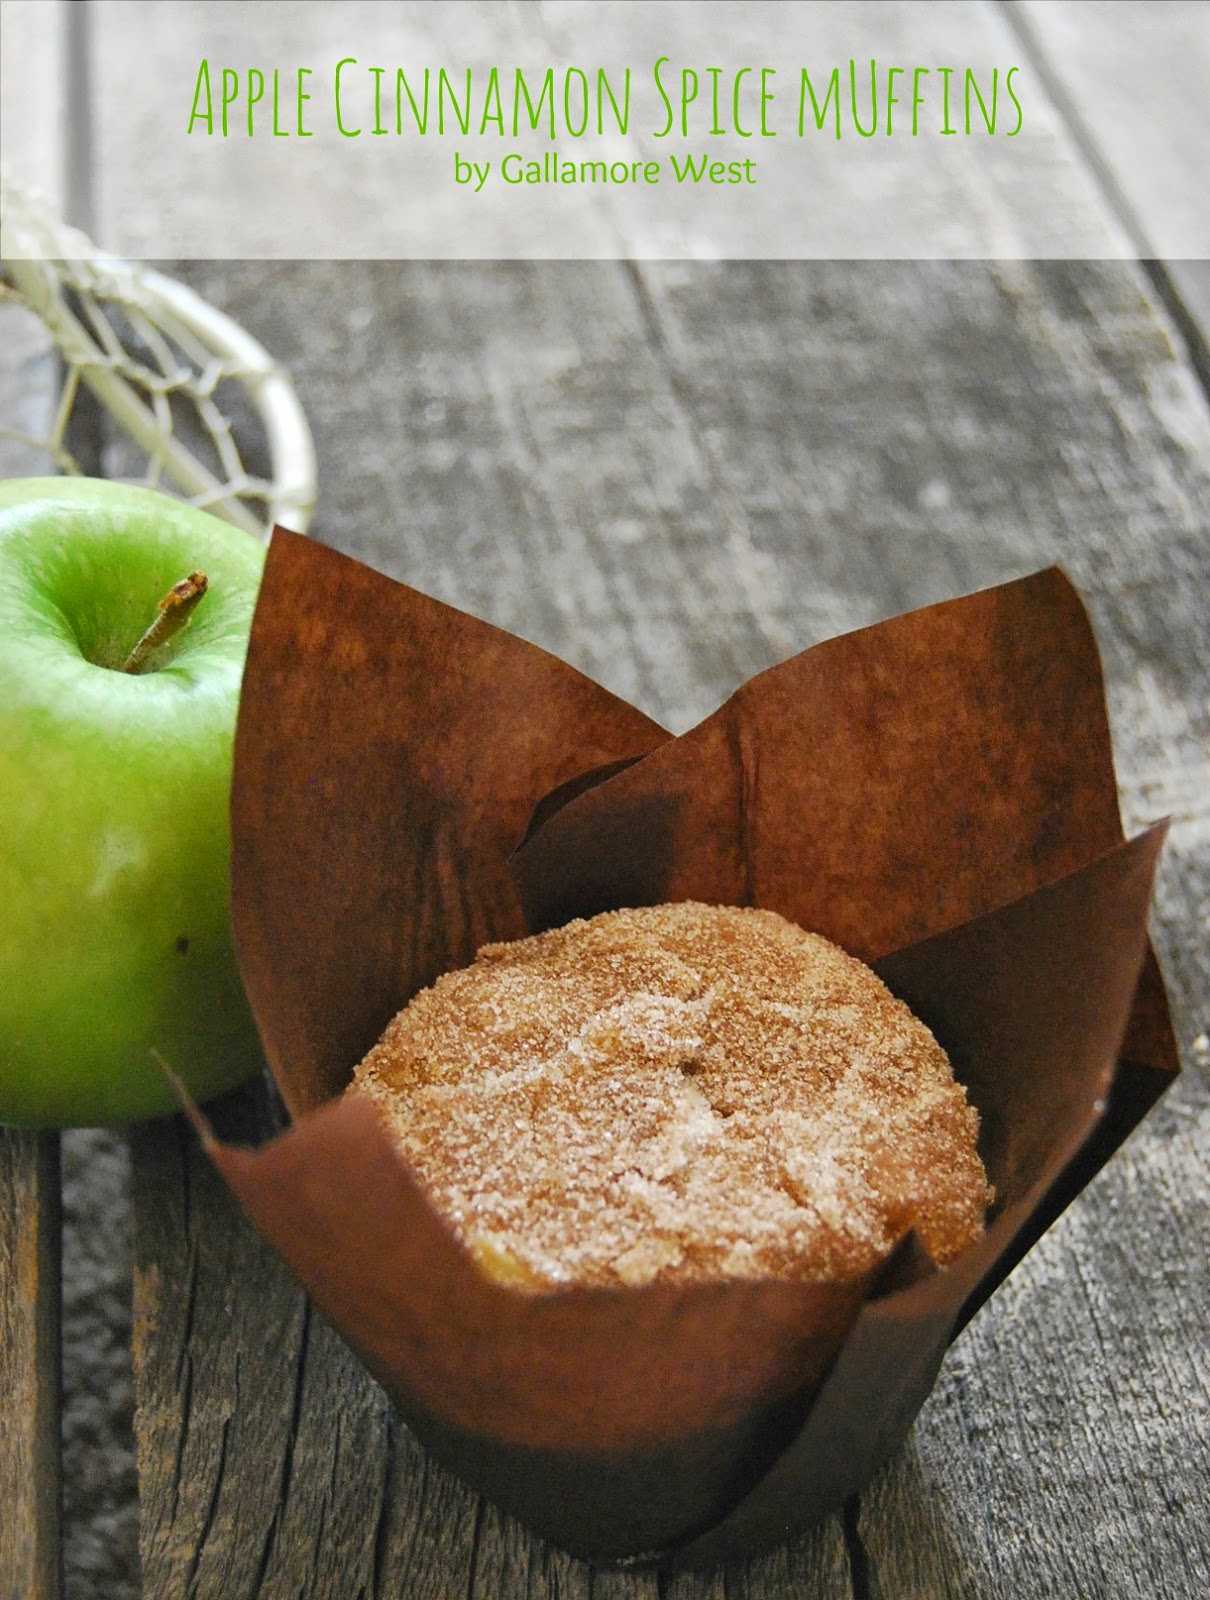
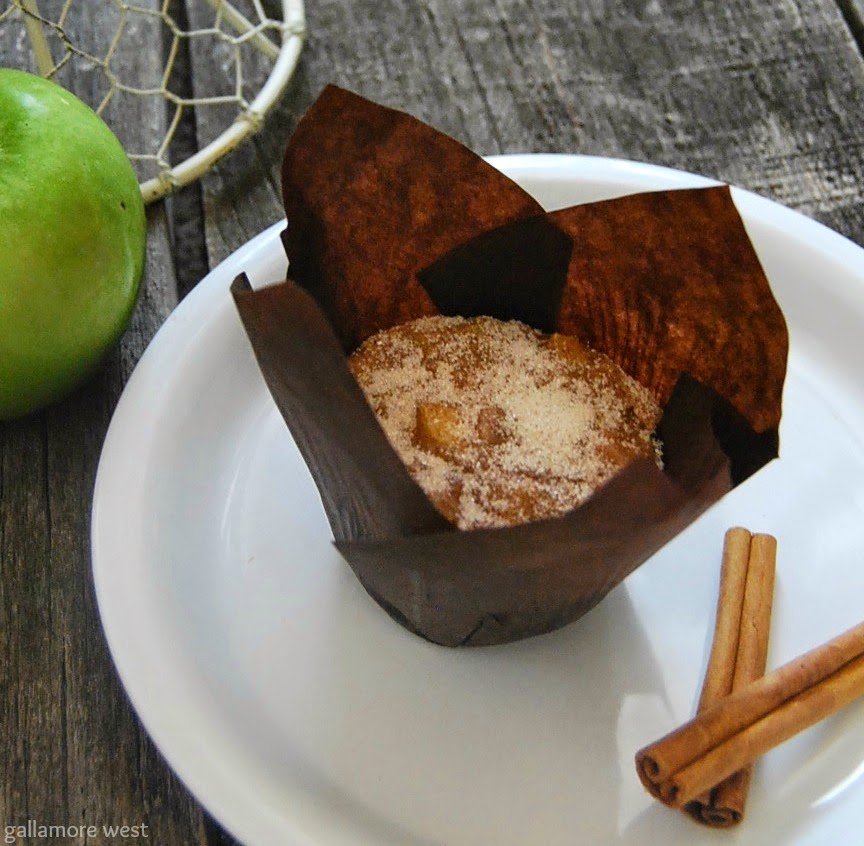
Apple Cinnamon Muffins with Gallamore West

September 19, 2014 By Michelle Barneck Leave a Comment

Hi, I’m Laurie and I blog at Gallamore West.  I’m a mom of four little boys and I blog about sweet recipes, fun crafts, and ways to make lasting memories with our kids.  I’m thrilled to be here at A Little Tipsy today while Michelle hangs out with her newest little adorable man!  I had been following Michelle in the online world for awhile, but we met in person at a blogging conference in Utah in the spring and she is a sweetheart, and a fellow member of the “Boy Mom” Club!  
 
I’m excited to share my recipe for Apple Cinnamon Muffins with you today because they are delicious and fairly healthy too.  They’re sweet enough to satisfy that darn sweet tooth of mine, but healthy enough to make me feel like I’m being a good mom when I make them for our boys for breakfast.


Apple Cinnamon Spice Muffins
 
1/4 cup unsalted butter, melted
1/2 cup apple sauce
1/4 cup white sugar
2/3 cup packed light brown sugar
2 eggs
1/3 cup milk
2 teaspoons vanilla extract
1/4 teaspoon baking powder
1 teaspoon baking soda
1/2 teaspoon salt
1 1/2 teaspoon cinnamon
1/4 teaspoon ground nutmeg
2 cups all-purpose floor
1 1/2 cups peeled & diced Granny Smith apples
 
1/4 cup white sugar
2 teaspoons cinnamon 
 
Preheat oven to 350 degrees and prepare muffin tin with paper baking papers, or spray with nonstick spray.  Pour apple sauce, sugars, and melted butter into bowl of stand mixer to combine.  Add in eggs, one at a time, until smooth.  Slowly add in milk and vanilla.  Set aside.  In a large bowl, whisk together all dry ingredients.  Slowly add the wet ingredients into the dry ingredients, and stir just until combined.  Fold in the peeled, diced apples.  Fill paper liners about 2/3 full.  In a small bowl, stir together the 1/4 cup white sugar & the cinnamon.  Sprinkle each muffin with cinnamon and sugar mixture.  Bake for 20 minutes.  Remove muffins from tin carefully and cool completely on a wire rack.   Store in an airtight container for up to 4 days.  Enjoy!  


I’d love to have you stop by Gallamore West to see what else I’ve been up to.  Here are a few of my Fall Favorites…
 
Pumpkin Cream Cheese Muffins


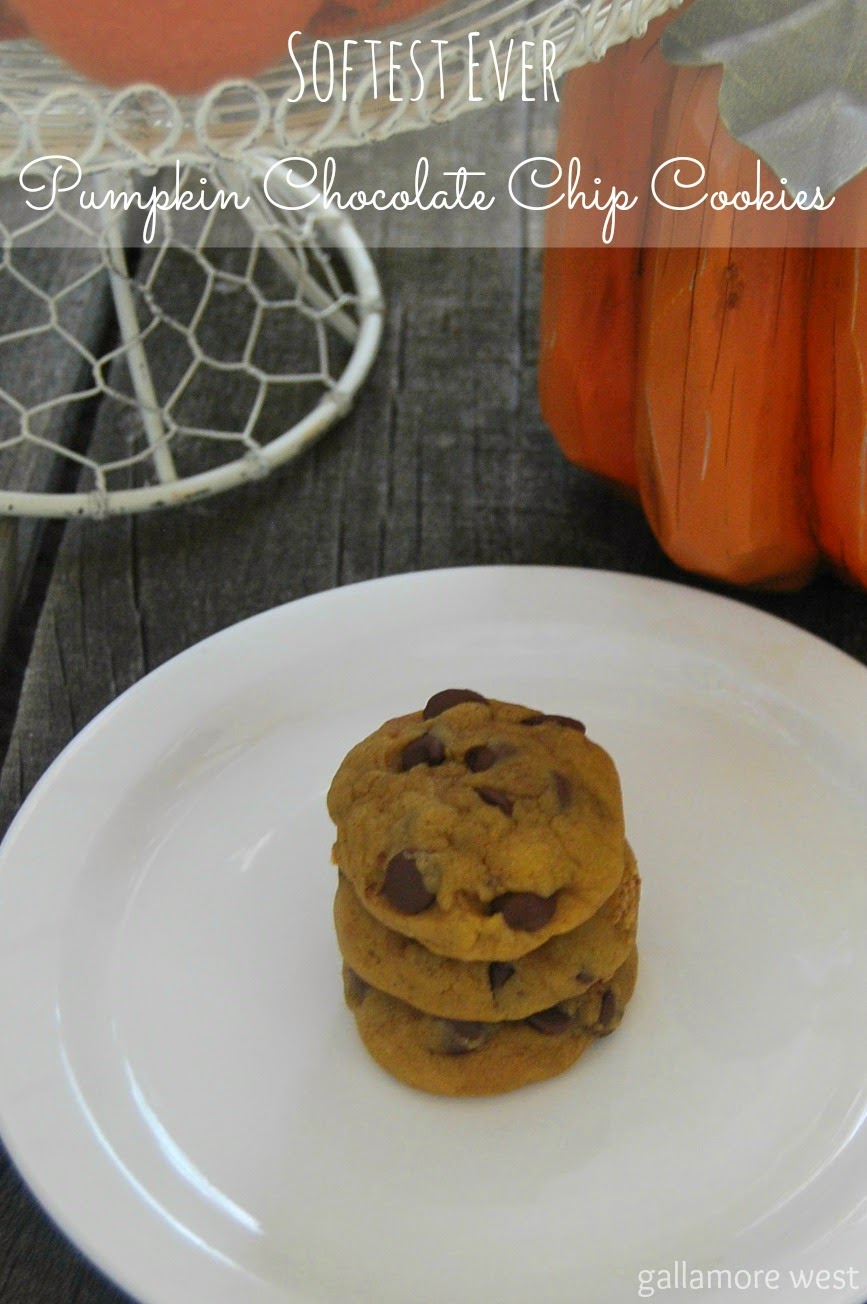
Softest Ever Pumpkin Chocolate Chip Cookies
 
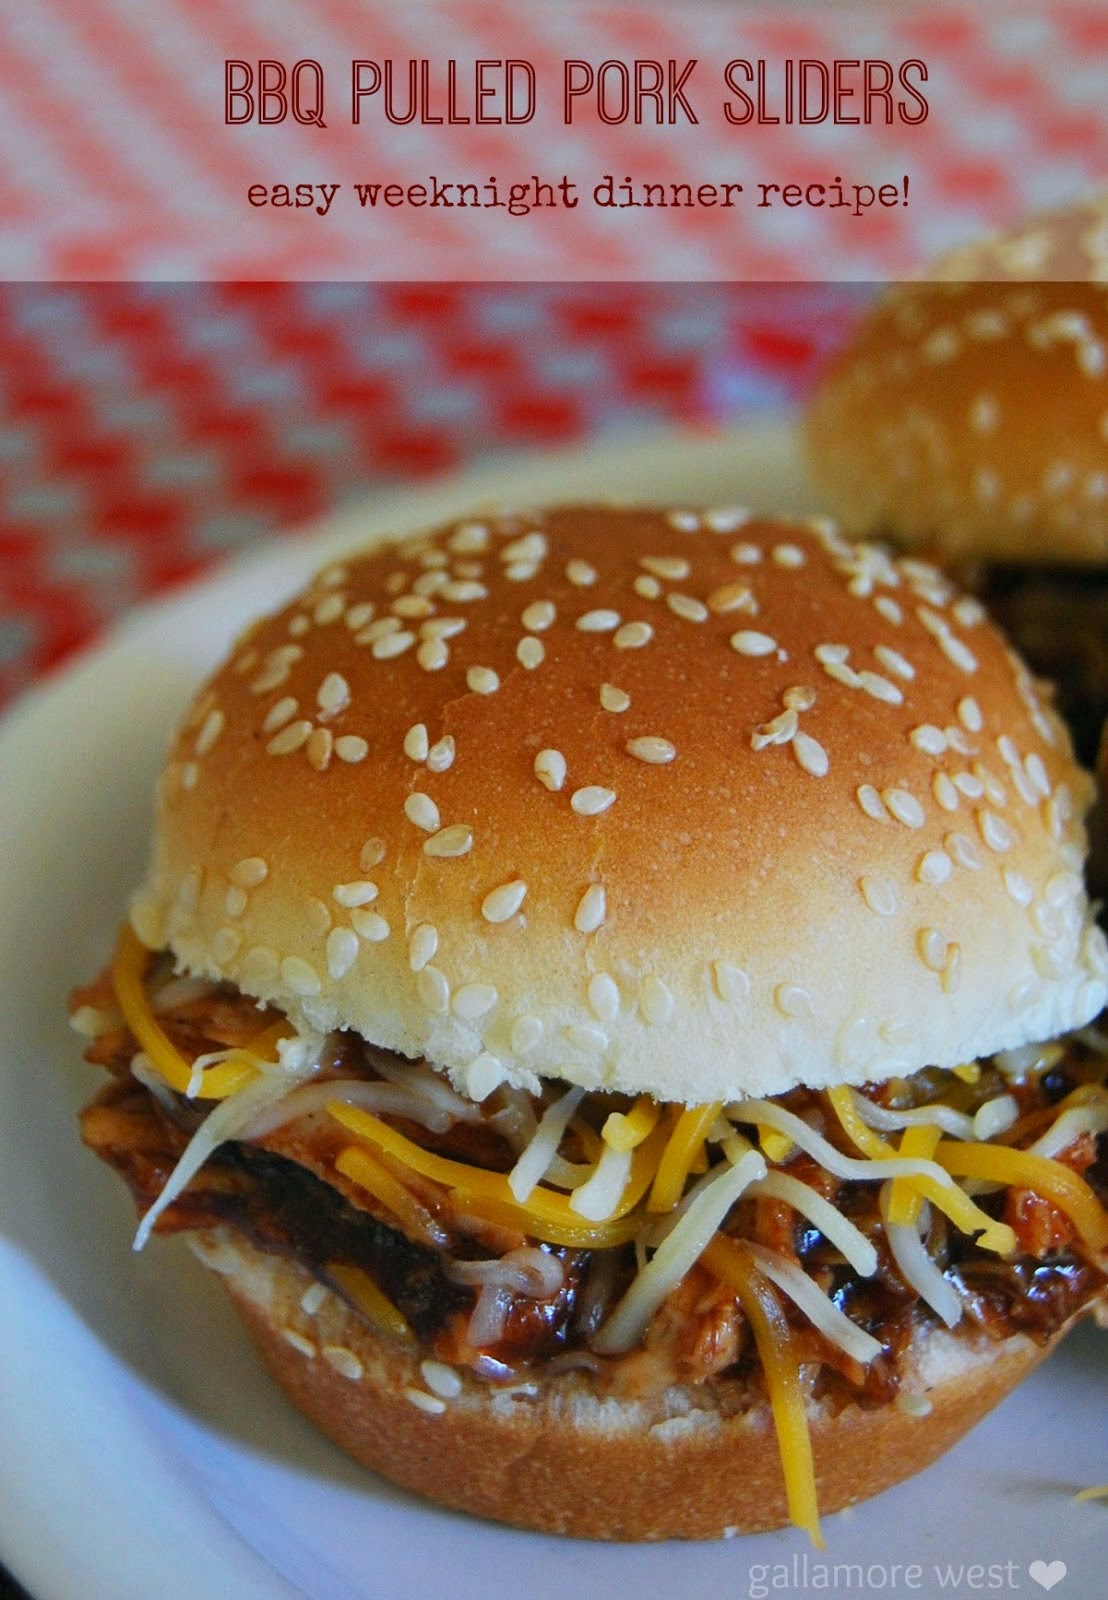
BBQ Pork Sliders


Chocolate Banana Twinkie Cake with Today’s Creative Blog

September 8, 2014 By Michelle Barneck Leave a Comment

Hello everyone, I’m filling in for Michelle while she snuggles on that baby! I’m Kim from Today’s Creative Blog and InspirationDIY.com where I share all things creative and inspiring. I love sharing practical ways to decorate your home, like my son’s teen bedroom or delicious Crockpot meals for my Slow Cooker Sunday’s.

No Bake Chocolate Banana Twinkie Cake

Today I’m sharing a super easy NO Bake Chocolate Banana Twinkie Cake. “Easy” and “No Bake” are sometimes the best words you’ll ever read when searching for a dessert recipe. No Bake Twinkie Cake | TodaysCreativeBlog.net

I have a teen son who is always hungry. Always! It’s not uncommon to have 3 or 4 teen boys roaming around our home and it’s best if I keep them fed. I usually try to offer something with a little nutrition, but there are times, they just want good ole American junk food. This is when Twinkies come in.

Boys can put away a box of Twinkies in about 5 minutes, so I figured they would also enjoy this no bake cake. It is SO easy to put together, perfect if you’re in a pinch for dessert and it’s pretty tasty.

How to Make a No Bake Chocolate Banana Twinkie Cake

All you need is a small box of chocolate pudding (I used cook and serve, but instant would work too), a box of Twinkies, banana’s and whipped cream.

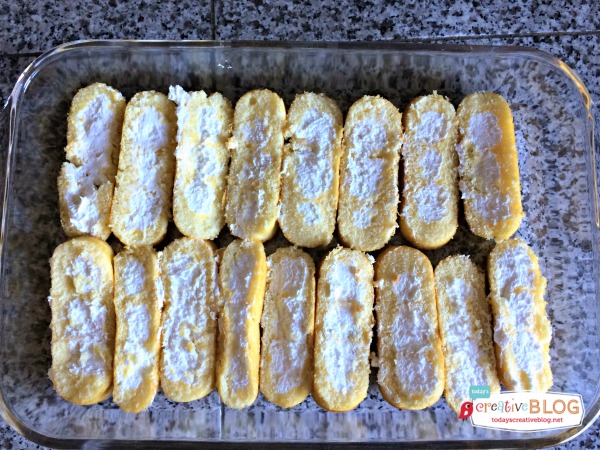
Using a 9 x 13 in baking dish, I started by unwrapping about 9 or 10 Twinkies, then cutting them in half.

No Bake Twinkie Cake | TodaysCreativeBlog.net


Lay them in your pan, creamy side up.

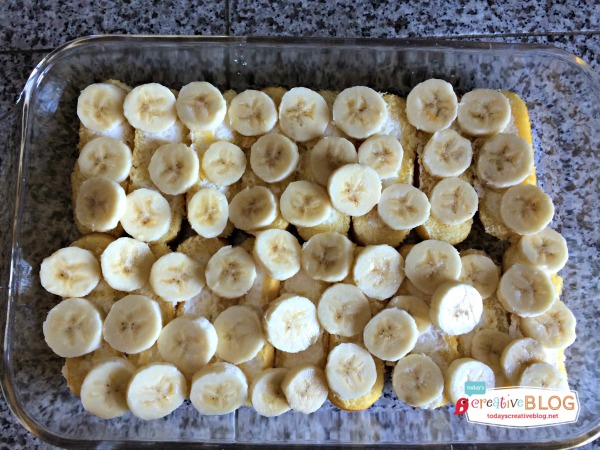
Add Banana’s – I slices up 3 large banana’s and placed them on top of the Twinkies. This is where I couldn’t decide if I wanted to put the pudding first, then the banana’s…..either way would work and since my pudding was still cooling, I went ahead and assembled my banana’s.

No Bake Twinkie Cake | TodaysCreativeBlog.net

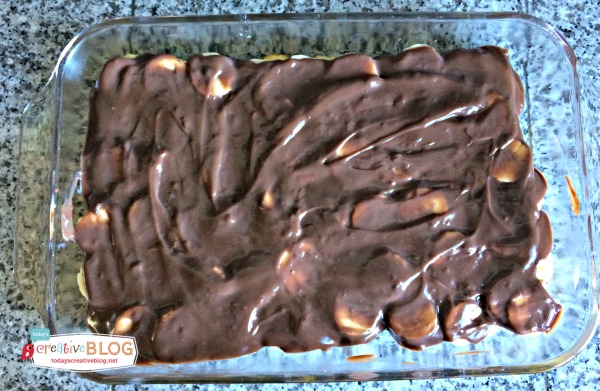
Add Pudding – Once my pudding was finished, I poured it over the banana’s and Twinkies. Then place in your fridge to cool. I didn’t let it cool because I had teen boys ready to eat.

No Bake Twinkie Cake | TodaysCreativeBlog.net

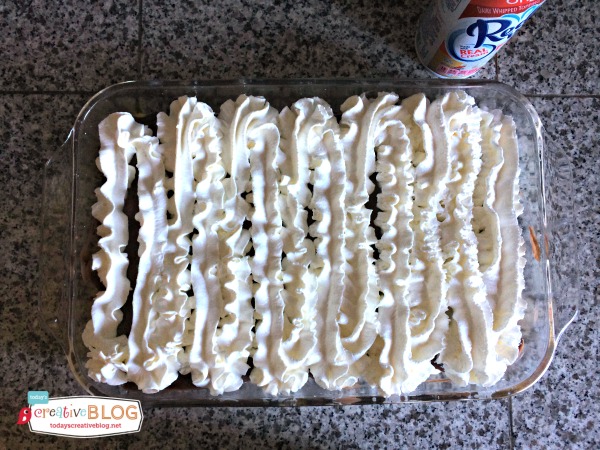
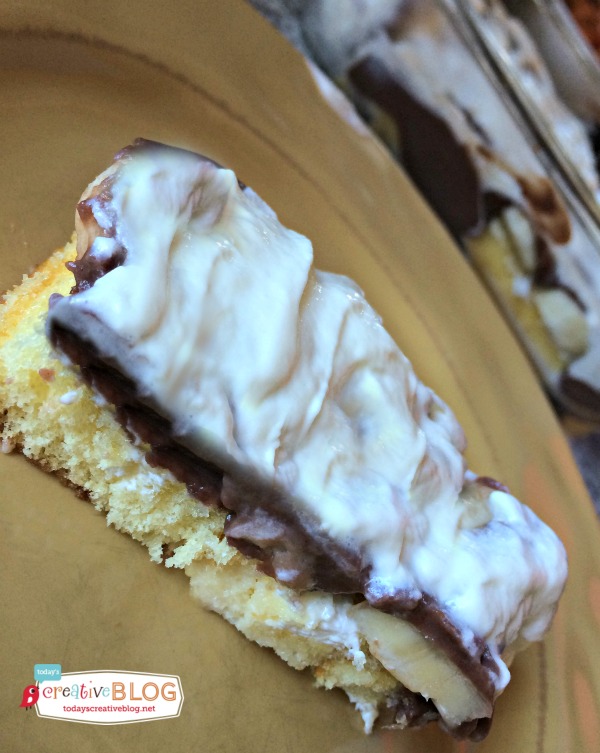
When you don’t let it cool, the whipped cream kinda melts……..but guess what? Teen boys could care less.

No Bake Twinkie Cake | TodaysCreativeBlog.net

I thought about making real whipped cream, but again……the spray whip was so much faster and I knew they wouldn’t appreciate the difference. I sprayed the entire can over the pudding and should have placed it back in the fridge, but my son had a spatula out and ready. So I handed it over, but did beg for a quick photo.

It’s not pretty, but it was pretty good. You can see that the whipped topping was starting to melt.

No Bake Twinkie Cake | TodaysCreativeBlog.net

Had I been making it for any other occasion, I would have been more patient to let the pudding cool. Using instant would have been a good choice.

No Bake Chocolate Banana Twinkie Cake

  • 9 – 10 Twinkies
  • 1 small box of cook and serve or instant chocolate pudding.
  • 3 large banana’s
  • 1 spray can whipped cream. (cool whip or whipped cream works too)

Cut Twinkies in half and assemble in a 9 x 13 baking dish with the creamy side up. Layer banana’s over the Twinkies. Spread pudding over the banana’s and Twinkies. Let it cool if you’re using the cook and serve type. Once it’s cool, add whipped cream to the top.

Cut and enjoy!

divider

For more inspiration, join Kim over at Today’s Creative Blog or InspirationDIY.com

Like Pinterest? Kim’s got some rockin Pinterest boards!

Today's Creative Blog

Cinnamon Swirl Cake with Simply Kierste

September 1, 2014 By Michelle Barneck 3 Comments

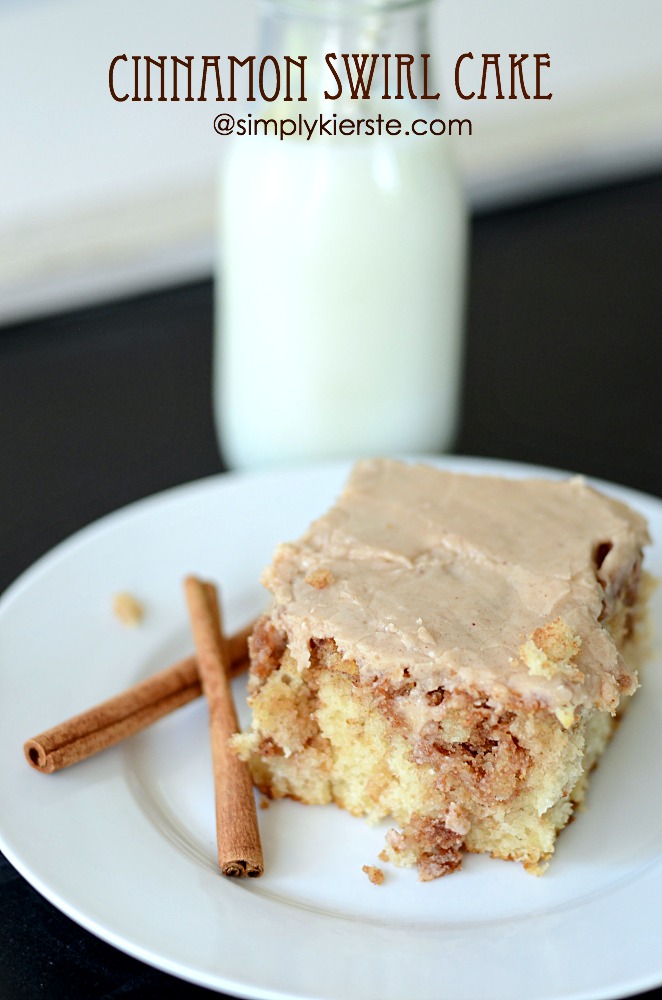
Hello, friends! I’m Kierste, from Simply Kierste, and I’m delighted to be here with you today! Fall is my ABSOLUTE favorite season, and after recently moving to upstate New York, I’m even more excited. I love the crisp mornings, cozy sweaters, vibrant leaf colors, pumpkin patches, cider mills, and of course, the yummy food. Today I’m sharing one of our family’s all-time favorite fall recipes, Cinnamon Swirl Cake. You are going to love me (or hate me, because you’re going to want to eat it all!) for this!

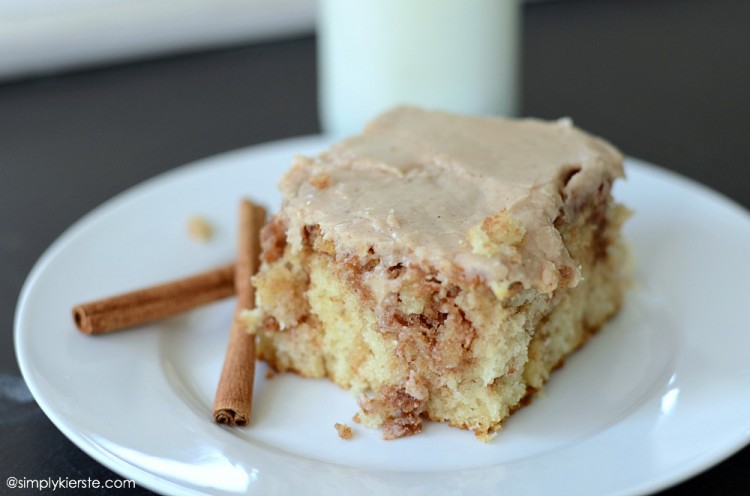
Cinnamon Swirl Cake | simplykierste.comSeriously, it is SO good. Bits of cinnamon & sugar are swirled around inside the moist, buttery cake, and it’s topped with a creamy cinnamon buttercream frosting that I could eat with a spoon. (And I may or may not have done that before…)

This cake is very similar to a coffee cake, and could be served at brunch, or for dessert. It’s always a hit wherever I take it, and recipe It’s also a recipe that works well with gluten-free flour. I’ve served it numerous times that way, and no one was the wiser!

This really is the perfect cake for fall, and the entire holiday season. I love to serve it on the weekends for breakfast, and it’s also a yummy breakfast on Christmas morning. You really can’t go wrong serving this cake…anytime!

Cinnamon Swirl Cake | simplykierste.com

Cinnamon Swirl Cake
Recipe Type: Dessert, Breakfast
Author: Simply Kierste
Ingredients
  • 3 c. flour
  • 1 c. sugar
  • 4 tsp. baking powder
  • 1/4 tsp. salt
  • 2 eggs
  • 2 tsp. vanilla
  • 1 1/2 c. milk
  • 1/2 c. melted butter
  • 1/2 c. melted butter (Yes, another one! Keep them separate.)
  • 2/3 c. brown sugar
  • 1 T. flour
  • 1 T. cinnamon
  • Cinnamon Buttercream Frosting
  • 4 c. powdered sugar
  • 1/2 c. butter, softened
  • 1-2 T. milk
  • 1/2 T. cinnamon
  • 1 tsp. vanilla
  • dash salt
Instructions
  1. Mix the flour, sugar, baking powder, and salt. Add the eggs, vanilla, milk, and 1/2 c. melted butter, and mix well. Pour into a greased 9×13 pan. Melt the second 1/2 c. butter, and stir in the cinnamon, flour, and brown sugar. Pour on top of the cake and swirl through with a butter knife. Bake at 375 degrees for 20-25 minutes, or until done through.
  2. While it’s baking, make the Cinnamon Buttercream Frosting! Place the powdered sugar and softened butter in a large mixing bowl. Beat with a hand mixer, adding the milk a little bit at a time until you get the right consistency. Add the vanilla and salt, mix well. Mix in the cinnamon.
  3. Frost the cake as soon as it comes out of the oven!
  4. ENJOY!!

Thank you so much for having me, I’m happy to meet you! Come on by Simply Kierste and say hello, I’d love to have you! I’m sharing lots of ideas for the holidays, yummy recipes, organization tips and ideas, home decor and DIY projects, tons of free printables, family ideas and more!
Halloween Ideas | simplykierste.com
Striped & Polka Dot Pumpkins // Halloween Book Countdown // You’ve Been Boo’ed Free Printables // Halloween Treat Jars

About the Author: Kierste is the girl behind the blog Simply Kierste, where she shares her love for all things creative and DIY. When she’s not chasing around two sets of twins, a teenager, and a baby, she’s working on a project, training for her next race, reading one of her favorite books, or baking something with chocolate in it. Please add her to your Google circles. You can also find her on Facebook, Pinterest, and Twitter.
« Previous Page
Next Page »

  • Bloglovin
  • Facebook
  • Google+
  • Instagram
  • Pinterest
  • RSS
  • Twitter

Hi there! I'm Michelle. Mother of three little boys and one little princess. Welcome to A Little Tipsy, a place for exploring creativity and sharing inspiration.

Follow on Bloglovin


Visit Michelle Barneck {A Little Tipsy}'s profile on Pinterest.

Tutorials by Category


15 Family Reunion Games

Family Reunion Games Collage

15 Sprinkle Party Ideas

Sprinkle Birthday Party
Creative Commons License

© Copyright 2014 A Little Tipsy · Site Designed by The Fairy Blogmother · Web Hosting by RFE Hosting

This website uses cookies to improve your experience. We'll assume you're ok with this, but you can opt-out if you wish.Accept Read More
Privacy & Cookies Policy