A Little Tipsy

Creative Tips & Ideas

  • home
  • About Me
  • the tipsy top
  • press
  • projects
  • contact me
[print_thumbnail_slider]

Apple Cinnamon Muffins with Gallamore West

September 19, 2014 By Michelle Barneck Leave a Comment

Hi, I’m Laurie and I blog at Gallamore West.  I’m a mom of four little boys and I blog about sweet recipes, fun crafts, and ways to make lasting memories with our kids.  I’m thrilled to be here at A Little Tipsy today while Michelle hangs out with her newest little adorable man!  I had been following Michelle in the online world for awhile, but we met in person at a blogging conference in Utah in the spring and she is a sweetheart, and a fellow member of the “Boy Mom” Club!  
 
I’m excited to share my recipe for Apple Cinnamon Muffins with you today because they are delicious and fairly healthy too.  They’re sweet enough to satisfy that darn sweet tooth of mine, but healthy enough to make me feel like I’m being a good mom when I make them for our boys for breakfast.


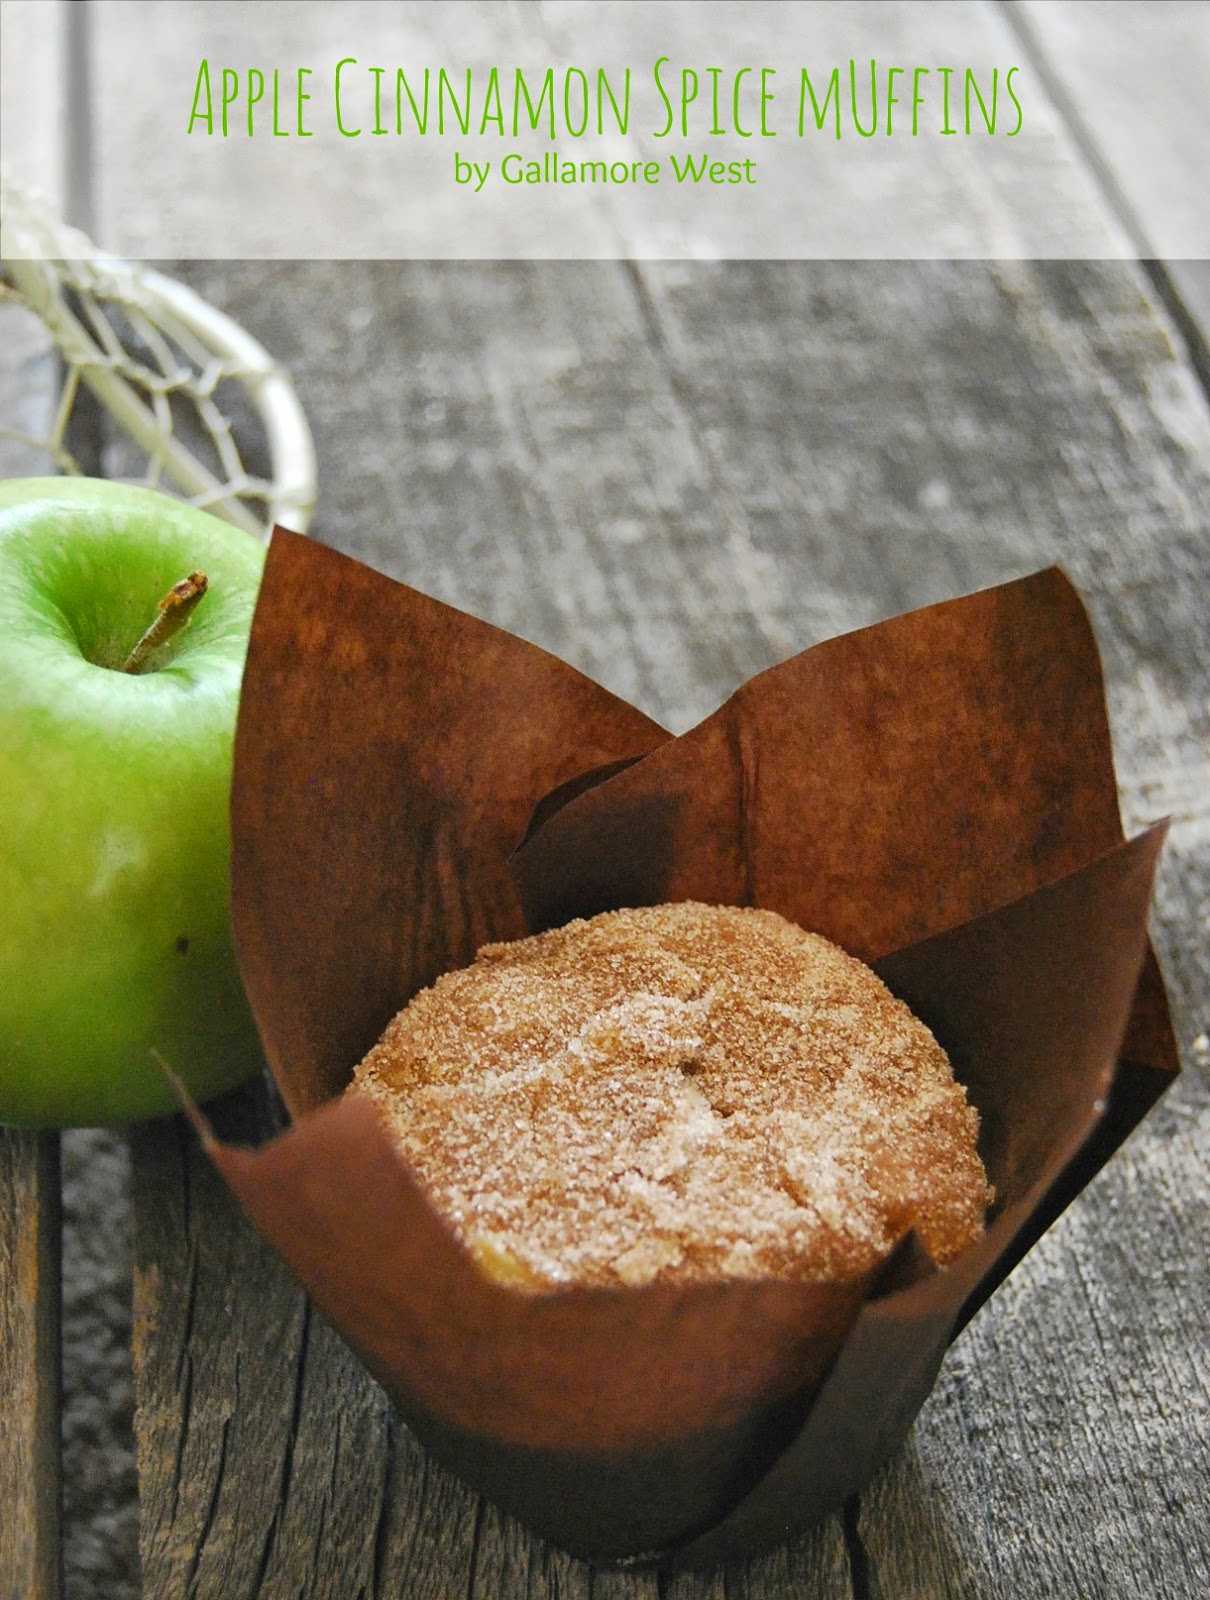
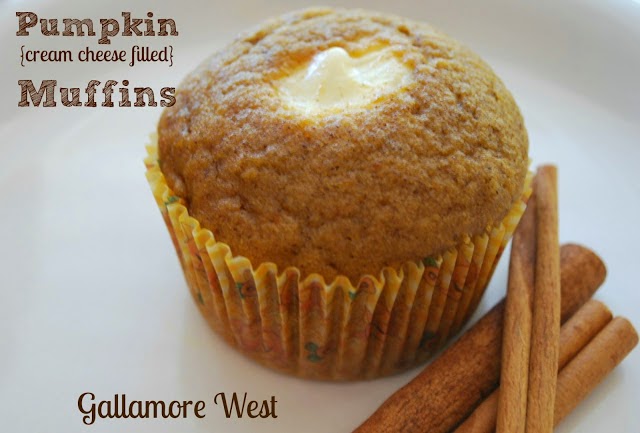
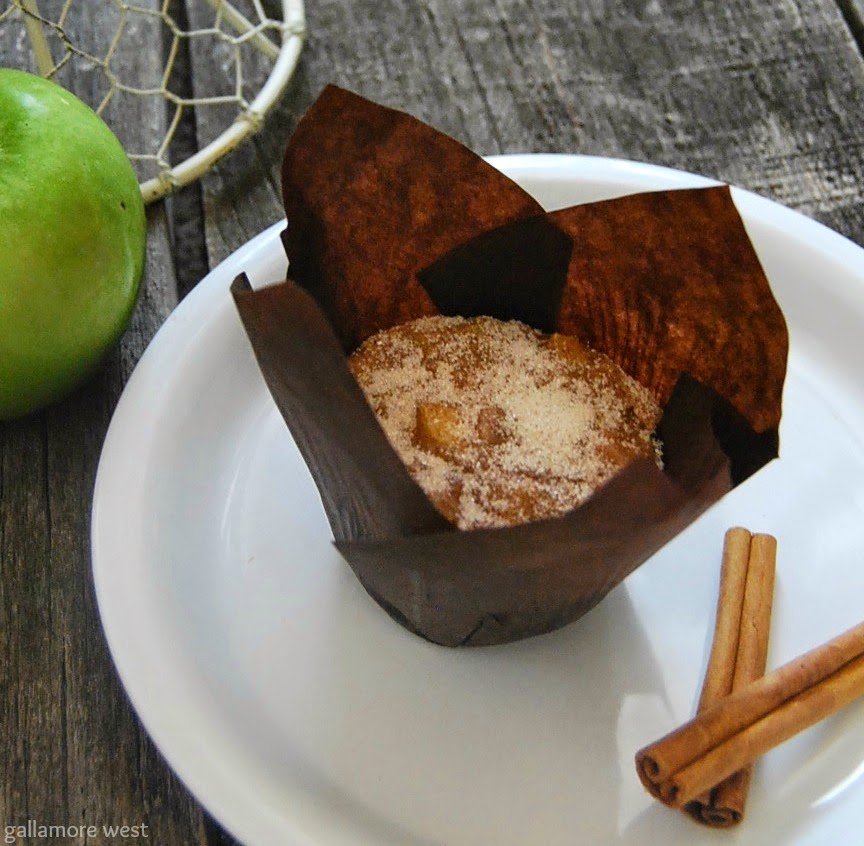
Apple Cinnamon Spice Muffins
 
1/4 cup unsalted butter, melted
1/2 cup apple sauce
1/4 cup white sugar
2/3 cup packed light brown sugar
2 eggs
1/3 cup milk
2 teaspoons vanilla extract
1/4 teaspoon baking powder
1 teaspoon baking soda
1/2 teaspoon salt
1 1/2 teaspoon cinnamon
1/4 teaspoon ground nutmeg
2 cups all-purpose floor
1 1/2 cups peeled & diced Granny Smith apples
 
1/4 cup white sugar
2 teaspoons cinnamon 
 
Preheat oven to 350 degrees and prepare muffin tin with paper baking papers, or spray with nonstick spray.  Pour apple sauce, sugars, and melted butter into bowl of stand mixer to combine.  Add in eggs, one at a time, until smooth.  Slowly add in milk and vanilla.  Set aside.  In a large bowl, whisk together all dry ingredients.  Slowly add the wet ingredients into the dry ingredients, and stir just until combined.  Fold in the peeled, diced apples.  Fill paper liners about 2/3 full.  In a small bowl, stir together the 1/4 cup white sugar & the cinnamon.  Sprinkle each muffin with cinnamon and sugar mixture.  Bake for 20 minutes.  Remove muffins from tin carefully and cool completely on a wire rack.   Store in an airtight container for up to 4 days.  Enjoy!  


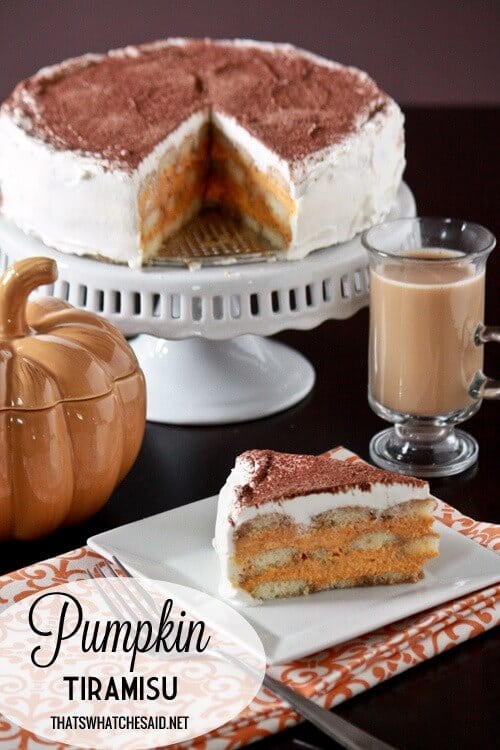
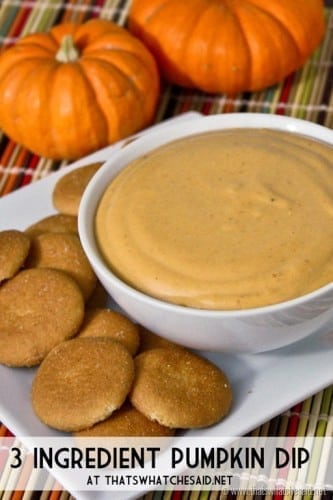
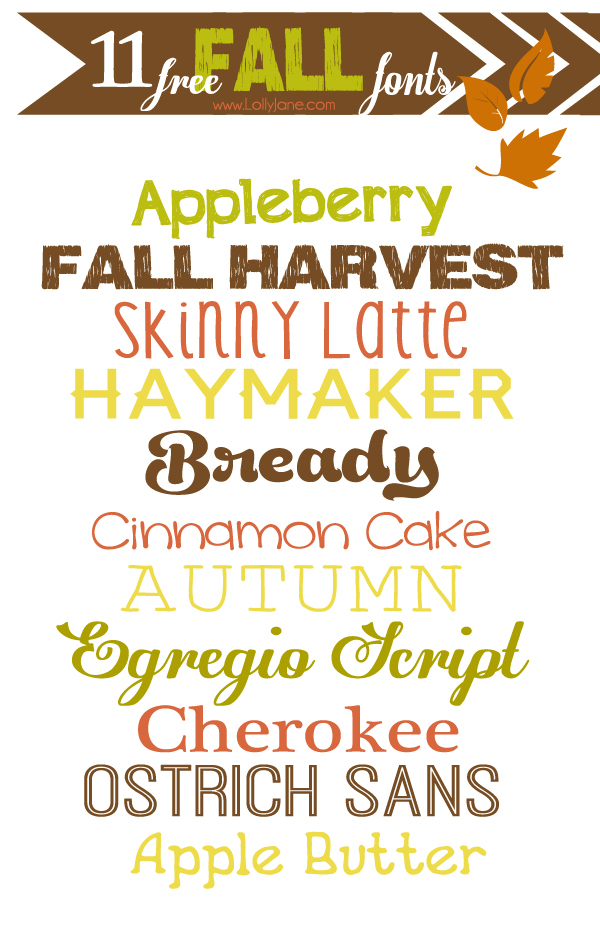
I’d love to have you stop by Gallamore West to see what else I’ve been up to.  Here are a few of my Fall Favorites…
 
Pumpkin Cream Cheese Muffins


Softest Ever Pumpkin Chocolate Chip Cookies
 
BBQ Pork Sliders


Burlap Table Runner from Ameroonie Designs

September 17, 2014 By Michelle Barneck Leave a Comment

Hi friends from A Little Tipsy!  I’m Amy and I blog over at Ameroonie Designs.  I’m so glad to be here today while Michelle welcomes her new little baby- what a wonderful (and challenging) time of life!

Today I’m here to share with you a tutorial for this simple burlap table runner.

To get started you will need a piece of burlap and some ribbon.  I purchased this printed burlap from Joann Fabric, but you can find it many places, even Walmart.  You will want to purchase just a bit more burlap than you think you need so you will have room to trim the edges and account for fraying.  I used a variety of ribbons, using different widths and types, but you can use whatever you want.  The only other things you will need are scissors and a sewing machine (optional).

When you lay out your burlap you will probably notice that it is fraying and uneven on the cut side.  In this picture you will note that the right side is the cut side.  We want to make sure our runner is even and we also want to reduce the fraying and loose threads that are so common with burlap.

To do this, you are going to decide how wide you want your piece of burlap.  (again, add just a bit extra because it will still fray just a bit in the next steps)  At the determined width, you are going to select one strand of fiber and begin to pull on it.  The burlap piece will begin to gather.  You will gently continue to pull this fiber, sliding the rest of the fabric down and loosening the gathers until you have removed the entire piece.  If the fiber breaks, just track down the end of it that is still in the fabric and use a pin or other pointy tool to weave it out of the fabric until you have a piece large enough to pull again.

When you are finished, you will have a channel in the fabric that looks like this.  You will take your scissors and cut along this line.  Repeat for any other sides of your runner that need to be squared up.

Now we are ready to add some color and interest to our runner with ribbon.  Decide where you want your first ribbon to be on the runner and lay it across the burlap fabric.  Pull a fiber on either side of your ribbon, this will create the beginning and ending marks for your channel.  Pull all the fibers between the beginning and ending marks.

Weave your ribbon through the fibers in the channel.  You can choose how many fibers remain on top of the ribbon and how many go underneath.  I adjust the numbers for each ribbon, but if you want a more uniform look, you can keep it the same for all of them.  Once you have all the ribbons in place on one side, start  on the second.  To determine where the first ribbon goes, you can either count how many fibers from the end the ribbon starts and count up on the second side, or you can fold over the runner as I did and get a close estimate and just go from there.  This runner is meant to be casual so I’m not too worried about precision, but if you are making a more formal runner, you may want to actually count or measure this part.  Add your remaining ribbons.

As you are adding  your ribbons, you may inadvertently pull a few fibers from the edge of your piece.  This is why we added a bit of extra width, so we would end up with the size runner we wanted.  In order to keep this from continuing to happen, I like to take my runner and sew a zig zag stitch all the way around the runner to hold the ribbons and fibers in place.  Then I trim the edges of the runner so they are even.  If you want a frayed edge to your runner, pull the fibers you want before you do this final step, as it locks the fibers and makes them much more difficult to fray.

In this runner, I left just a bit of the edges frayed and trimmed the rest off.  Now, you can sit back and enjoy your runner.

And for more fall inspired goodies, you can check out my Batty Felt Pillow here.

And if you’re really loving burlap, I have a fun place mat tutorial here.
I hope you’ll join me over on Ameroonie Designs for chats on motherhood, crafty ideas and lots of fun!


Wine Cork Pumpkin with That’s What {Che} Said

September 15, 2014 By Michelle Barneck 7 Comments

Hello everyone! I’m Cheryl! I live over at That’s What {Che} Said…

Facebook Twitter Pinterest Instagram Google+ RSS Bloglovin That's What {Che} Said... About Cheryl About Image Map

I just had my third boy this past July so I am extra thrilled to be here while Michelle gets to spend some extra time with her new little man! Today I am sharing this really easy and fun wine cork pumpkin project!

Cork Pumpkin Project at thatswhatchesaid.com

Supplies Needed:

  • 34 Corks
  • Orange Paint
  • Green Scrapbooking Paper
  • Green Washi Tape
  • Thin Craft Wire
  • Raffia
  • Hot Glue Gun/Glue Sticks
  • Newspaper
  • Paper Plate
  • Scissors

Pumpkin 1

I started out by spreading out a sheet of newspaper, then I used a bit of orange paint and dabbed one end of the cork into to the paint. If it’s on too thick, simply daub the cork down a few times to remove the excess. Repeat this for all corks.

Pumpkin 2Pumpkin 3
Lay all the corks out on the newspaper to dry.

Pumpkin 4

While those are drying, I cut a few leaves from some scrapbooking paper/green cardstock.

Pumpkin 5

Once the corks are dry, start assembling with your hot glue. Start out with a row of 5 corks, next row is 6 corks, next row is 7 corks, then top with 6 cork layer, and then a 5 cork layer and finish with a 4 cork layer. Then I added another cork as the stem. You can also make a cute curly-Q with some washi tape and wire! You can find out how I made that stem here.

Pumpkin 6

Next I bent the paper leaves slightly to give them some dimension and glued them into place.

Pumpkin 7

Pumpkin 9

I thought it needed something else to finish it so I added a raffia bow by simply tying a string or two of raffia in a bow!

Pumpkin 8

Cork Pumpkin

There you have it! A super cute little pumpkin to adorn your mantel or table top! If you like this pumpkin project I welcome you to hop over and see how easy it is to make these cute Clay Pot Pumpkins!

Clay Pot Pumpkins at thatswhatchesaid.com

If you love pumpkin everything like I do then be sure to grab this Pumpkin Tiramisu Recipe

Pumpkin Tiramisu Recipe at thatswhatchesaid.com

or perhaps this all-time favorite Pumpkin Gooey Butter Cake Recipe or 3-Ingredient Pumpkin Dip. Both recipes scream fall!

Pumpkin Gooey Butter Cake 3 Ingredient Pumpkin Dip at thatswhatchesaid.com

My door is always open and I love to make new friends! Please stop by and say hello! I’d love to connect on social media as well! You can find me below!

Facebook Twitter Pinterest Instagram Google+ RSS BlogLovin Image Map


Fall Deer Printable with Lolly Jane

September 12, 2014 By Michelle Barneck 3 Comments

Hi there Tipsy friends! We are twin sisters Kristi and Kelli of Lolly Jane, an eclectic craft/DIY blog, where we share it all… home decor tutorials, holiday crafts, free printables, home improvement projects and everything in between! We are here today to share a free print that will be sure to get you in the fall mood! Just hang and enjoy, my deer! (See what we did there? lol!)

FREE Antler print, perfect for fall! via LollyJane.com

We loooooove printables because you can simply print them off then frame them to instantly spruce up your seasonal mantel. Easy and free, which is our favorite kind of decor! We love the “Happy fall, deer” saying paired with autumn colors:

FREE Antler print, perfect for fall! via LollyJane.com

Download either fall deer printable here:

Happy Fall, Deer PRINT
Fall Antler PRINT

FREE Antler print, perfect for fall! via LollyJane.com

Be sure to check out more free printables on our blog or see the latest fall decor, knock off’s and projects on FB, Insta or Pinterest like our easy fall wreath, 11 free autumn fonts to make your own printables or our faux aged canning ring pumpkin.

Easy fall wreath with painted pumpkins + acorns and cute felt flowers #fall #wreath

11 FREE fall fonts

Pretty faux-aged canning ring pumpkin

A big thanks to Michelle for letting us snag her space today. Muah! Happy fall, y’all!

XOXO

« Previous Page
Next Page »

  • Bloglovin
  • Facebook
  • Google+
  • Instagram
  • Pinterest
  • RSS
  • Twitter

Hi there! I'm Michelle. Mother of three little boys and one little princess. Welcome to A Little Tipsy, a place for exploring creativity and sharing inspiration.

Follow on Bloglovin


Visit Michelle Barneck {A Little Tipsy}'s profile on Pinterest.

Tutorials by Category


15 Family Reunion Games

Family Reunion Games Collage

15 Sprinkle Party Ideas

Sprinkle Birthday Party
Creative Commons License

© Copyright 2014 A Little Tipsy · Site Designed by The Fairy Blogmother · Web Hosting by RFE Hosting

This website uses cookies to improve your experience. We'll assume you're ok with this, but you can opt-out if you wish.Accept Read More
Privacy & Cookies Policy