A Little Tipsy

Creative Tips & Ideas

  • home
  • About Me
  • the tipsy top
  • press
  • projects
  • contact me
[print_thumbnail_slider]

DIY bookshelf

October 29, 2012 By Michelle Barneck 2 Comments

With my recent craft room redo, I had a small budget and so tried to shop my house for pieces I could re-purpose to use in the space. There was a little closet area where I wanted to store unused home decor and needed some shelving. I found two sad bookshelves residing in our family room that needed some love, but would fit perfectly in the space.

I am a little embarrassed to admit those were in our house. I think they came with Jared when we got married. I had ignored them sitting there full of books for so long that I hadn’t realized how ugly they were. 
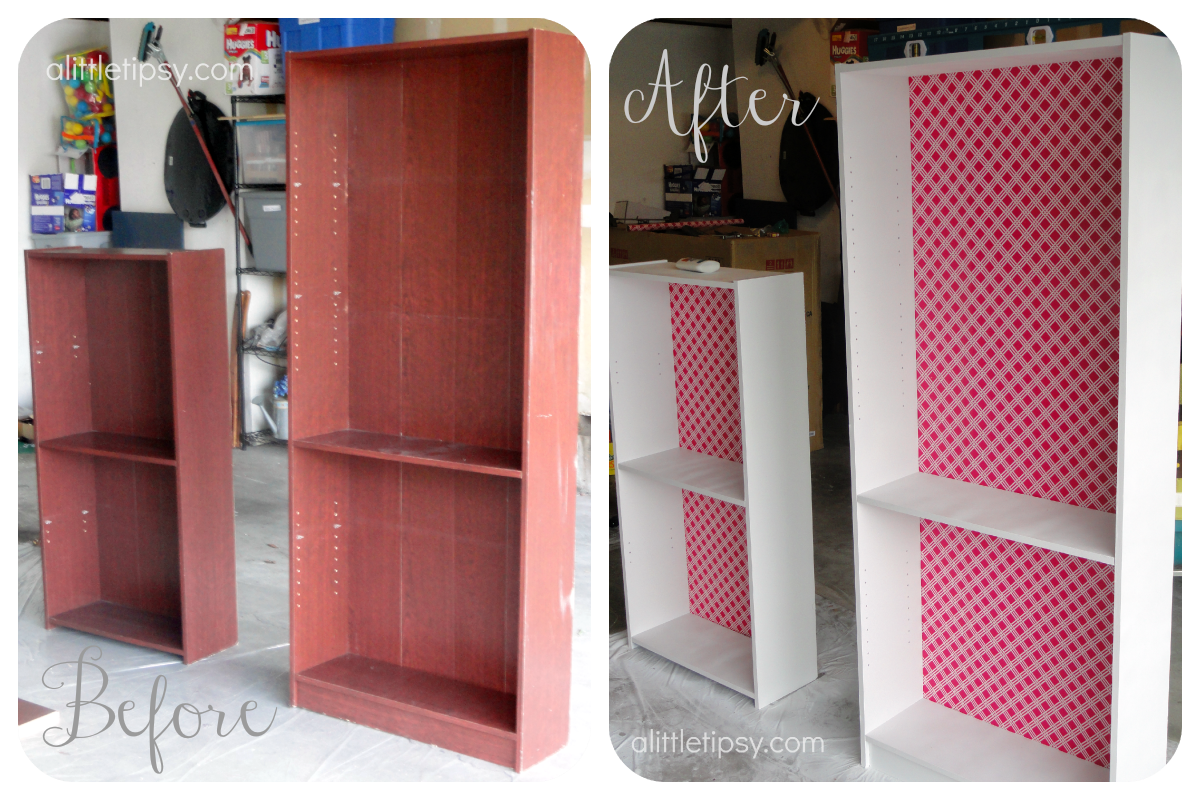
So, how do you update a cheap laminate bookshelf without sanding or spending a ton of money?

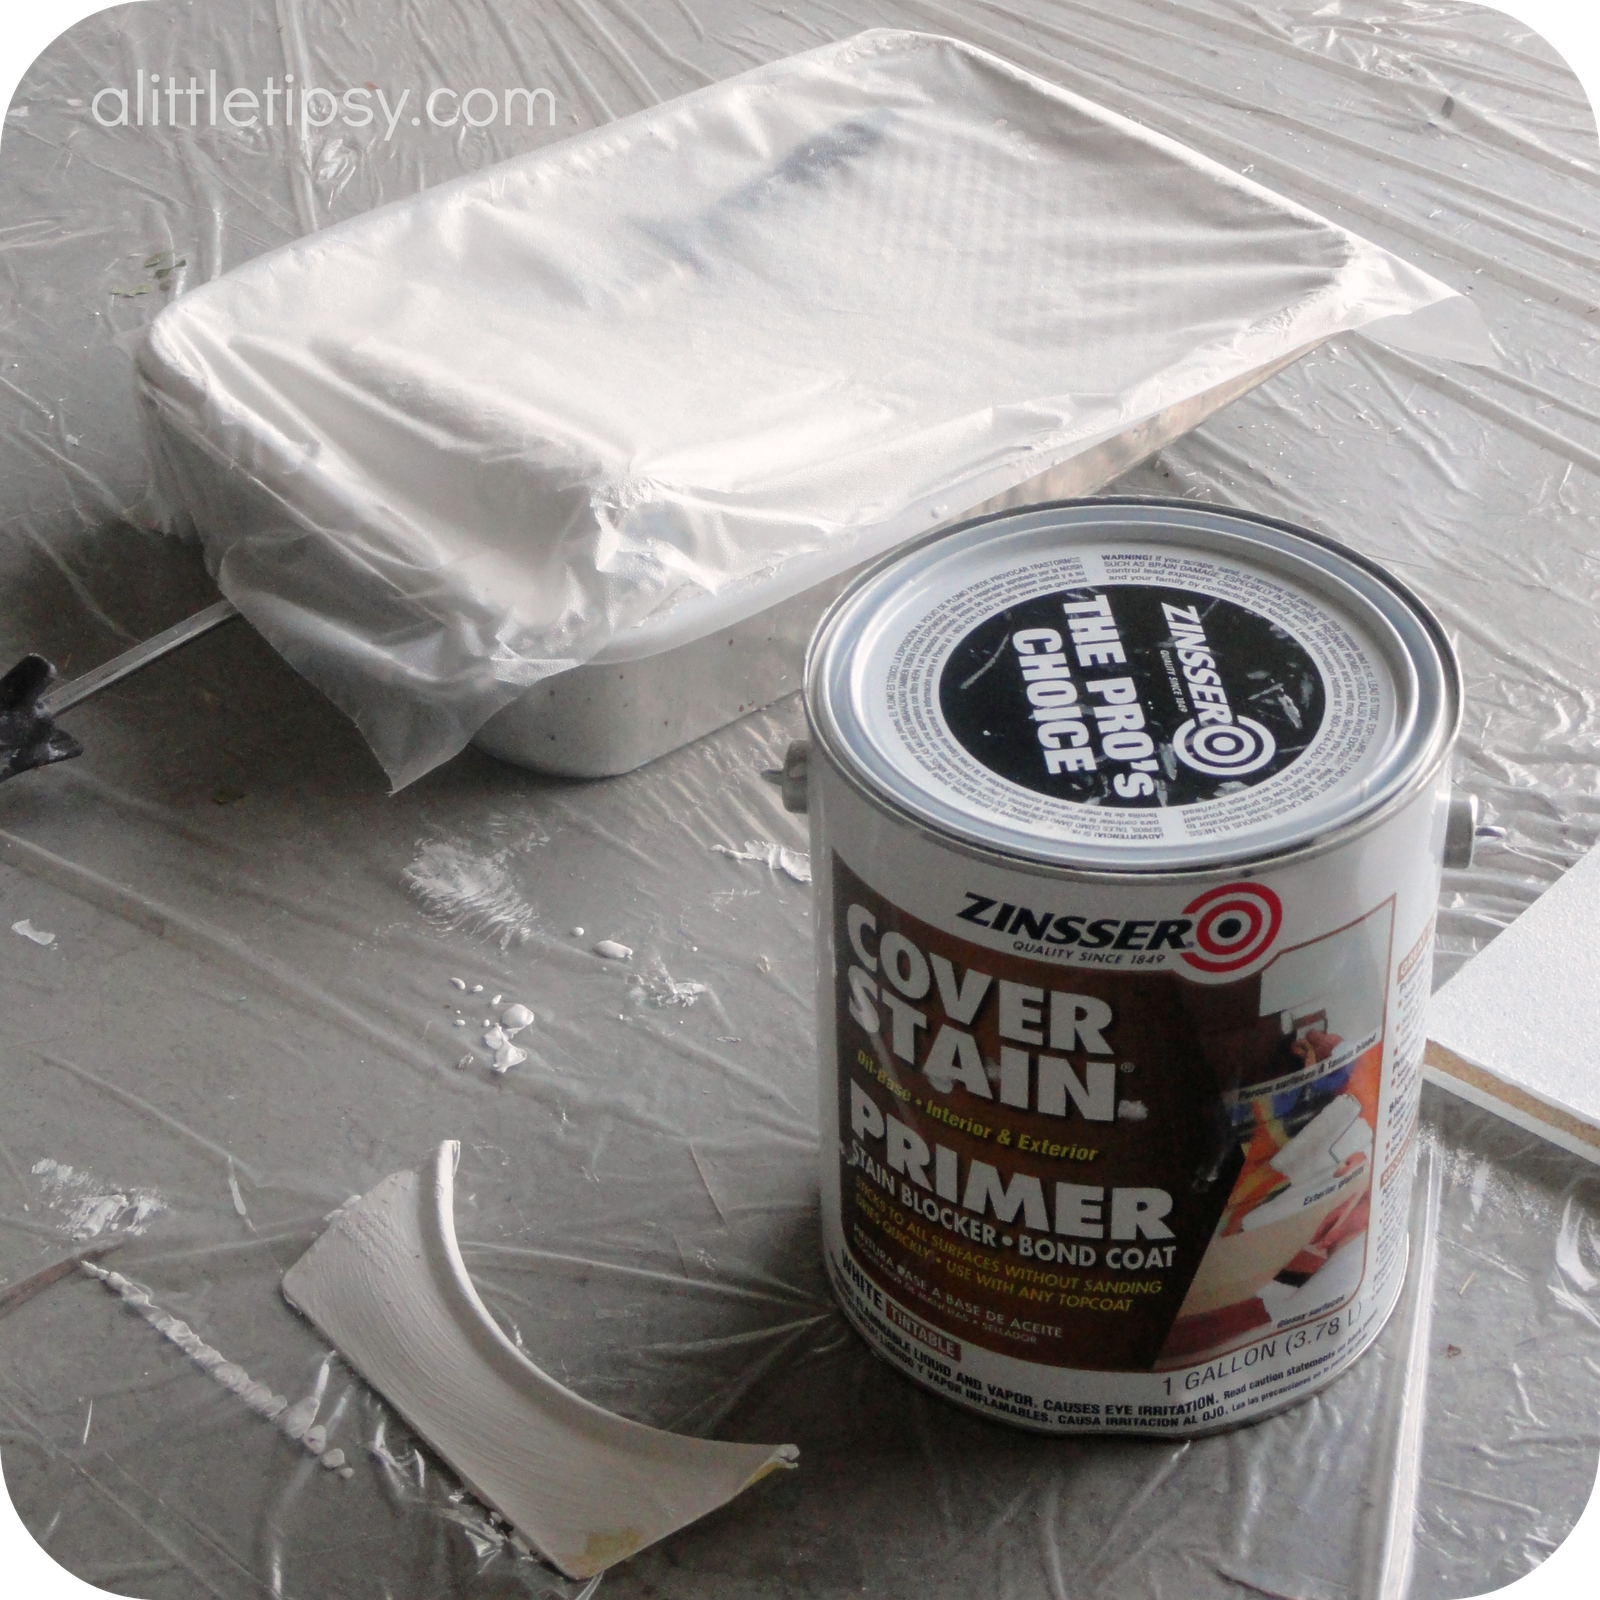
Cover stain primer my friends. A couple coats of this stuff and paint away! 
DIY Bookshelf

1. Carefully pry off backing. Mine was attached with staples, so I made good use of a butter knife and removed the cardboard like back piece.
2. Apply two coats of primer letting each one dry completely. I used a brush in the corners and a low-nap roller for the rest.
3. Spray paint using multiple light coats.

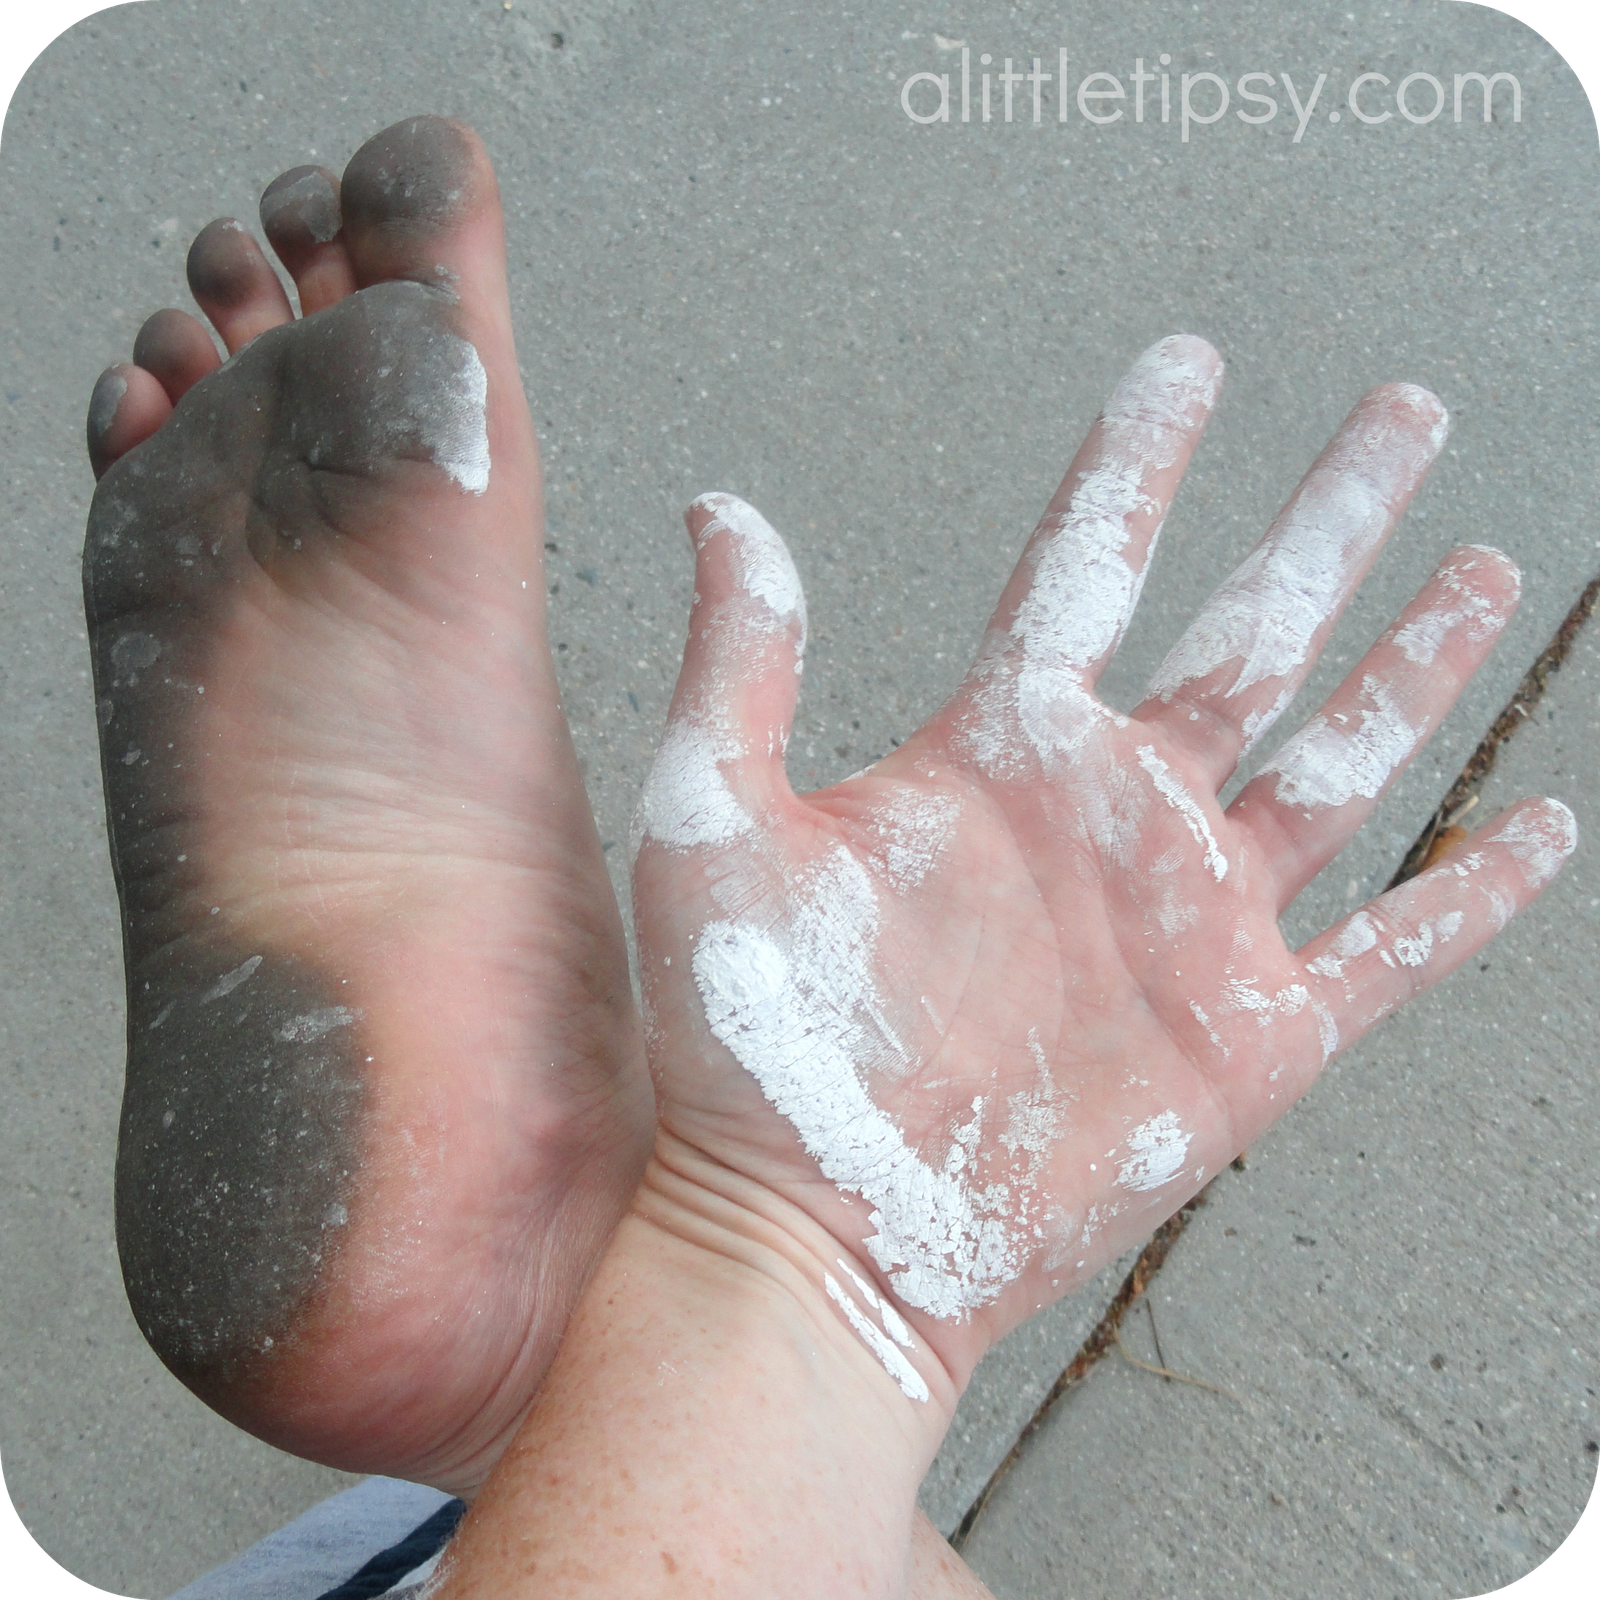
If you’re lucky and your family is on a father/son camping trip you’ll do it all in pjs and bare feet in the garage and end up looking like this. Yikes!

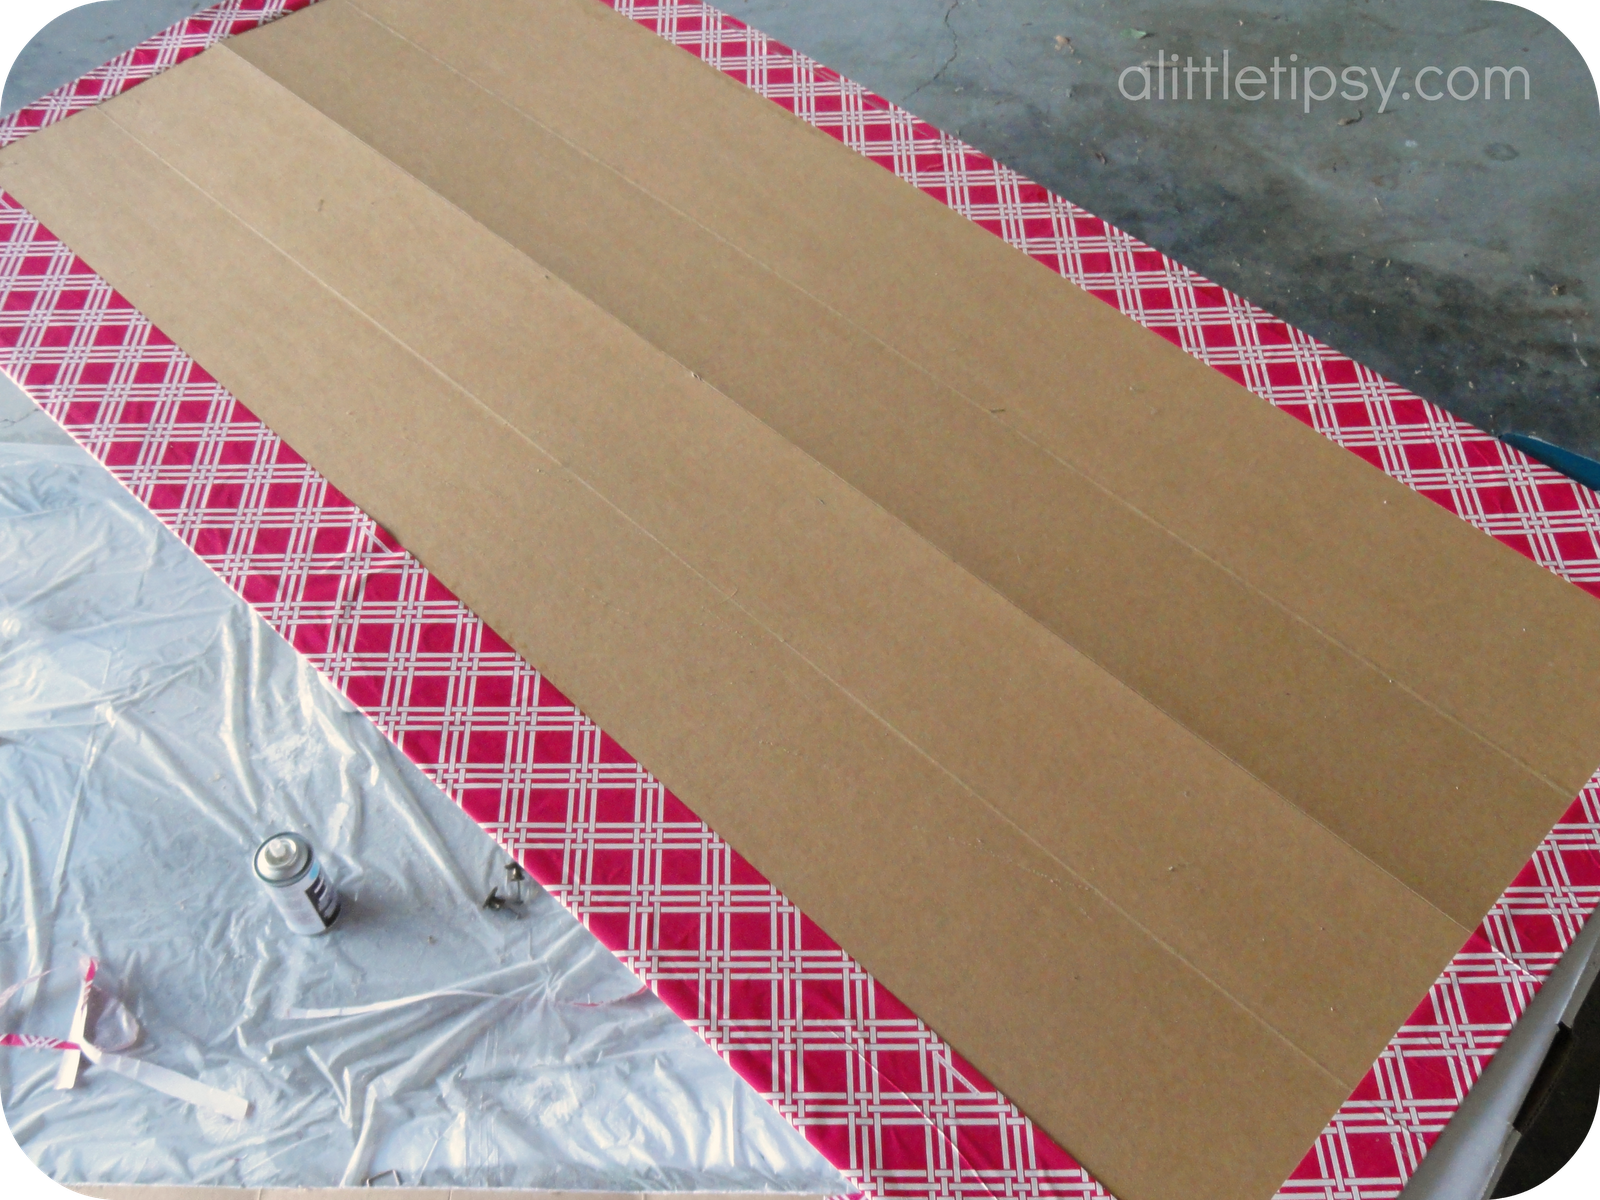
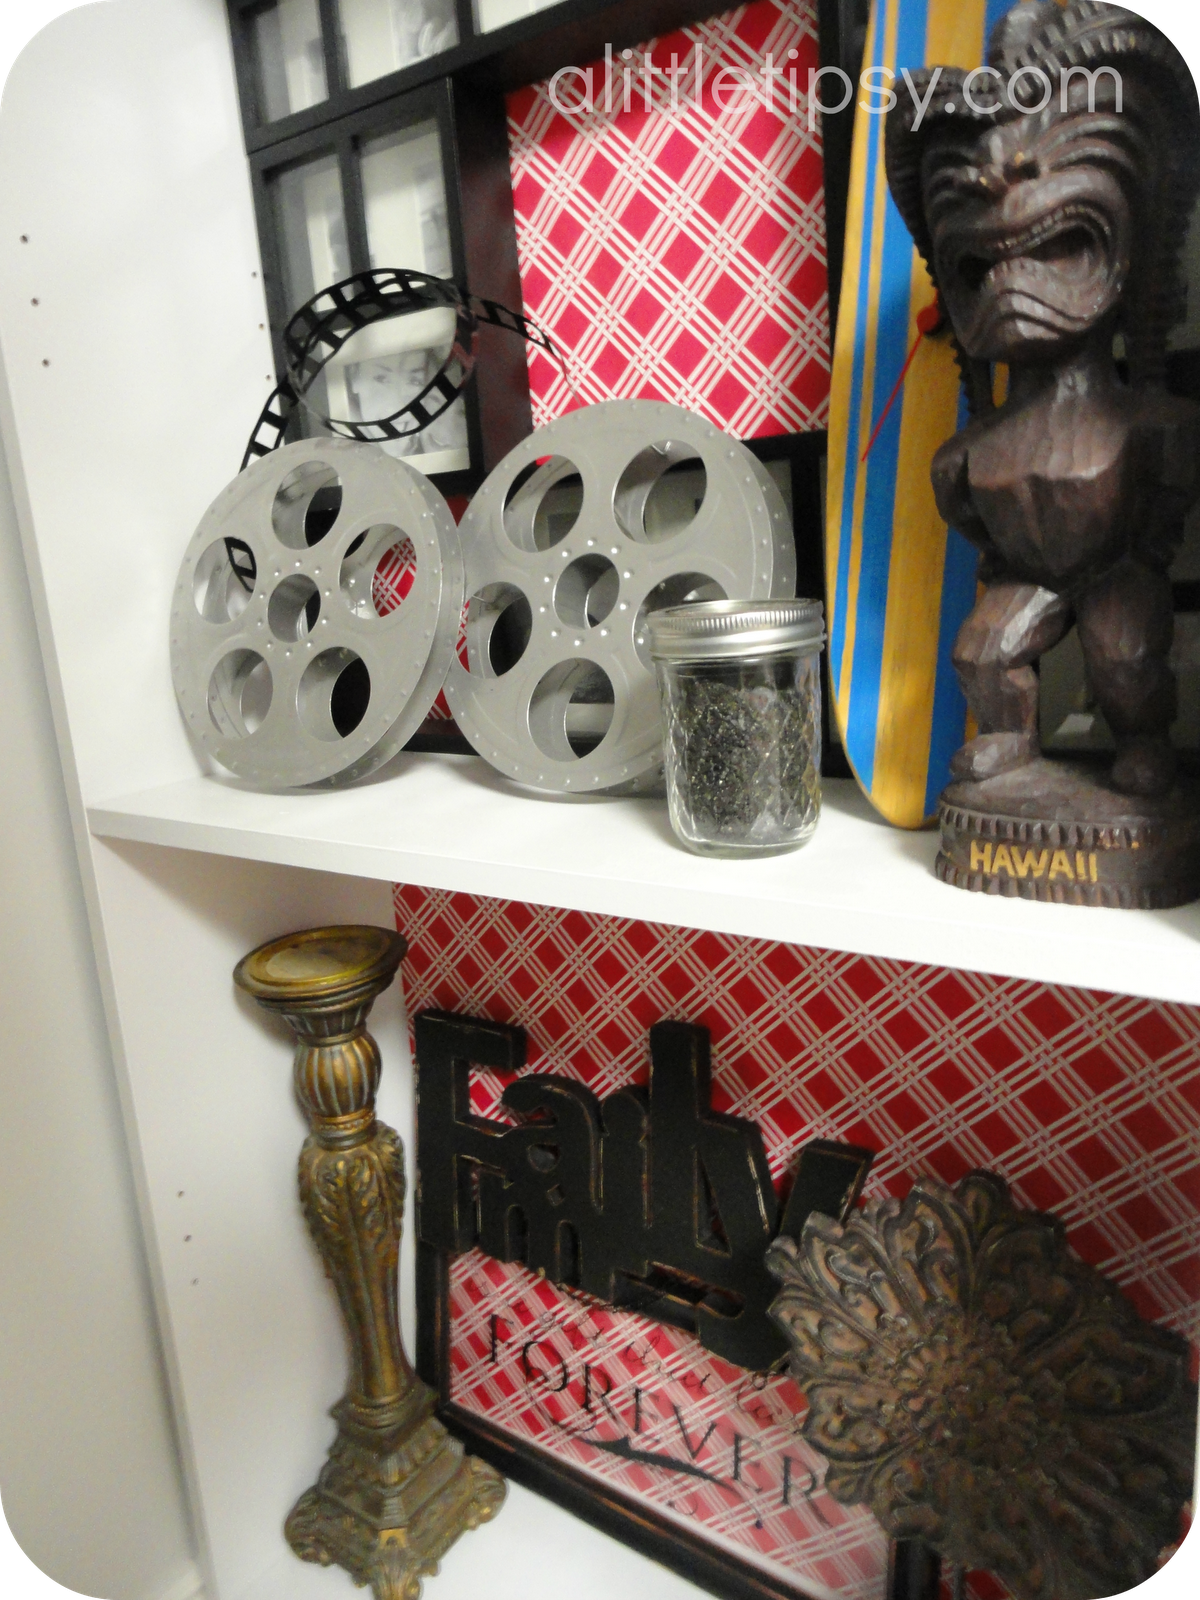
4. Cover the backing with your favorite patterned fabric or economical choice wrapping paper. I used a glue stick around the edges where the bookshelf would attach and spray adhesive on the rest.

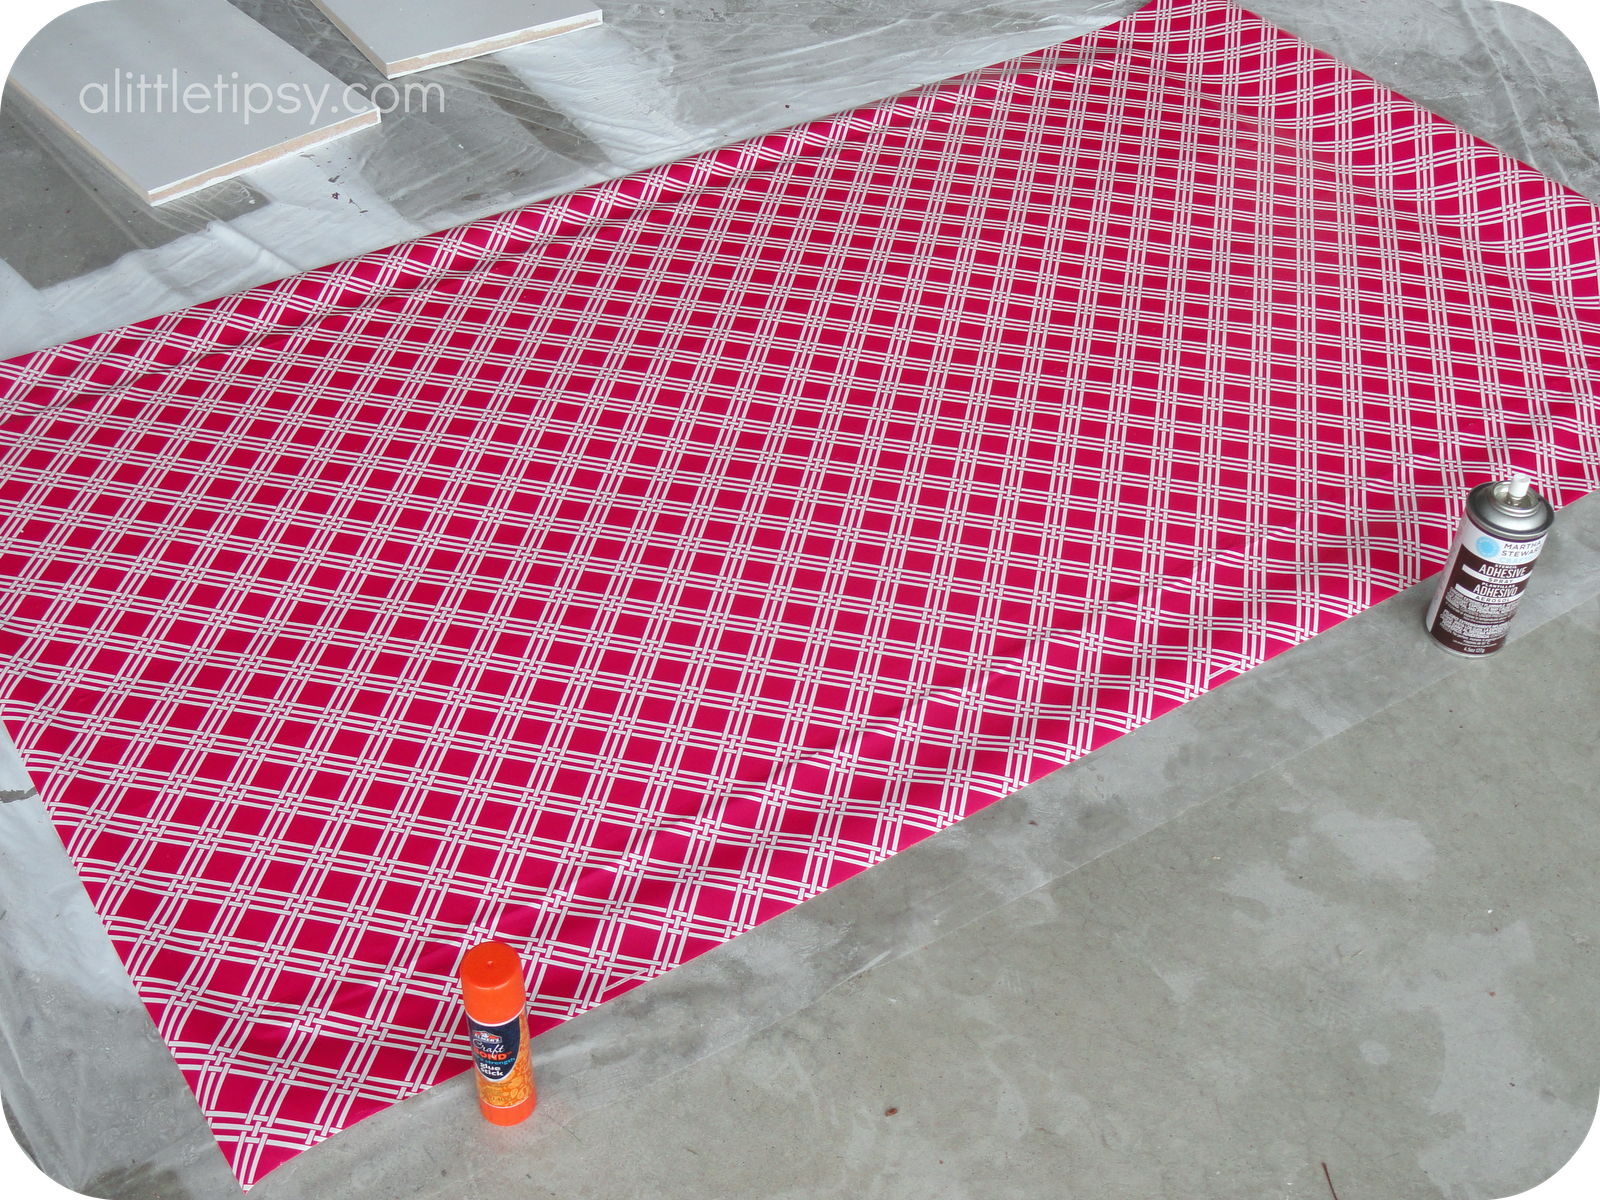
5. Wrap the paper/fabric around the edges of the boards and secure with glue.

6. Have a friend hold the back in place as you re-attach it. I used a nail gun, but a staple gun would work just as well.

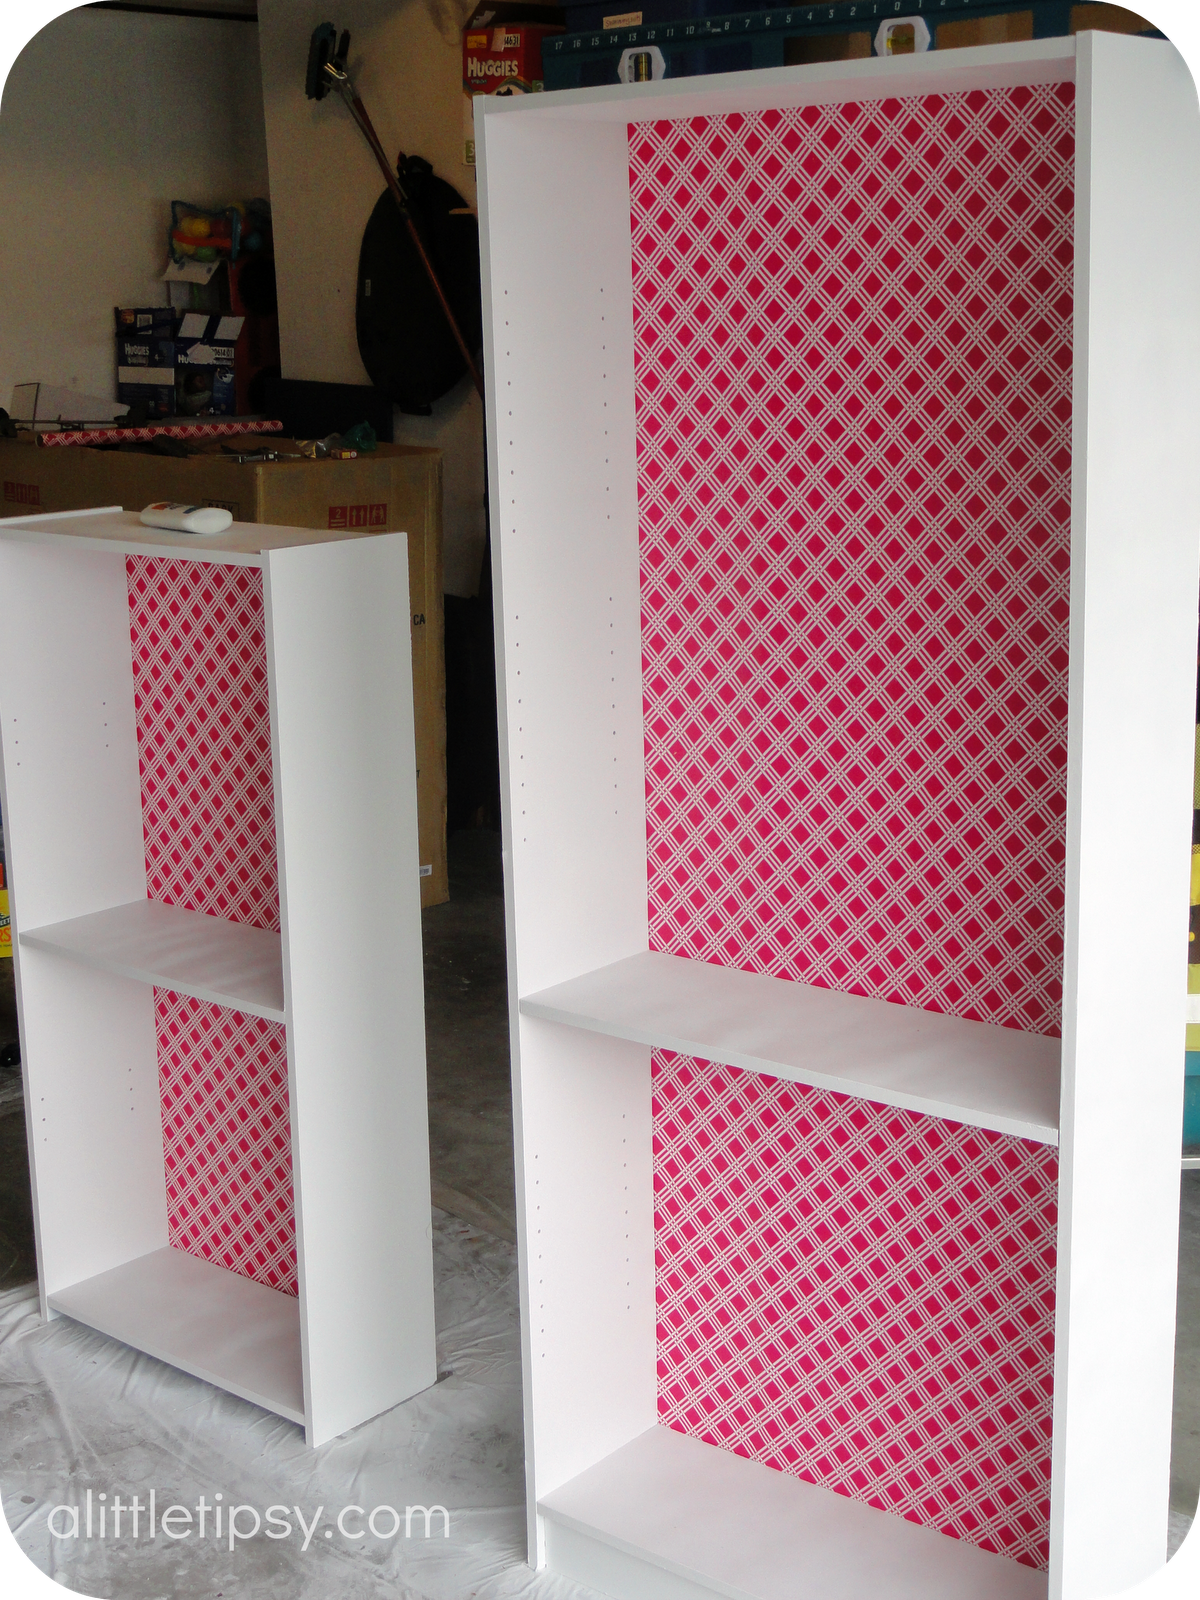
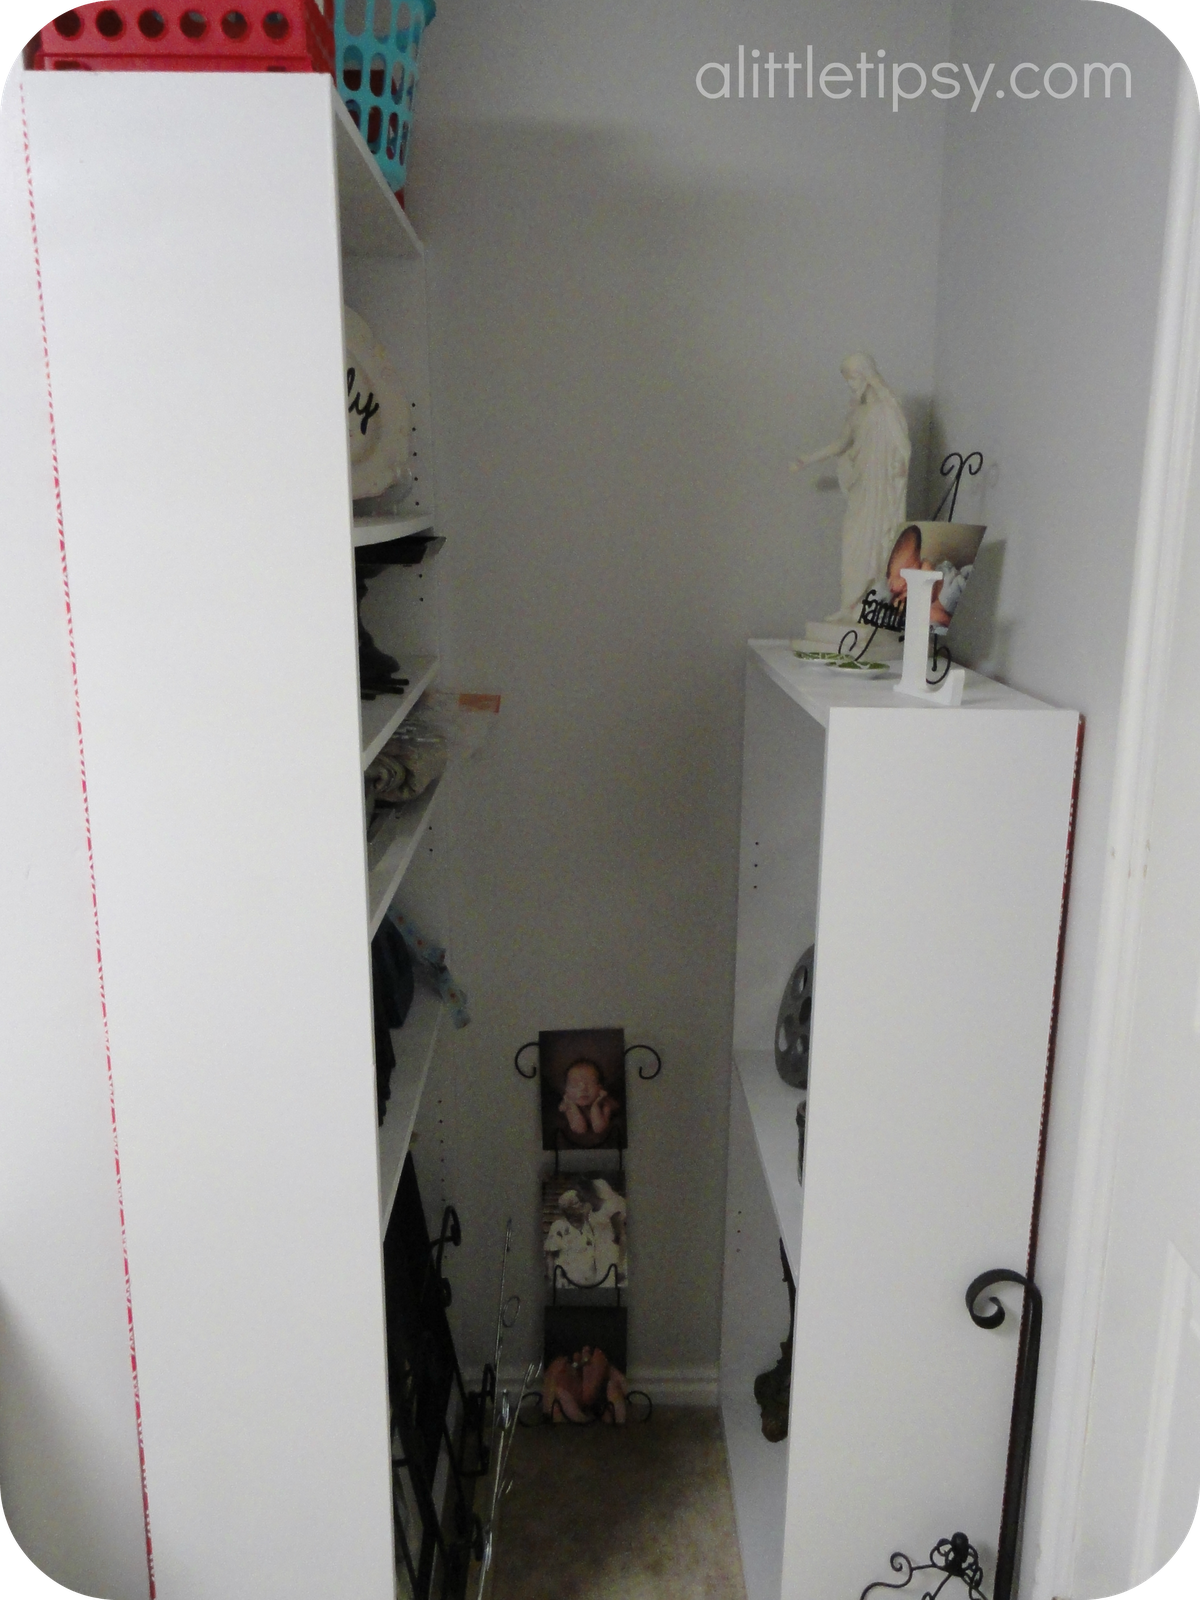
Move them in to place and admire your handiwork! It has been so nice having a storage area for all my home decor items.

If you like this, come see the rest of my craft room makeover.

P.S. Don’t forget to sign up for free Tipsy updates via RSS or email.

We have decided to truncate our feed to help protect against stolen content. I apologize for any inconvenience. Please love us anyway. đŸ™‚

Sing Your Way to Sleepytime

October 25, 2012 By Michelle Barneck 2 Comments

Bedtime is one of my favorite times of day. What could be better than cozy jammies, reading together, and sharing songs and snuggles? Like most families we have our routine down. Jammies, snack, brush teeth, potty, drink, 3 books, sing “I Love to see the Temple” and then close it out with “Twinkle Twinkle Little Star” and kisses. It works for us and my littles know just what to expect once 8 o’clock rolls around.

I love so much that my youngest is a snuggler. Those little hugs are seriously the best thing ever! I love singing to him though I am far from a performer. I like that he knows and loves my voice imperfect as it is. He has started to join in and sing with me which totally melts my heart. These are the moments I treasure!

Enter your lullaby video in the Celestial Seasonings® ‘Sing your way to Sleepytime Contest’ for the opportunity to win a $5,000 Pottery Barn® gift card and transform your bedroom into a cozy, sleep-friendly space!

Now that is something we could all use!!

This is a sponsored conversation written by me on behalf of Celestial Seasonings®. The opinions and text are all mine.

We have decided to truncate our feed to help protect against stolen content. I apologize for any inconvenience. Please love us anyway. đŸ™‚

Mike Wazowski Shirt

October 24, 2012 By Michelle Barneck 14 Comments

Who doesn’t love Mike Wazowski? Seriously, he’s hilarious not to mention simple so he is easy to make in to a shirt. It cost me all of $1. Gotta love those numbers!
SUPPLIES:
Computer
Silhouette
Contact paper
Fabric Medium
Black paint
Green Paint
White Paint
Turqouise paint
Foam brush
Cardboard
Green shirt
Iron

INSTRUCTIONS:
1. I saw this shirt and took matters in to my own hands. Import the image in to the silhouette software and use the trace feature to get your cut lines. Cut two stencils out of contact paper. You’ll use different pieces at different times.
2. Place your first set of contact paper stencil shapes as shown below.

 3. Using separate little bowls mix up black, white and green with the fabric medium according to package directions. Carefully paint by dabbing with the foam brush. Paint the mouth and the middle of the eye black. Paint the outer eye and little dot in the eye white. Paint the lip line green. Use as many coats as it takes to get the vibrancy you want. Let it dry completely.


4. Layer the stencil as shown below covering the painting you already did. Mix up the turquoise with the fabric medium. 
5. Paint the teeth white and the middle of the eye turquoise. Let dry completely.
6. Carefully remove all stencils.

I am seriously in love with this Mike Wazowski shirt!! 
It was easier and turned out better than I thought!

Pair it with some shorts and you’re all ready for Disneyland!

Mike was my little guy’s favorite Disney shirt of them all and that’s saying something considering I made  about 10 different shirt designs for our trip.
If you liked this Mike Wazowski shirt, stay tuned every Wednesday through January for a new Disney DIY project each week!

P.S. Don’t forget to sign up for free Tipsy updates via RSS or email.

We have decided to truncate our feed to help protect against stolen content. I apologize for any inconvenience. Please love us anyway. đŸ™‚

How to Make Bats

October 23, 2012 By Michelle Barneck Leave a Comment

I promised myself I was done with Halloween decor, but a Halloween obsessed preschooler and some free time to spend together convinced me otherwise. We decided to join in on the bat wall craze and it turned out so fun I just had to share.
The best part is that it is playing double duty and staying up for my son’s upcoming Batman birthday party. Nothing like killing two birds with one stone!
How to Make Bats:
Find a bat shape (or a set of three in multiple sizes like me) and cut a bundle out of black cardstock with your craft cutter. Using double sided sticky tape, stick them to the wall alternating shapes and direction and bending the wings out slightly for 3D effect. That’s it!
So easy and free considering we had everything on hand! Love it!

We have decided to truncate our feed to help protect against stolen content. I apologize for any inconvenience. Please love us anyway. đŸ™‚
« Previous Page
Next Page »

  • Bloglovin
  • Facebook
  • Google+
  • Instagram
  • Pinterest
  • RSS
  • Twitter

Hi there! I'm Michelle. Mother of three little boys and one little princess. Welcome to A Little Tipsy, a place for exploring creativity and sharing inspiration.

Follow on Bloglovin


Visit Michelle Barneck {A Little Tipsy}'s profile on Pinterest.

Tutorials by Category


15 Family Reunion Games

Family Reunion Games Collage

15 Sprinkle Party Ideas

Sprinkle Birthday Party
Creative Commons License

© Copyright 2014 A Little Tipsy · Site Designed by The Fairy Blogmother · Web Hosting by RFE Hosting

This website uses cookies to improve your experience. We'll assume you're ok with this, but you can opt-out if you wish.Accept Read More
Privacy & Cookies Policy