A Little Tipsy

Creative Tips & Ideas

  • home
  • About Me
  • the tipsy top
  • press
  • projects
  • contact me
[print_thumbnail_slider]

SNAP Recap

May 8, 2013 By Michelle Barneck 2 Comments

Anyone who follows my twitter stream knows I went to the SNAP conference a couple of weeks ago. So ya, I’m a little late with this, but it took me a while to recover from my stay with roomies Stacy and Leanne. They are too fun to get any sleep. I’m sure you’ve seen recaps all over blogland so I’ll save you from a novel with all the details and just fill in some highlights.

First off, there was a door decorating contest. We decided to do a photo booth with a bunch of  magnetic creative blogger tools hanging around the door frame. We had funny sayings on chalkboard word bubbles to along like:

Nail gun – “Nailed it!”
Trowel – “I dig blogging!”
Rolling pin – “That’s how I roll.”

Photos from Stacy and Amy’s Instagram.
 At first, I was not excited about having a PJ party that first night (something about having no cute PJs), but by that night I was so ready to be in comfy clothes! I had forgotten shoes to wear with my track suit (not so cute with riding boots) I realized I had some flip flops, but then the cute Cricut girls (my awesome sponsors) surprised me with some slippers. They totally take care of me and let’s be frank anyone who rocks Ninja Turtle pants is a friend of mine.

Read more…

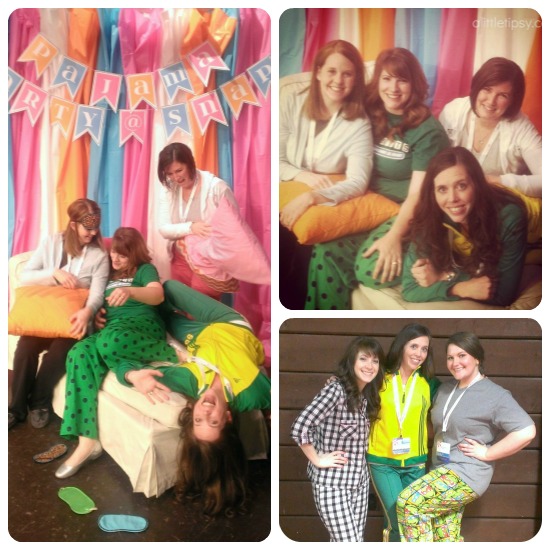
I love how the left picture sums up how we pretty much just laughed our heads off and had fun the whole time. All of my pictures turned out like this. Luckily, Amanda redeemed us with the pic on the right.

The second night was the dinner sponsored by Cricut along with the Queen Bee Market. Cricut must have brought over a million flowers. No joke. I spread five huge boxes over all the dinner tables and it didn’t even make a dent! We got a little nuts with the ginormous flowers.


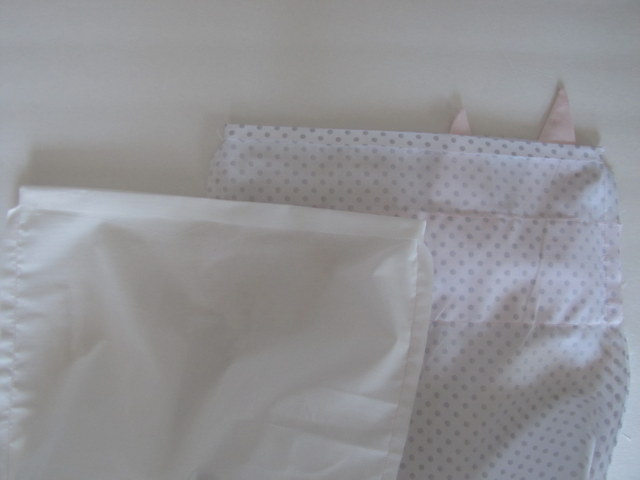
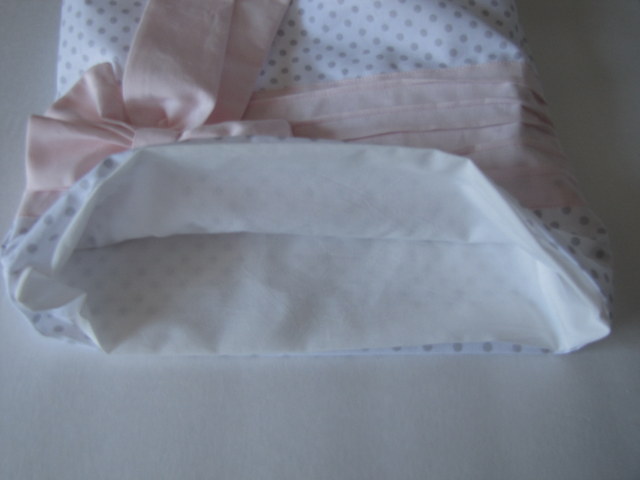
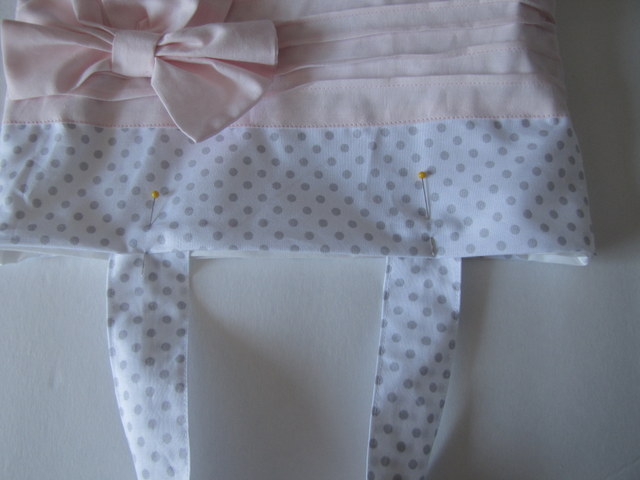
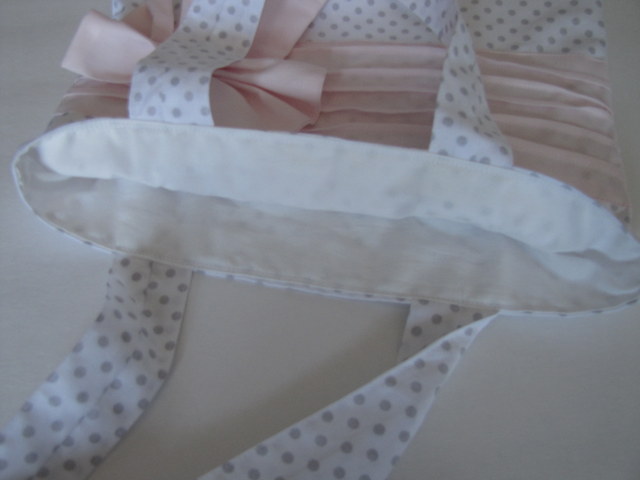
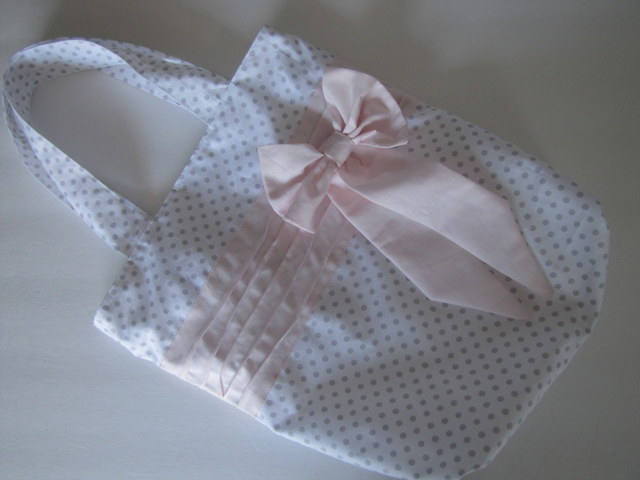
I also won this amazing Sage and Harper bag from Queen Bee Market. Isn’t it awesome?! I’ve never loved a bag so much!


Day three brought the Lowe’s Designer Challenge where they gave each team a table full of random items and one hour to create something fabulous. 

My team included:


  • Sarah from Becoming Martha
  • Heidi from HoneyBear Lane 
  • Kelly from Live. Laugh. Rowe 
  • Katie from Sew Woodsy (Check out her fabulous post about the challenge)

  • We built this fun kid’s puppet theater out of a dropcloth complete with Princess and Superhero puppets made from glue sticks, zip ties, furniture sliders, and paper towels.

    So what about the classes right? I won’t bore you with the wealth of techie/business stuff.
    Here are some take aways for the blogger and non-blogger alike…
    • Use floral frogs to hold foam board vertical to create backgrounds for your pictures.
    • Use T-pins to hold fabric on foam boards for staging pictures.
    • Love your kids for who they are, not who you need them to be.
    • If you have anxiety you are living in the future, if you have guilt you are living in the past, if you have peace you are living in the present!
    I guess you could say I have been living in the present taking the conference theme “Create Joy” to heart and that’s why this post is fashionably late. 😉


    Disclosure: I am an affiliate of Cricut and they were my sponsors for the SNAP conference because they are awesome like that.

    We have decided to truncate our feed to help protect against stolen content. I apologize for any inconvenience. Please love us anyway. 🙂

    Bow Tote

    May 7, 2013 By Michelle Barneck 2 Comments

    Hi there! It’s me, Terra from mama says sew. I’m here today to show you how to make this Bow Tote.
    I gave it to my daughter to use as a dance tote {and she was so excited she immediately dumped everything out of her old bag so she could put it in this one}, but you could use it for just about anything. It would make a great last minute Mother’s Day gift as well.
    Read More…

    It’s a pretty basic project, but I love how the bow makes an ordinary tote into something special. Perfect for that special little girl or Mom in your life!

    First start by cutting out your pieces. I’ve included the measurements I used, but you can adjust them to make the tote any size you prefer.
    From main fabric:
    Cut 2 bag pieces, 16.5 inches by 15 inches
    Cut 2 handles, 4 inches by 20 inches
    From lining fabric:
    Cut 2 bag pieces, 16.5 inches by 15 inches
    From contrast fabric
    Cut 2 bow background pieces, 15 inches by 6 inches
    Cut 1 bow piece, 6 inches by 11 inches
    Cut 2 bow tail pieces, 5 inches by 16 inches
    Scrap piece to wrap around the center of the bow

    Cut a 2 inch square out of the bottom ends of the bag pieces.
    Do the same for the lining pieces. All four pieces should look like this:
    Fold the tail pieces in half and cut a triangle off each end, like this:
    Now we’re going to make the tucks. Take one bow background piece, and iron a crease in it the long way, about an inch from the top. Stitch close to the crease, as shown.
    Keep going, ironing creases and stitching close to the creases, until one of your background pieces is full of tucks. I didn’t mark them, because I wanted it to have a messy look.
    Fold the long raw edges to the wrong side of the fabric on both background pieces so they are the same height.
    Stitch the background pieces to the main bag fabric, making sure they are both the same distance from the top of the bag. Make sure to account for seam allowances when deciding where to position the background. 
    Fold the bow in half and stitch around the three open sides. Clip corners.
    Cut a hole near the center of the bow.
    Turn right side out and press.
    Sew your scrap piece into a tube.
    Turn right side out and press.
    Fold the tail pieces in half and stitch down the open long side and across the bottom. Leave the top open for turning.
    Turn the tails right side out and press.
    Hand stitch the scrap piece around the middle of the bow, making sure to cover the hole you made.
    Hand stitch the tails to the bow {you may want to trim them to your desired length first}. 
    This is what the bow should look like.
    Hand stitch the bow to the front of the bag where you want it. Make sure to sew it securely.
    With right sides together, sew the side seams and bottom seam on your bag pieces and lining pieces. Leave the square area unsewn.
    Pull the square open and match the raw edges together. Do a double row of stitching. Repeat with the lining.
    Fold the handles in half and stitch along the long edge, leaving the ends open.
    Turn right sides out and press. You can topstitch along the edges if you want.
    Trim the side seams close to the top on the bag and the lining.
    Press the top edges down about a half inch on the bag and lining.
    Turn the bag right side out and insert the lining into the bag so that wrong sides are together.
    Pin the handles in place and stitch around the top of the bag.
    I did a double row of stitching to make sure everything was secure.
    Ta-da! You’re done!
    Thanks Terra! This is the perfect little tote for dance, church or the library!

    We have decided to truncate our feed to help protect against stolen content. I apologize for any inconvenience. Please love us anyway. 🙂

    May Visiting Teaching Message Handout

    May 5, 2013 By Michelle Barneck 2 Comments

    This May visiting teaching message is your choice from General Conference. I chose a quote from the talk from President Boyd K. Packer entitled “These Things I Know.” You are welcome to use it if it you feel it would fit your sisters.
    Download free May visiting teaching message handout.
    It is made as a vertical 4×6. I just print them on photo cards to give to my visiting teaching sisters.
    We have decided to truncate our feed to help protect against stolen content. I apologize for any inconvenience. Please love us anyway. 🙂

    Mother’s Day Gifts: Time Out for Mom

    April 30, 2013 By Michelle Barneck 4 Comments

    Hi, it’s Amy from The Happy Scraps here again, sharing this fun Mother’s Day Idea.

    What are you giving your mom this mother’s day? I wanted to come up with a gift that could be enjoyed my mother’s of any age.  Those that have young kids, those that have teenage kids, or those that have grown kids that don’t live at home anymore.  I asked my mom and mother-in-law for ideas, and what types of things they liked, and I also thought about what I might like for mother’s day and this is what I came up with.
    Wouldn’t any mother you know love to be pampered, or take a break when they have a few minutes?  I know I would, and I know of others that would as well. I picked up a few things to put together for such an occasion.

    Read More…

    I picked up some foot scrub, a pumice stone, a nail file, and some nail polish.

    I packaged them in a cellophane bag, and tied it up with bakers twine.

    Using my Cricut, I cut out some fun labels for these cute jars that I had, and then I put some bath salts and milk bath into the jars.

    I spray painted the lids and then I used my circle punch to punch out some paper for the tops.  I finished off the bottles by tying baker’s twine around the bottle neck as well.

    On the bucket, using the Cricut again, I cut out a label to match the others.  I also tied baker’s twine around the bucket.

    I know I always enjoy reading a fun magazine, so I added one to this gift as well, and who doesn’t love chocolate? I don’t know any mom that wouldn’t want to “take 5”. 

    What do you think? I don’t know any mom that wouldn’t love to receive this gift!
    I know as a mom I definitely have some times where I would like to give myself a timeout! Thanks Amy for such a cute Mother’s Day gift idea!
    We have decided to truncate our feed to help protect against stolen content. I apologize for any inconvenience. Please love us anyway. 🙂
    « Previous Page
    Next Page »

    • Bloglovin
    • Facebook
    • Google+
    • Instagram
    • Pinterest
    • RSS
    • Twitter

    Hi there! I'm Michelle. Mother of three little boys and one little princess. Welcome to A Little Tipsy, a place for exploring creativity and sharing inspiration.

    Follow on Bloglovin


    Visit Michelle Barneck {A Little Tipsy}'s profile on Pinterest.

    Tutorials by Category


    15 Family Reunion Games

    Family Reunion Games Collage

    15 Sprinkle Party Ideas

    Sprinkle Birthday Party
    Creative Commons License

    © Copyright 2014 A Little Tipsy · Site Designed by The Fairy Blogmother · Web Hosting by RFE Hosting

    This website uses cookies to improve your experience. We'll assume you're ok with this, but you can opt-out if you wish.Accept Read More
    Privacy & Cookies Policy