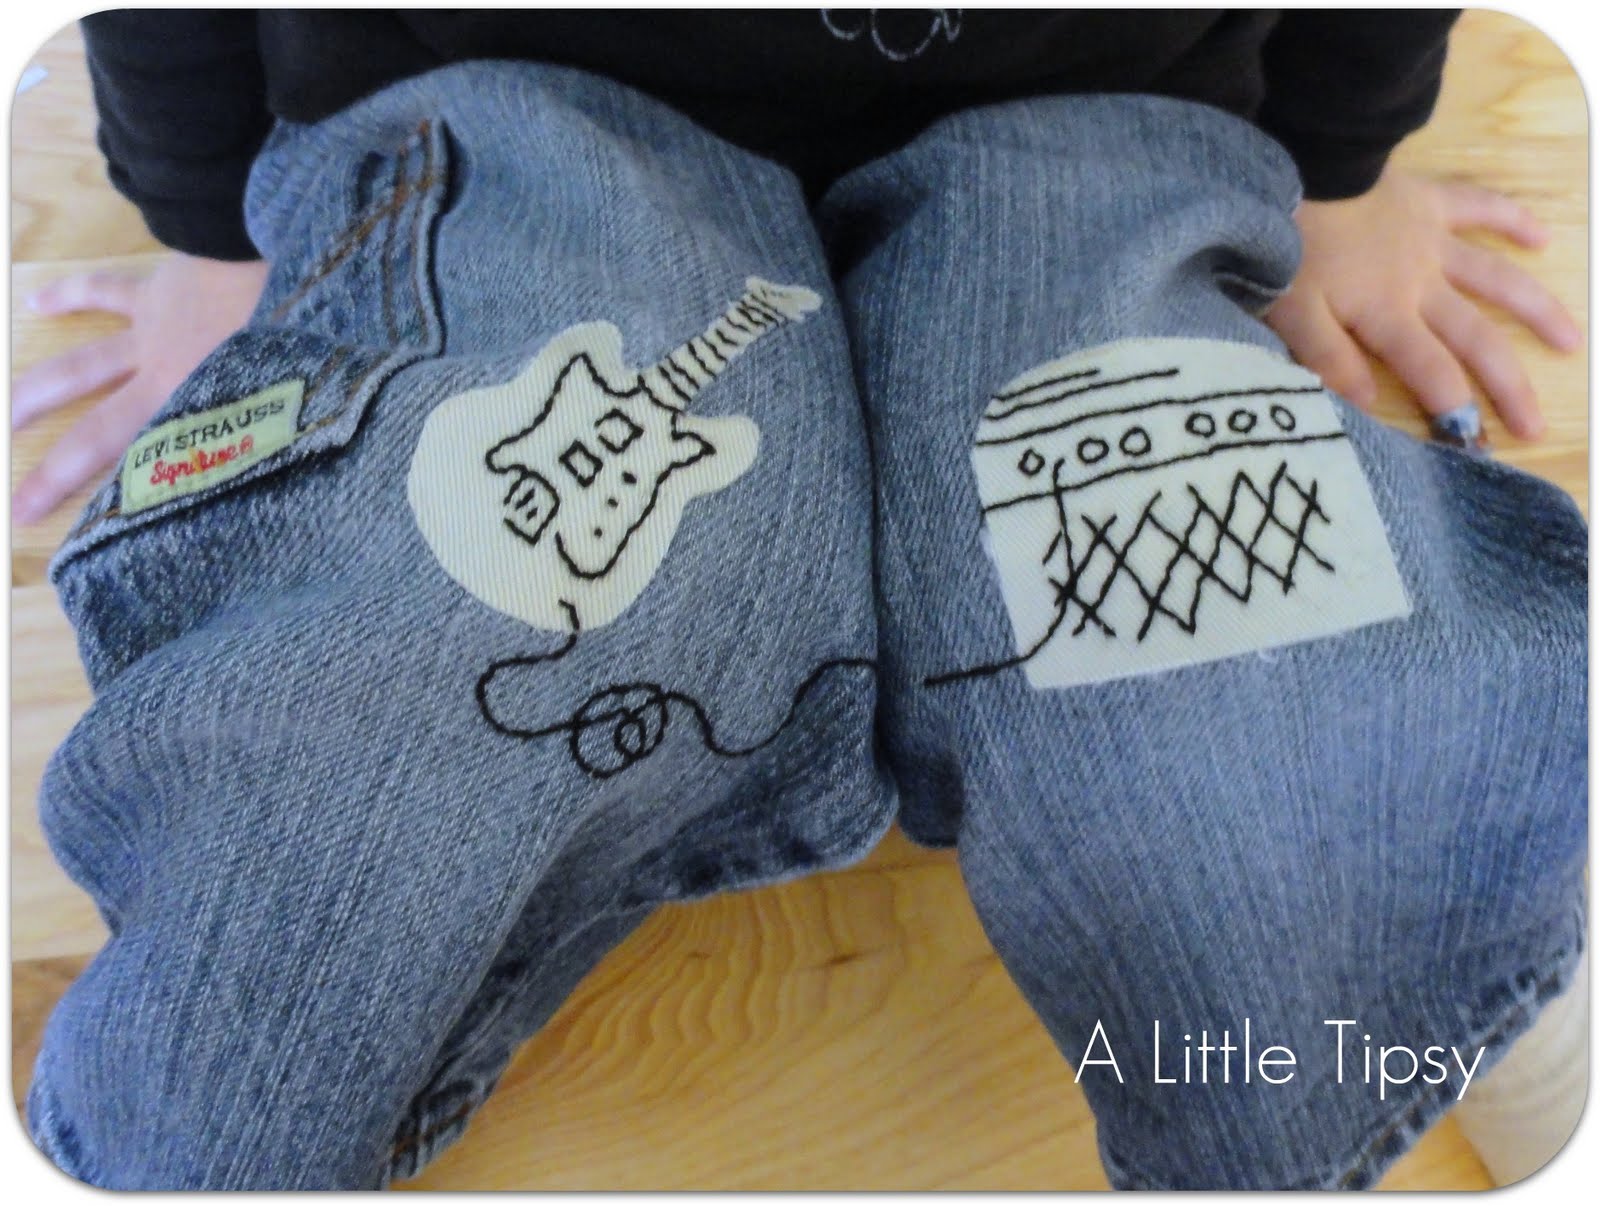
Ok, I am kind of embarrassingly proud of this little project so please be kind. I give you the guitar patch. I guess technically it’s guitar and amp patches.
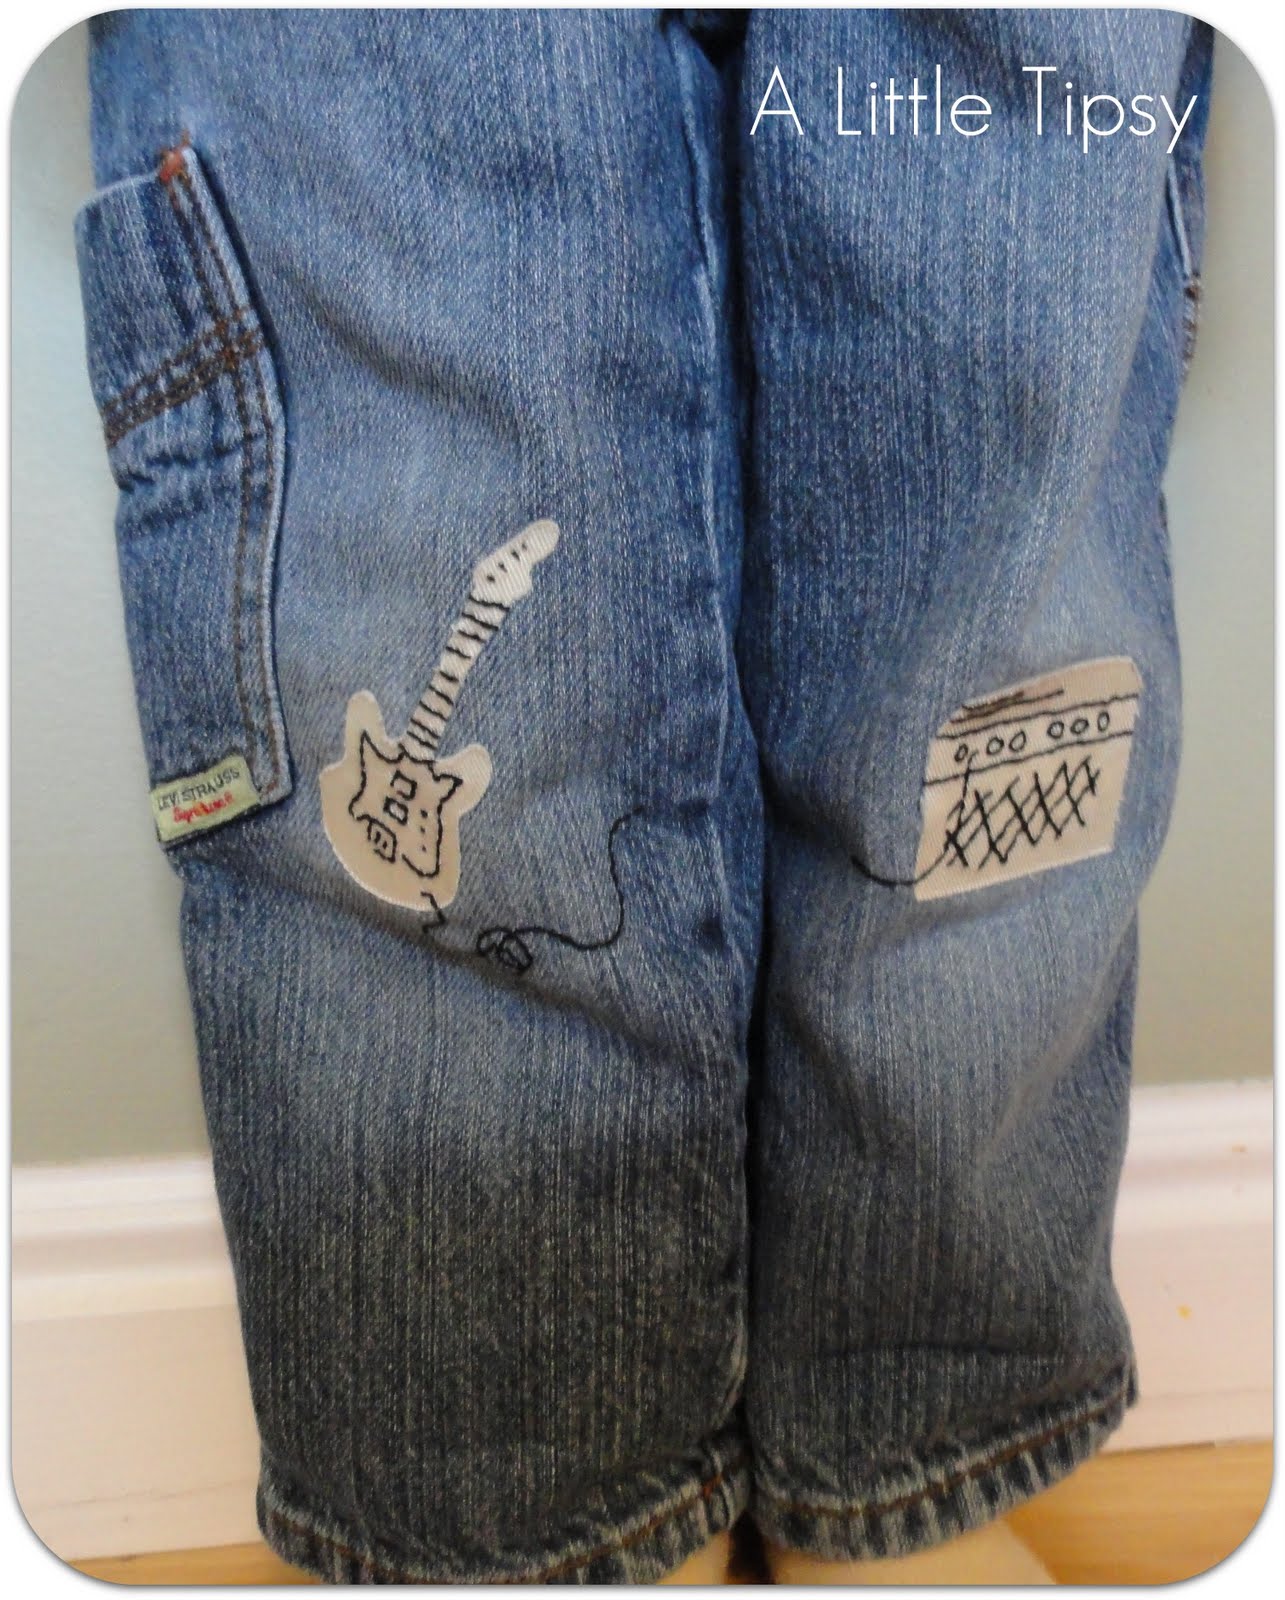
We LOVE hand me downs at my house! We have an awesome friend, Whitney (Hi Whit!), who has two boys and gives us (my sis and I) all of their clothes. My nephew is bigger than Aiden so he gets things first. Usually the clothes are in great shape, but once in a while we get something that, well, has been through 3 boys. 😉 Like the knee of these poor jeans.
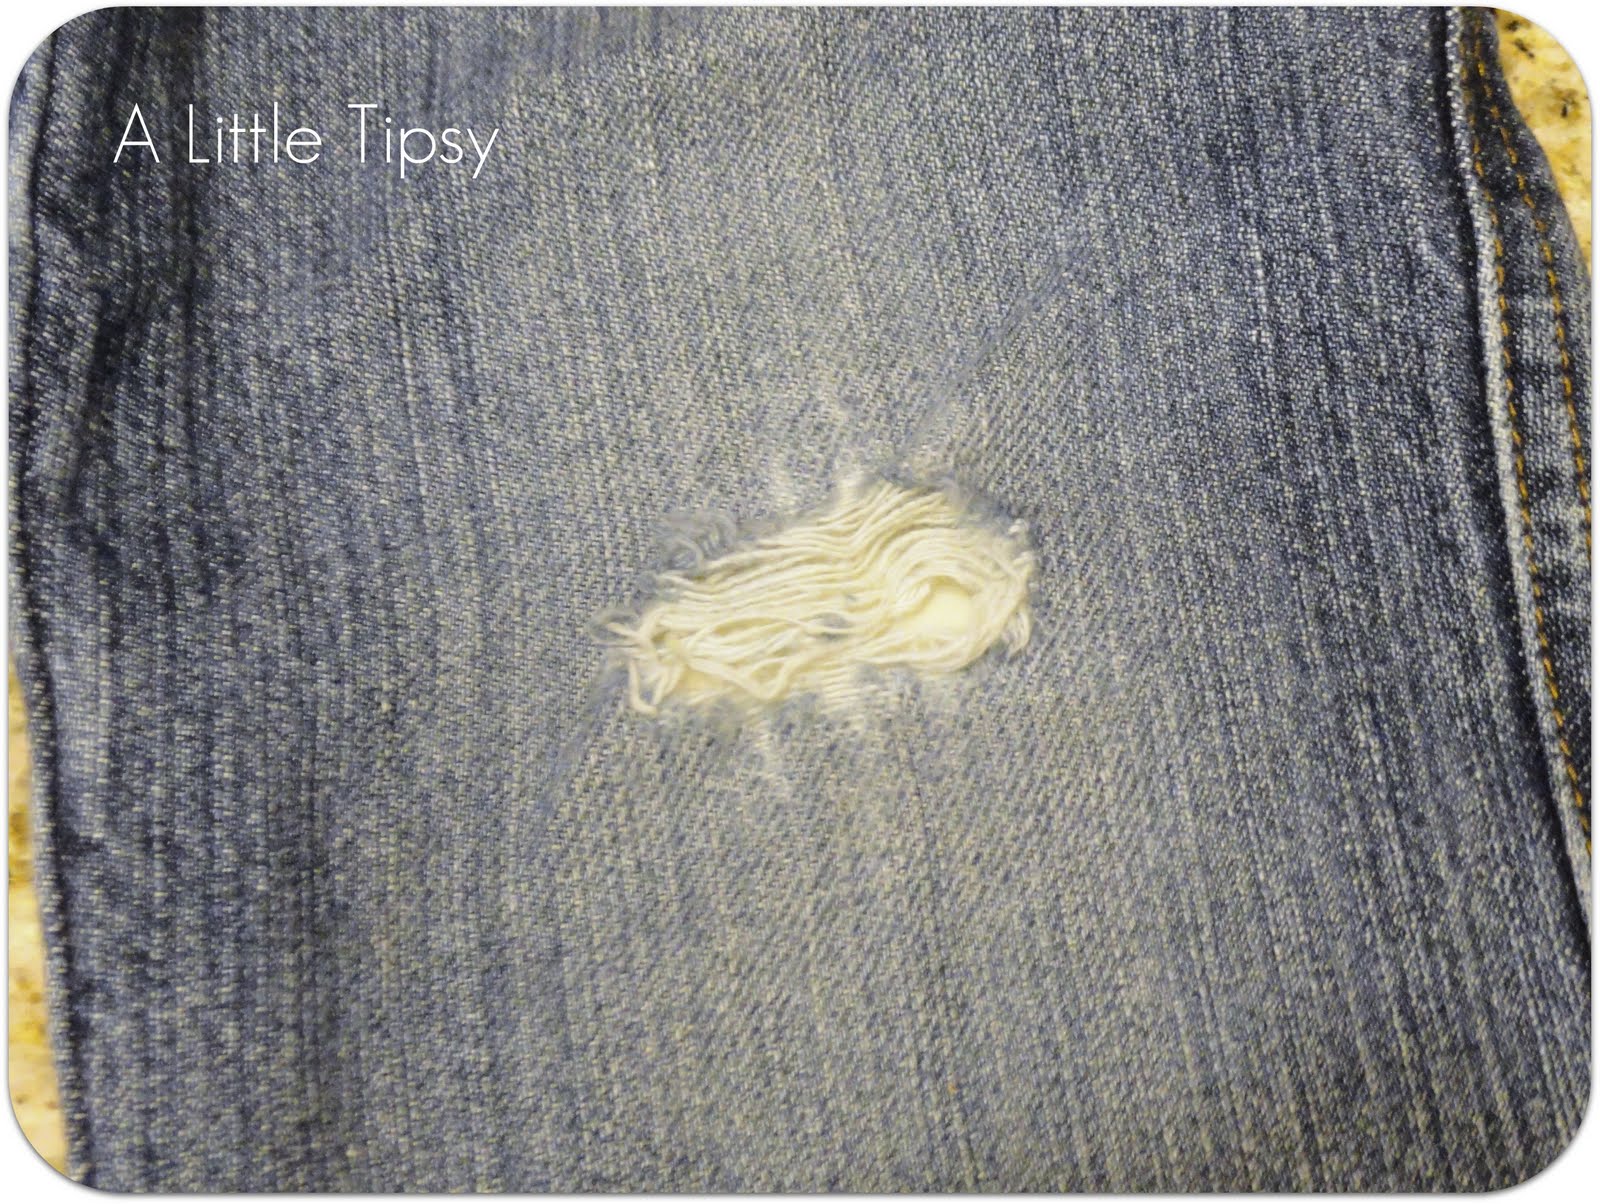
Now normally I might just let it go, but these fit him so nicely. It is hard to find jeans for a string bean. Long and skinny that one. So I decided to get to work and make them work. Enter the iron on patch. I think my mom and sis honestly thought I did not know they are meant to go on the inside, but I had plans in my wee little brain.
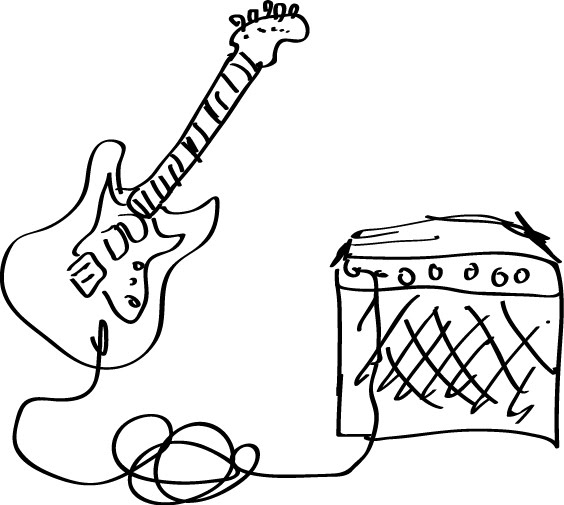
Plans that got me excited when I was searching google and found this. The Pièce de résistance! It is exactly what I wanted.
Guitar Patch Tutorial
- pants
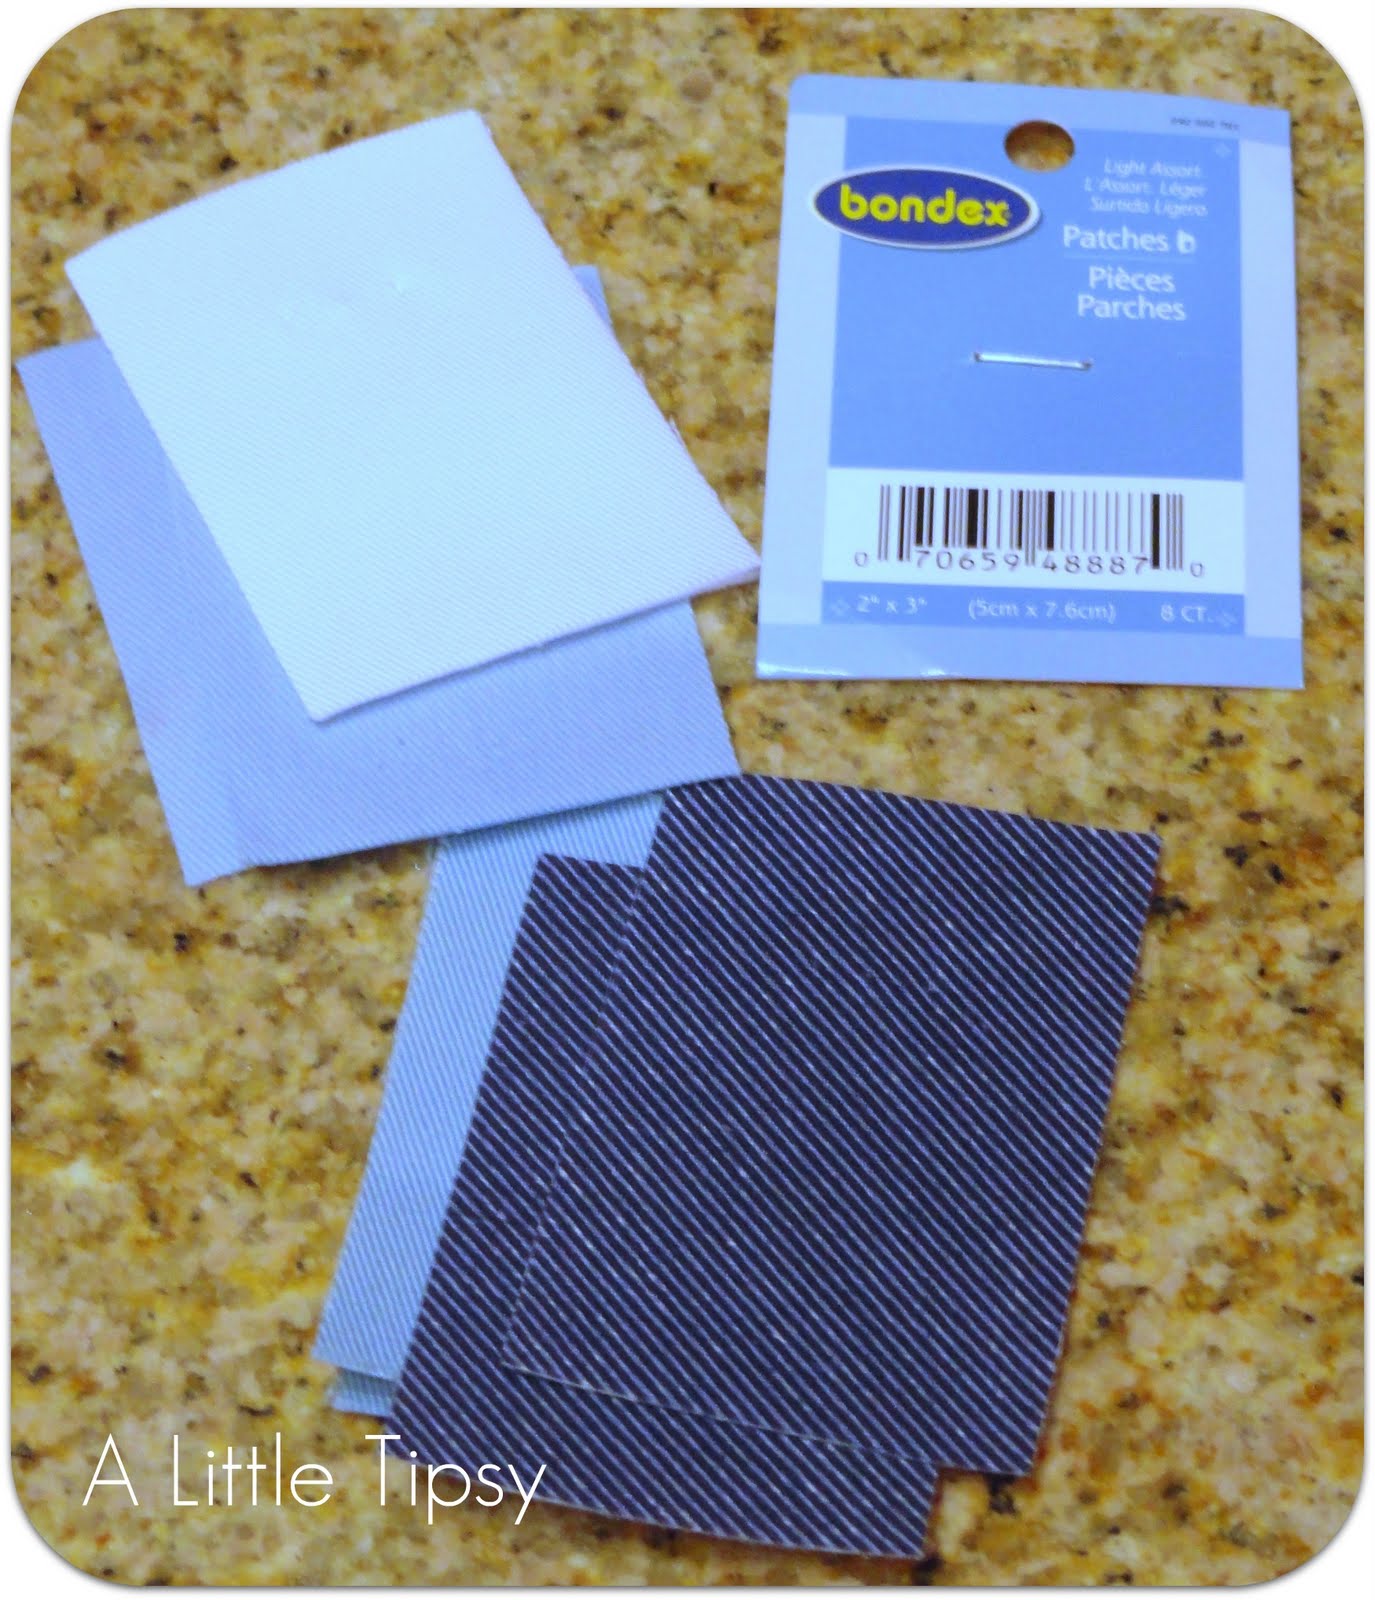
- iron on patches
- iron
- embroidery floss
- needle
- pattern
- patience (I don’t usually do projects that span over 3 nights, though it most likely won’t take you that long. I have backstitched one time previously in my life)
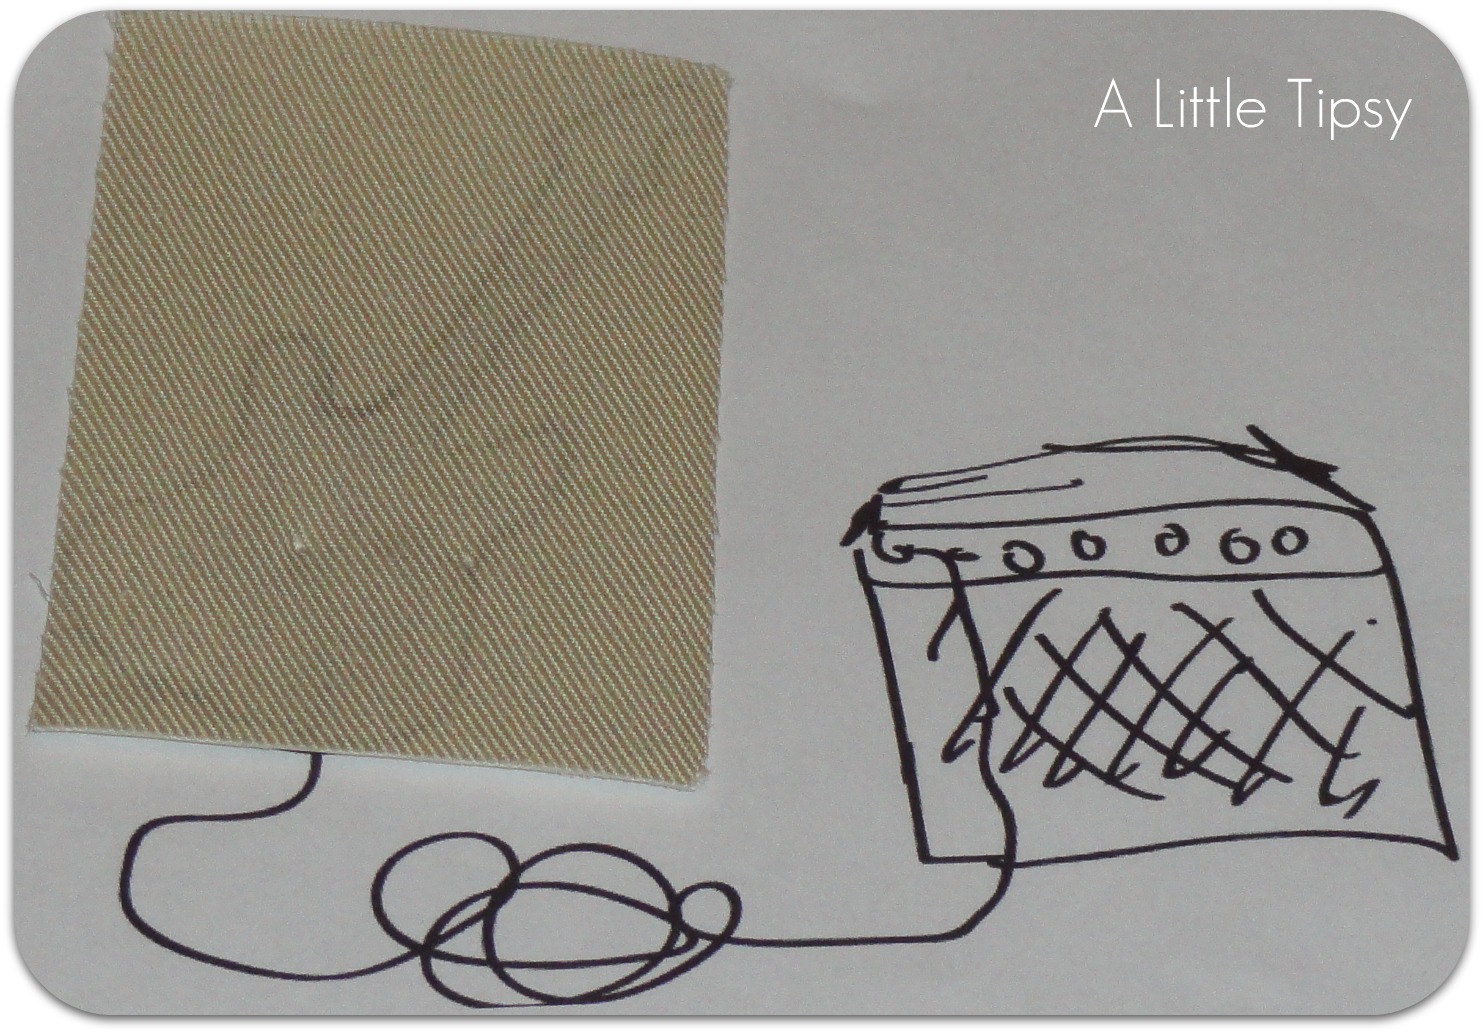
1. Holding your patch over the “pattern” aka printed out drawing, hold it up to the light and trace the outline of the guitar and the amp. Be sure to make them big enough to cover the hole.
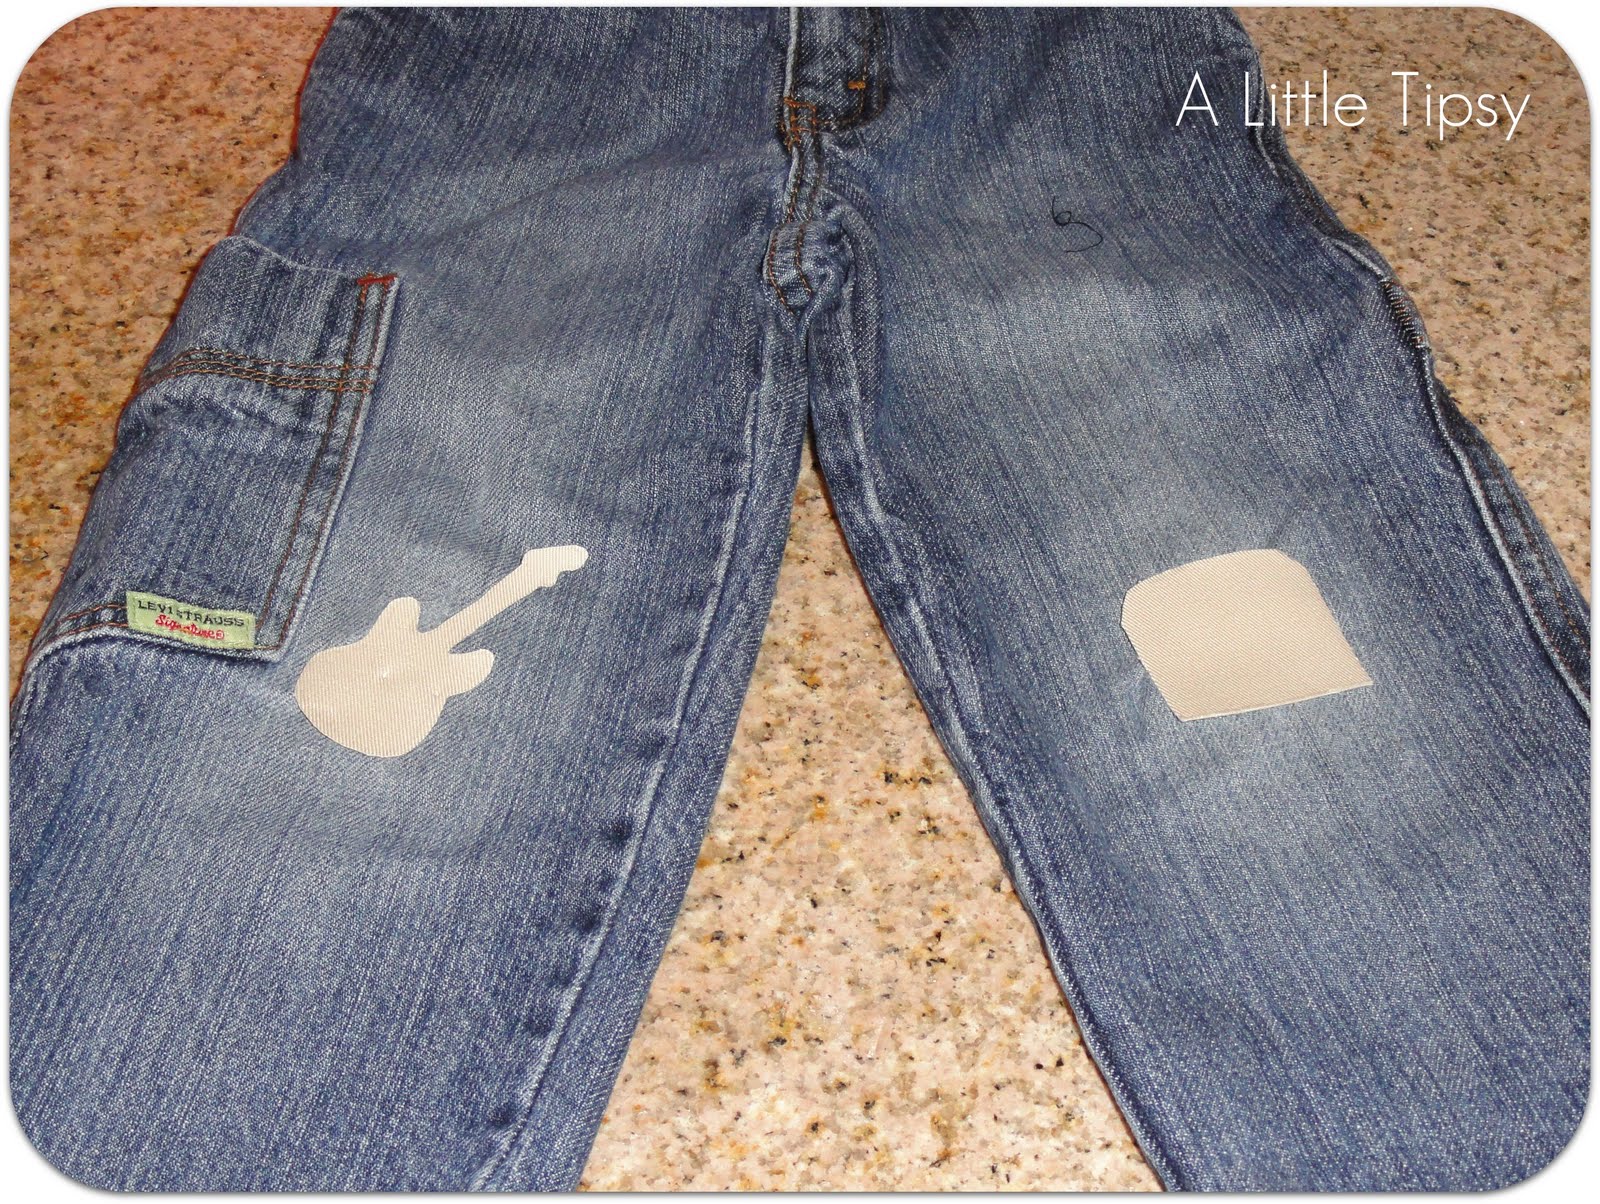
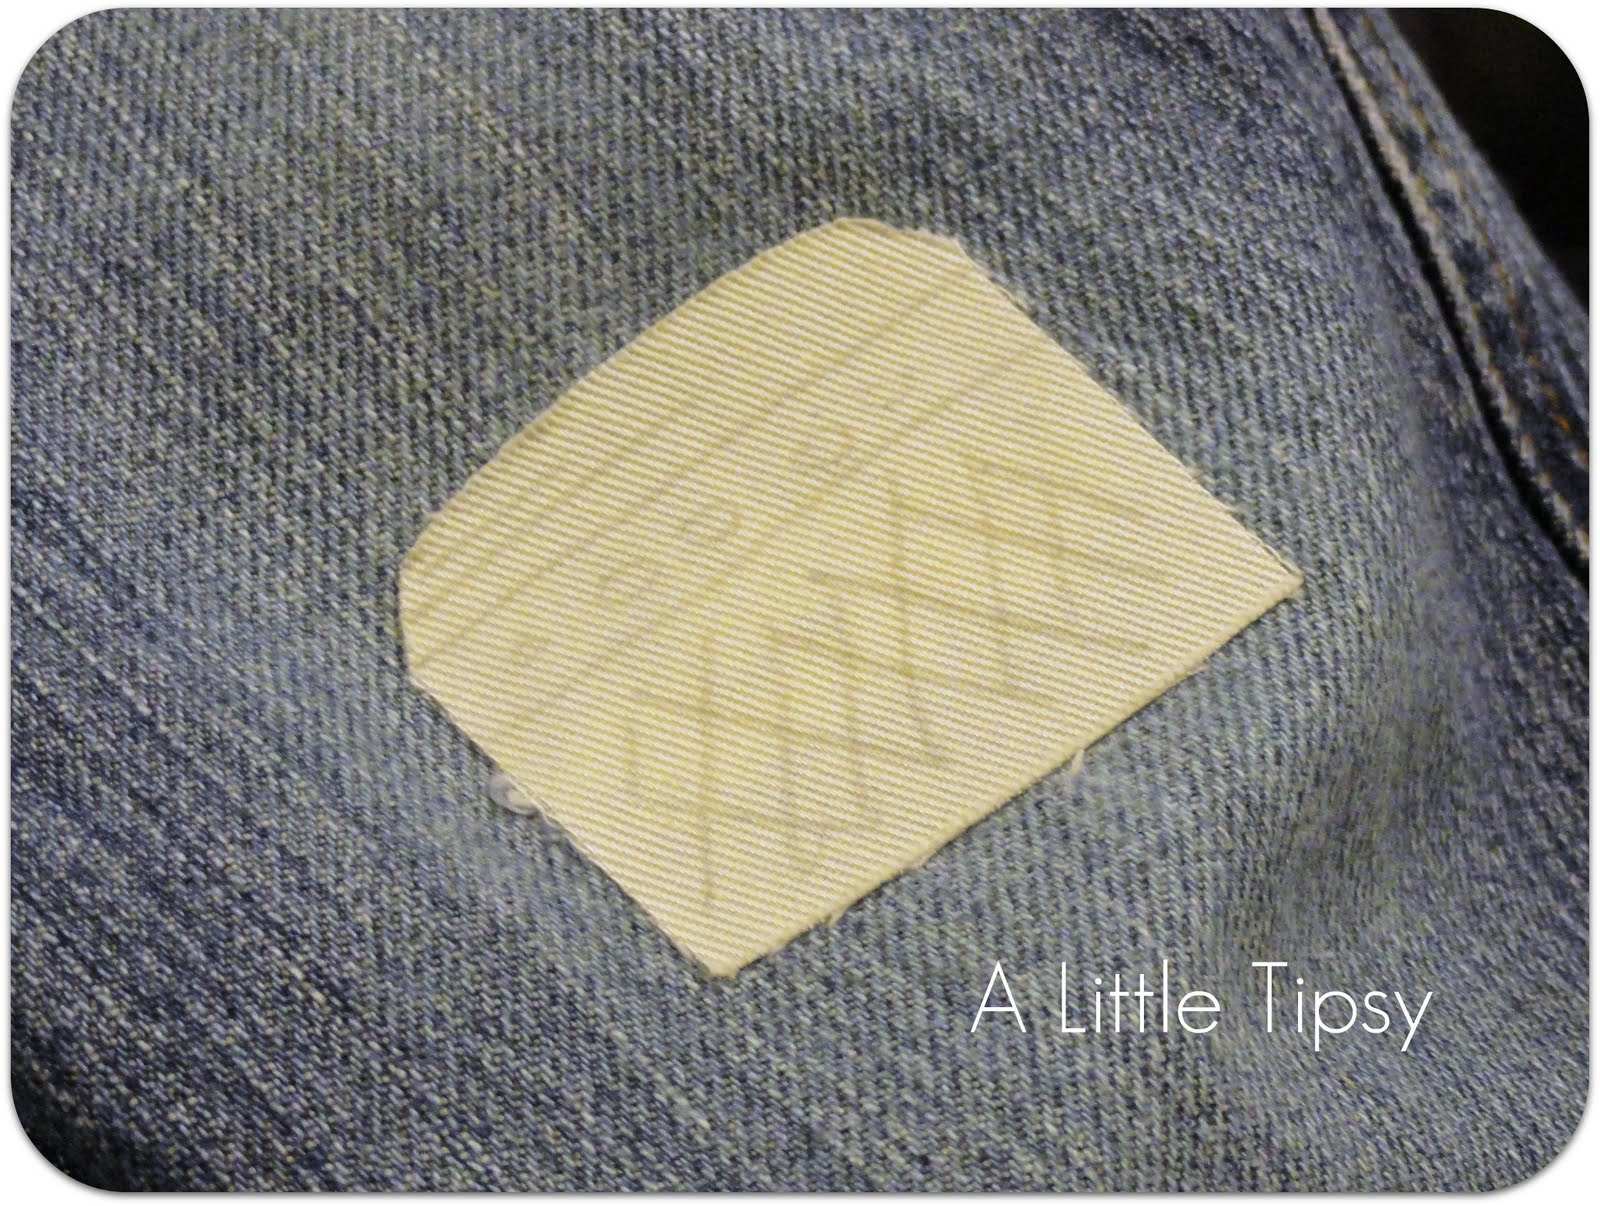
2. Cut out the shapes and lay them in place. I put a patch on the back side of the leg with the big hole for extra durability.
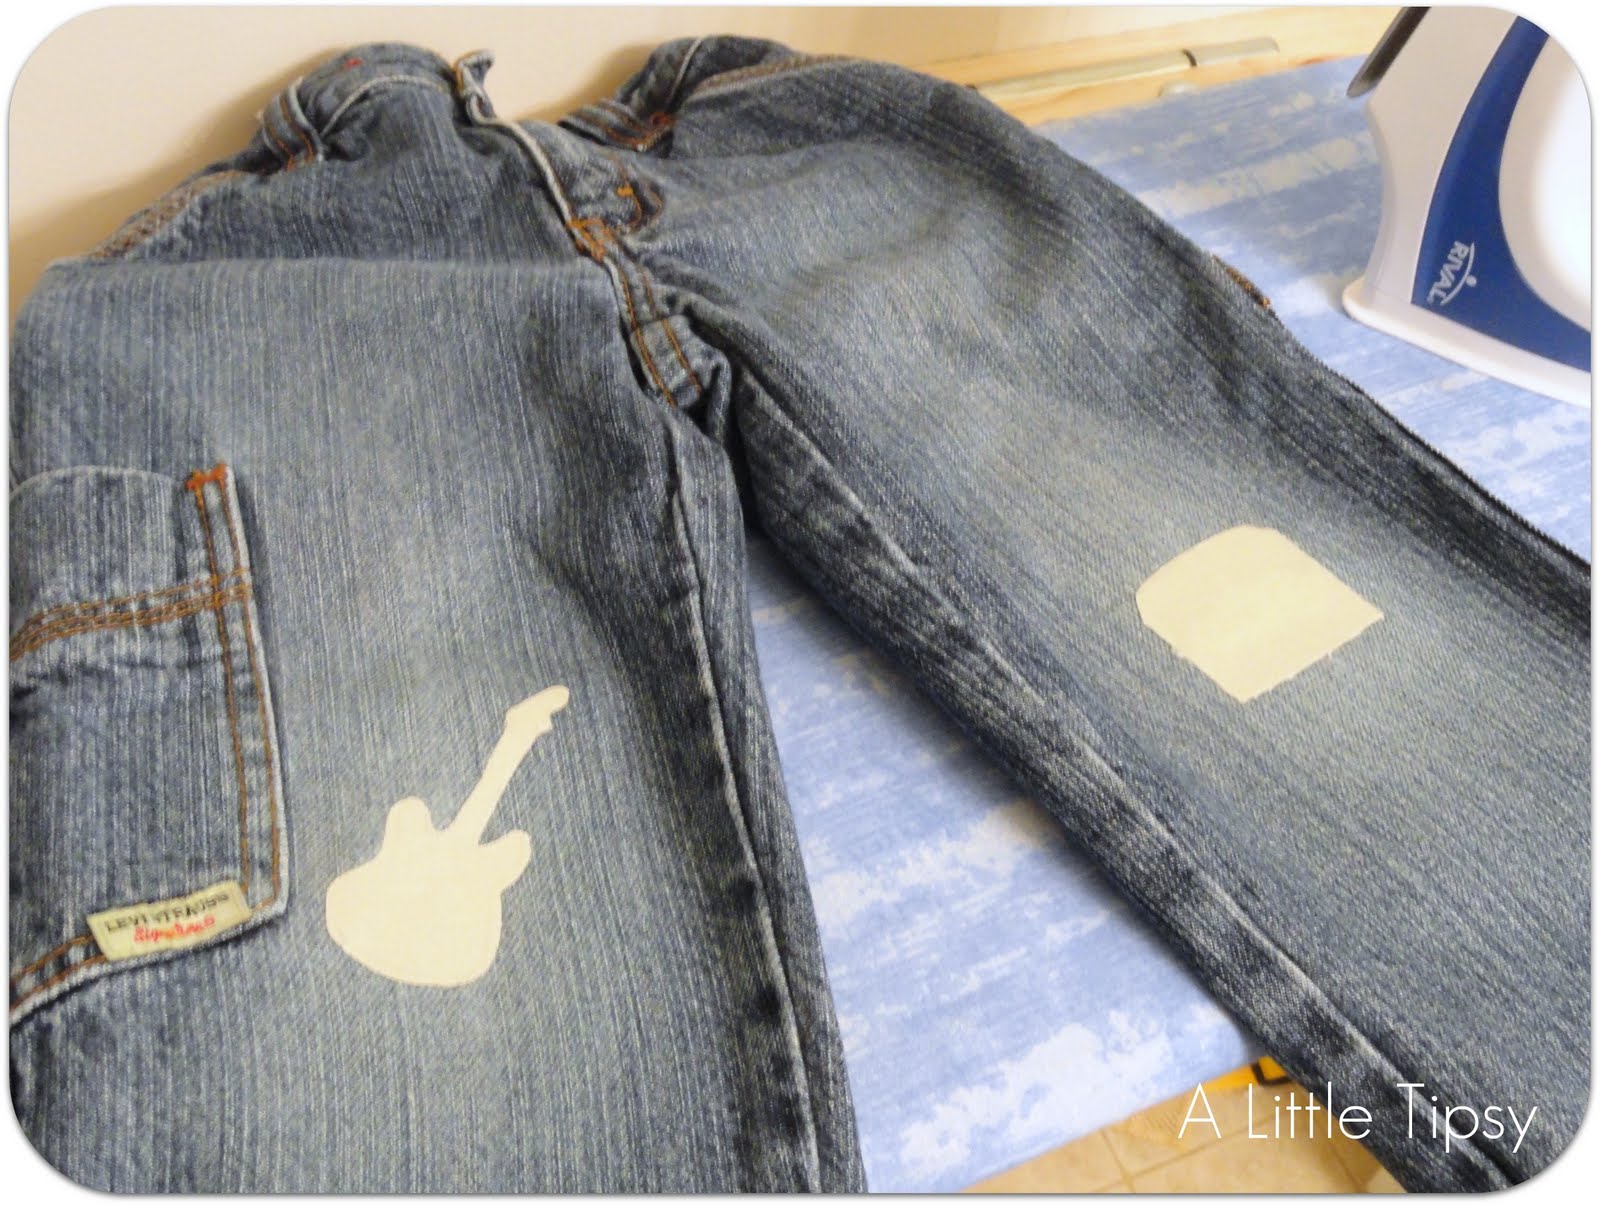
3. Iron them on using the directions on the patches. Mine was cotton setting for 30 seconds.
4. Sketch the rest of the design out on the guitar patch. (I suppose you could trace it all at the beginning, but you would have to do it pretty dark to last through the ironing etc)
5. Now just backstitch over the pencil marks. It is a pain to get through the patches, so use a thimble. Trust me, I didn’t. Here is a great backstitiching tutorial if you need it.
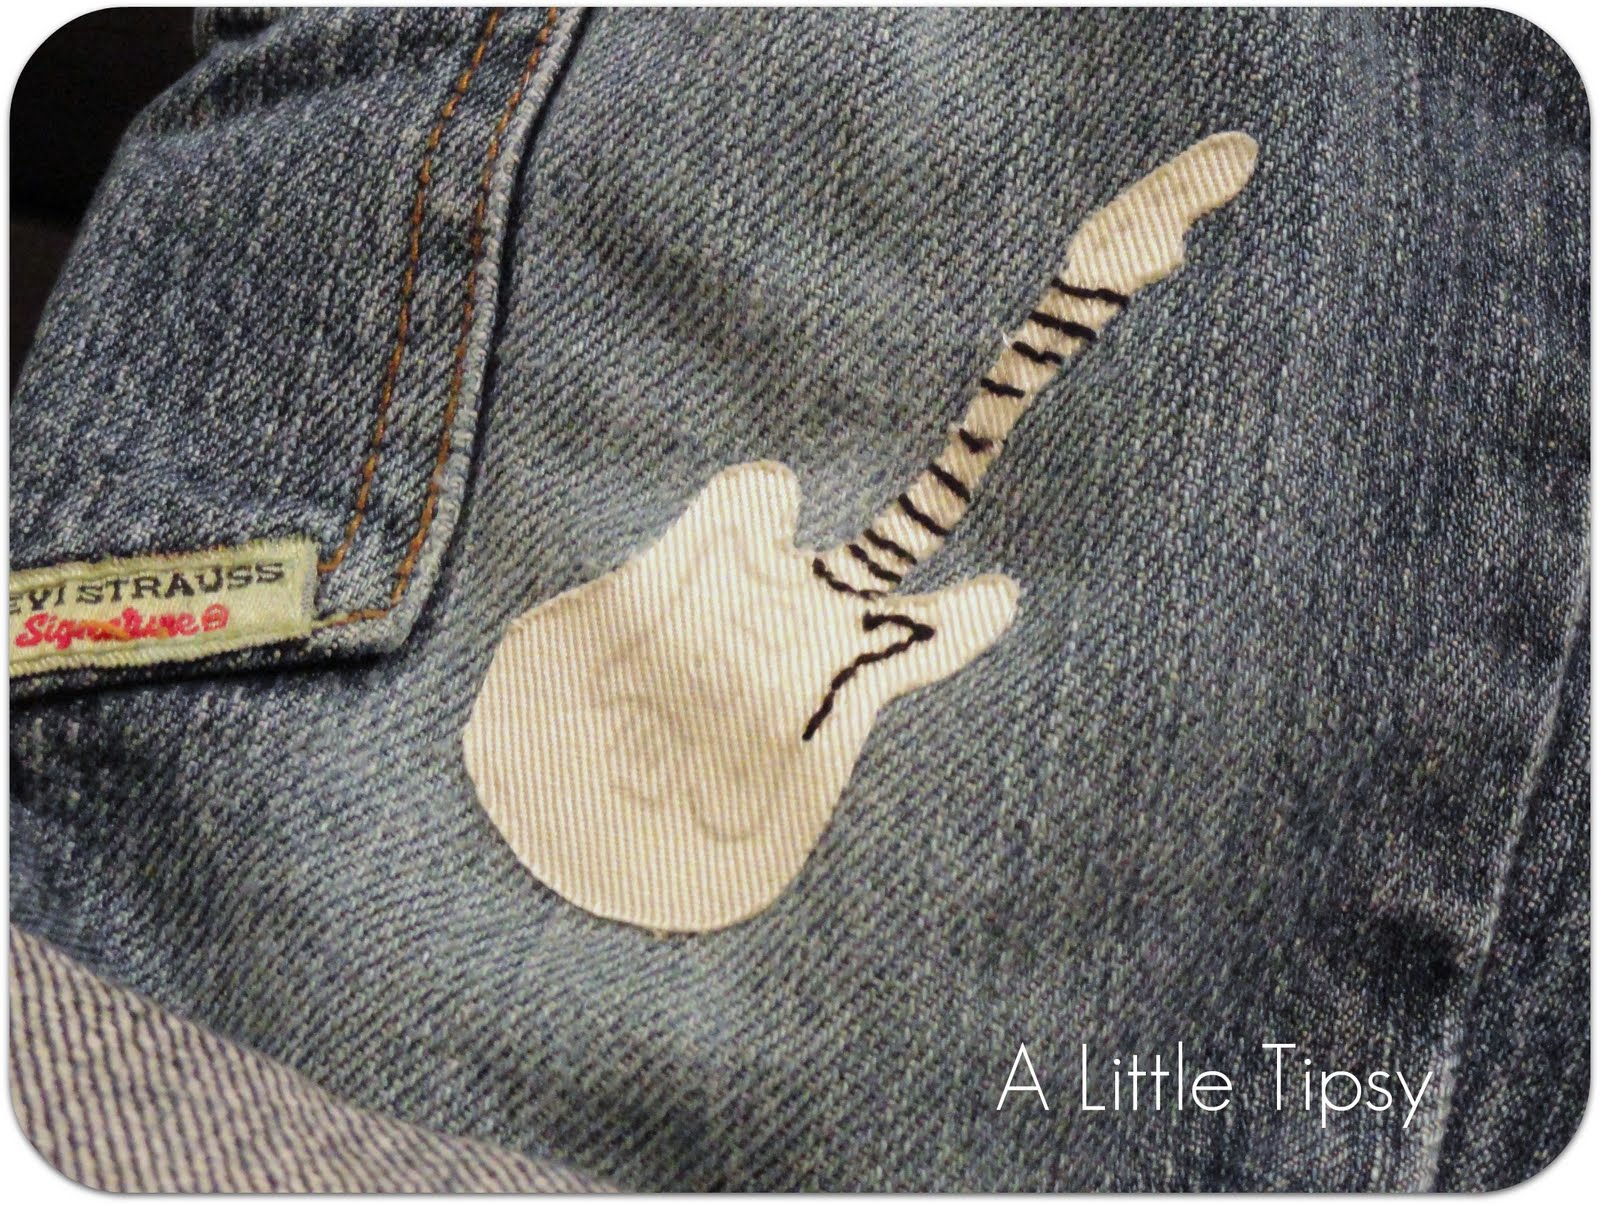
And there you have it. Some rockin’ little patches for yer boy!!
Now it’s time to link up!
Please remember:
- Only link to your own projects that cost you $5 or less (price does not have to include items you had on hand)
- You can link past projects that fit the dollar limit
- Please link back so others can join the party


P.S. Don’t forget to sign up for free Tipsy updates via RSS or email.
Those patches are so cute. What little boy wouldn’t want those on his jeans? Thanks for hosting.
What a great way to add a little fun to some patches! My son would love those!
Hey! I have the wrong picture posted with my entry #12 and it won’t let me delete it. Any ideas?
I can’t get your button to work for the life of me…I’ll keep trying. 🙂
Aloha,
chalrie
So cute! I have about 4 pairs of jeans I need to patch for George. He wears out the left knee in each one! I simply bought heat transfer fabric/material and some twill camo fabric. All I need to do is finally set aside some time to make those patches!
These are such cute patches…I want to put them on my newborn son’s non-holey jeans!
Thanks for hosting us!
I hope it is alright that I linked up the unicorn I sewed! I am certain that if you have to buy the supplies to make one it will definitely be alot more than 5$. But I was pretty lucky to have everything lying around except the white curdoroy. This one I ordered but got it for a pretty good deal … and as I did not need much for the horse it was not very expensive. You could also use only scrap fabric.
And I payed for the pattern. But that was it.
I LOVE doing projects where I can use stuff that I already have! 🙂
And also – am loving your patch idea! Am here on your blog for the first time and subscribed as a follower. What a fun blog!!!
I just tried to add your button … but I can not get it to work? It just shows up as a long weird link … no picture or actual button. Am I doing something wrong?
In genius! I am impressed!
Adorable! What a great idea!
awesome Michelle! love a good boy craft! 🙂
happy crafting!
Linda
I made these for my son for Christmas and he LOVES them! Thanks for the great idea!
http://gainingmomentum.benschoter.info/2012/01/02/rock-star-jeans/