Hello everyone! I am Sachiko from Tea Rose Home where I share sewing, refashioning and craft projects. I am so happy for Michelle and her family for their new bundle of joy. I met Michelle in person a few years ago, and I really loved her warm down to earth manner. She is the type of person that when you meet her once you will consider her your friend. I am excited to share my autumn craft tutorial with you today.
I usually don’t like over-the-top seasonal decorations (except Christmas), but it is fun to have some items here and there to get the feel of the season.
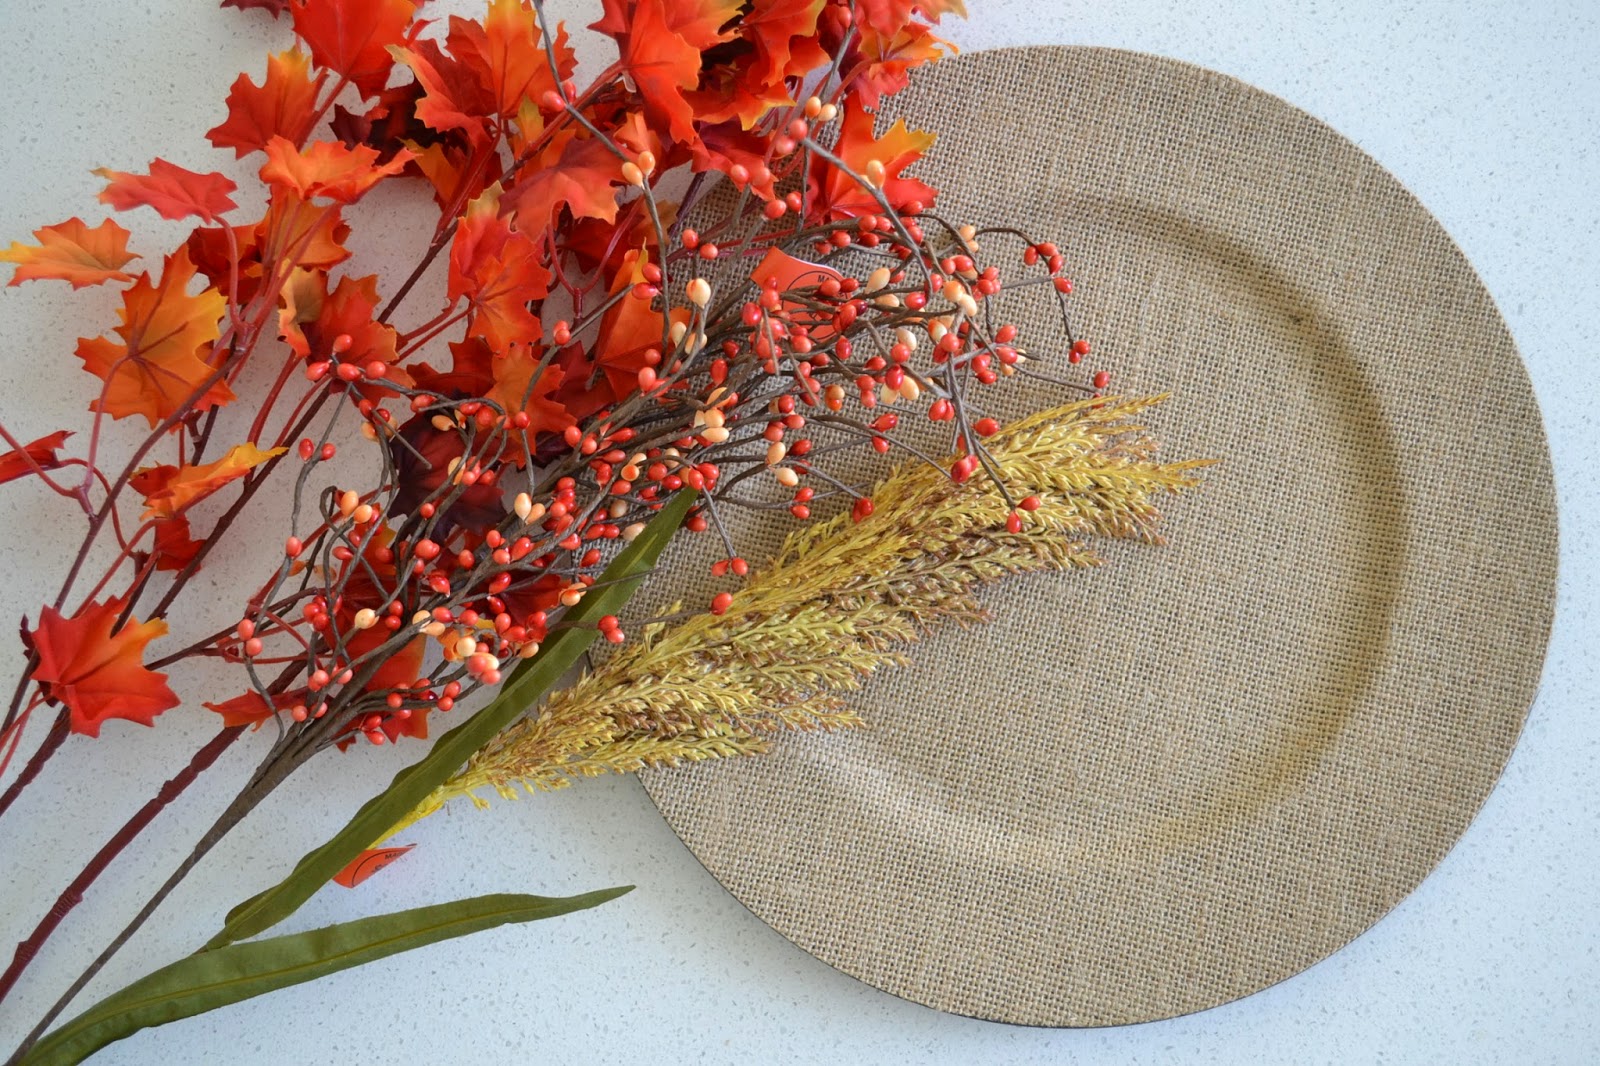
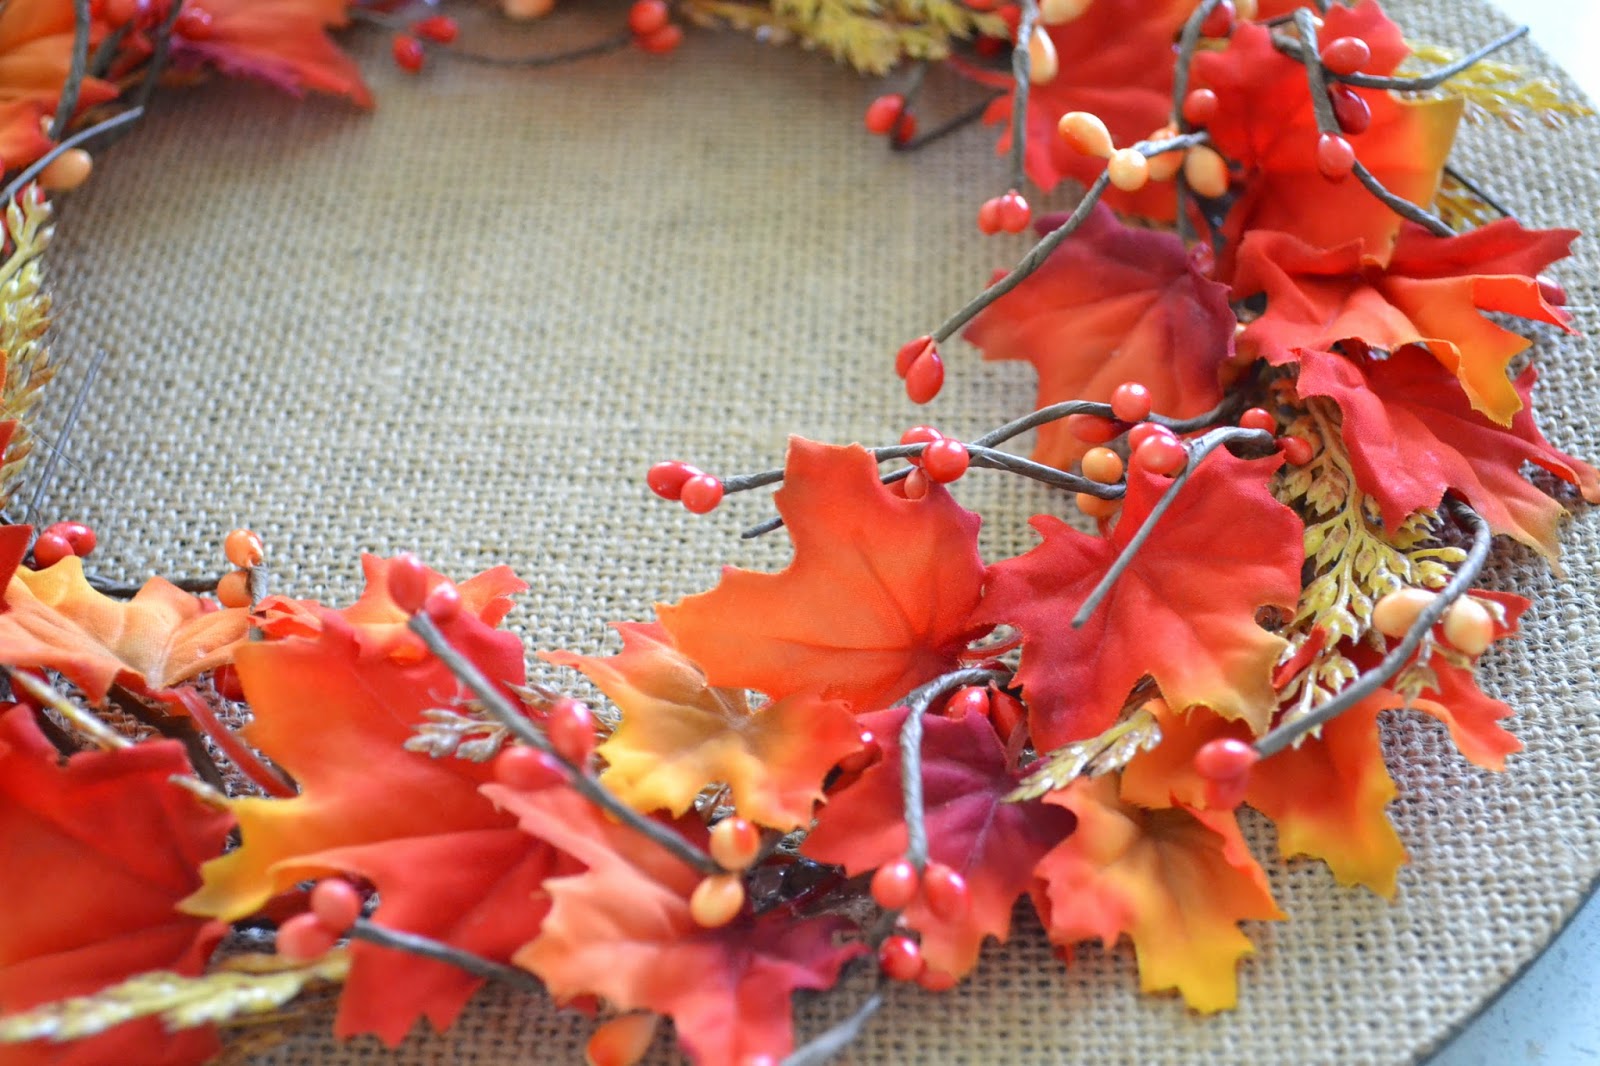
I found a unique plastic plate at Hobby Lobby the other day. It is covered with burlap and get this… it was only $2.99. I had a light bulb moment and knew exactly what I wanted to create with this.
{You will need}
Plate
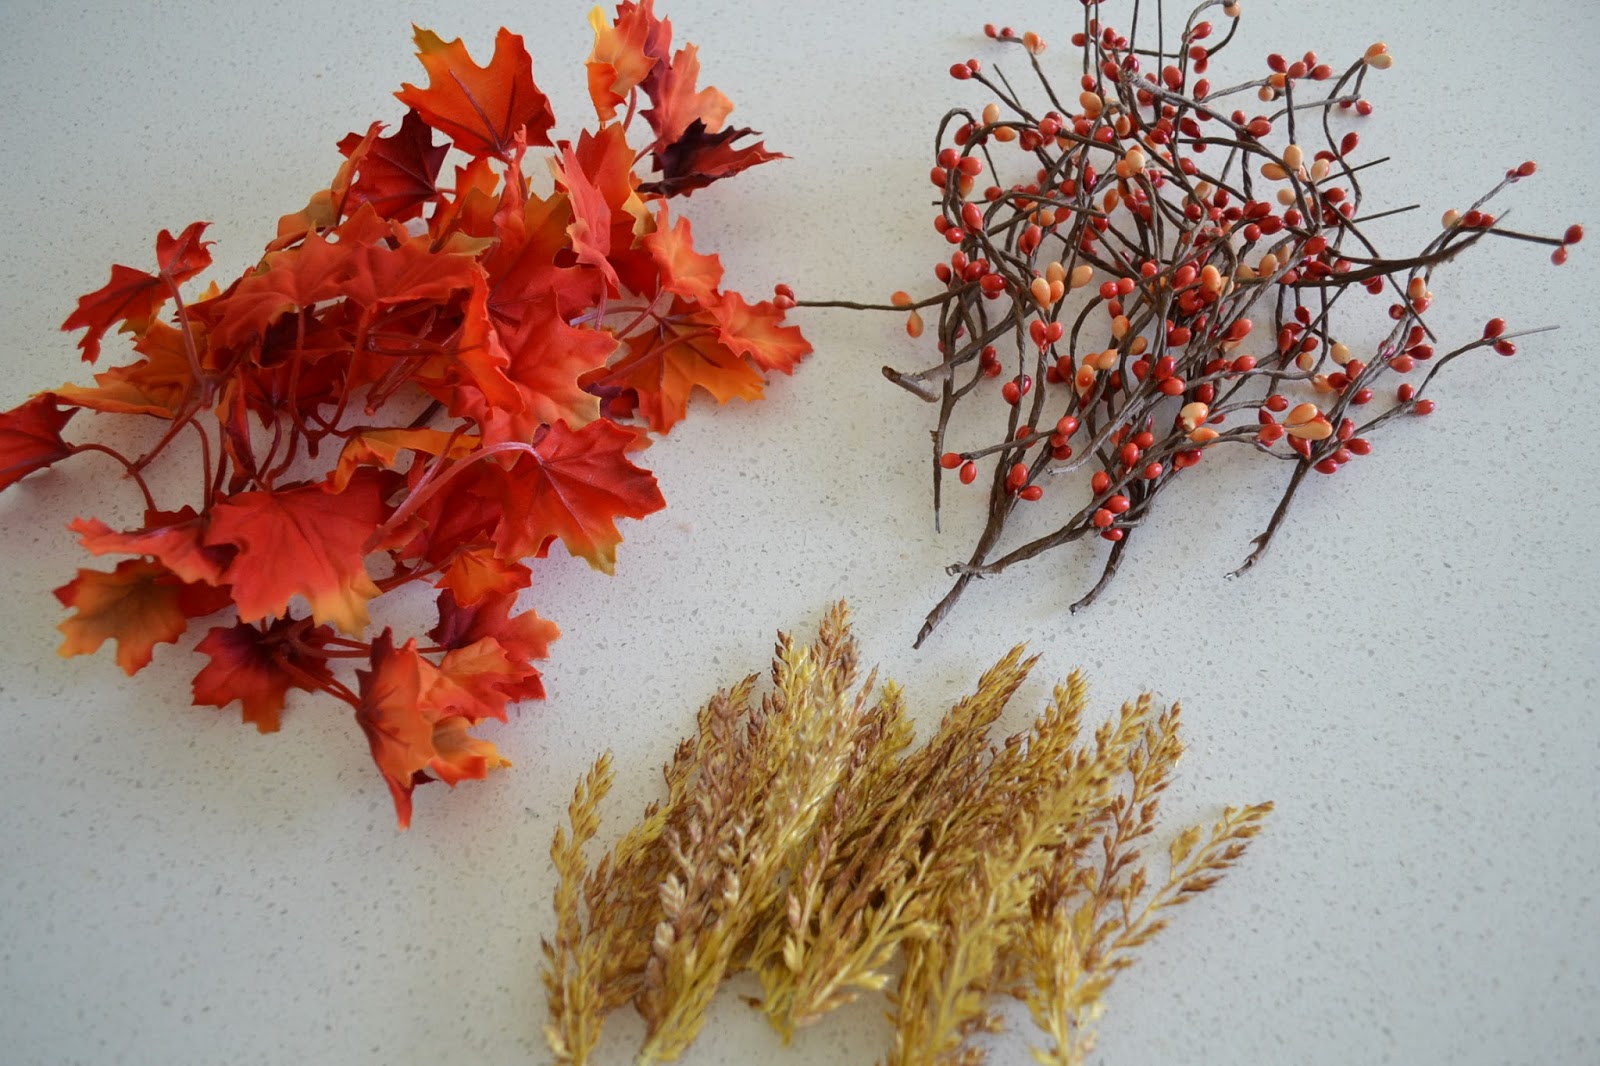
A few fall stems
glue gun
{How to}
1. Separate the small branches off the stems. I chose the ones in the picture, but you can choose something completely different and create your own look. Right now, fall stems are on sale for 40% off at most of the craft stores.
2. Start gluing them onto the plate. It is so much easier to create a perfect circle with a plate. All you need to do is to glue the stems along the inner edges of the plate.


3. Keep going until you connect the ends. Make sure that there is no glue showing. Add some branches to those spots to make it pretty.
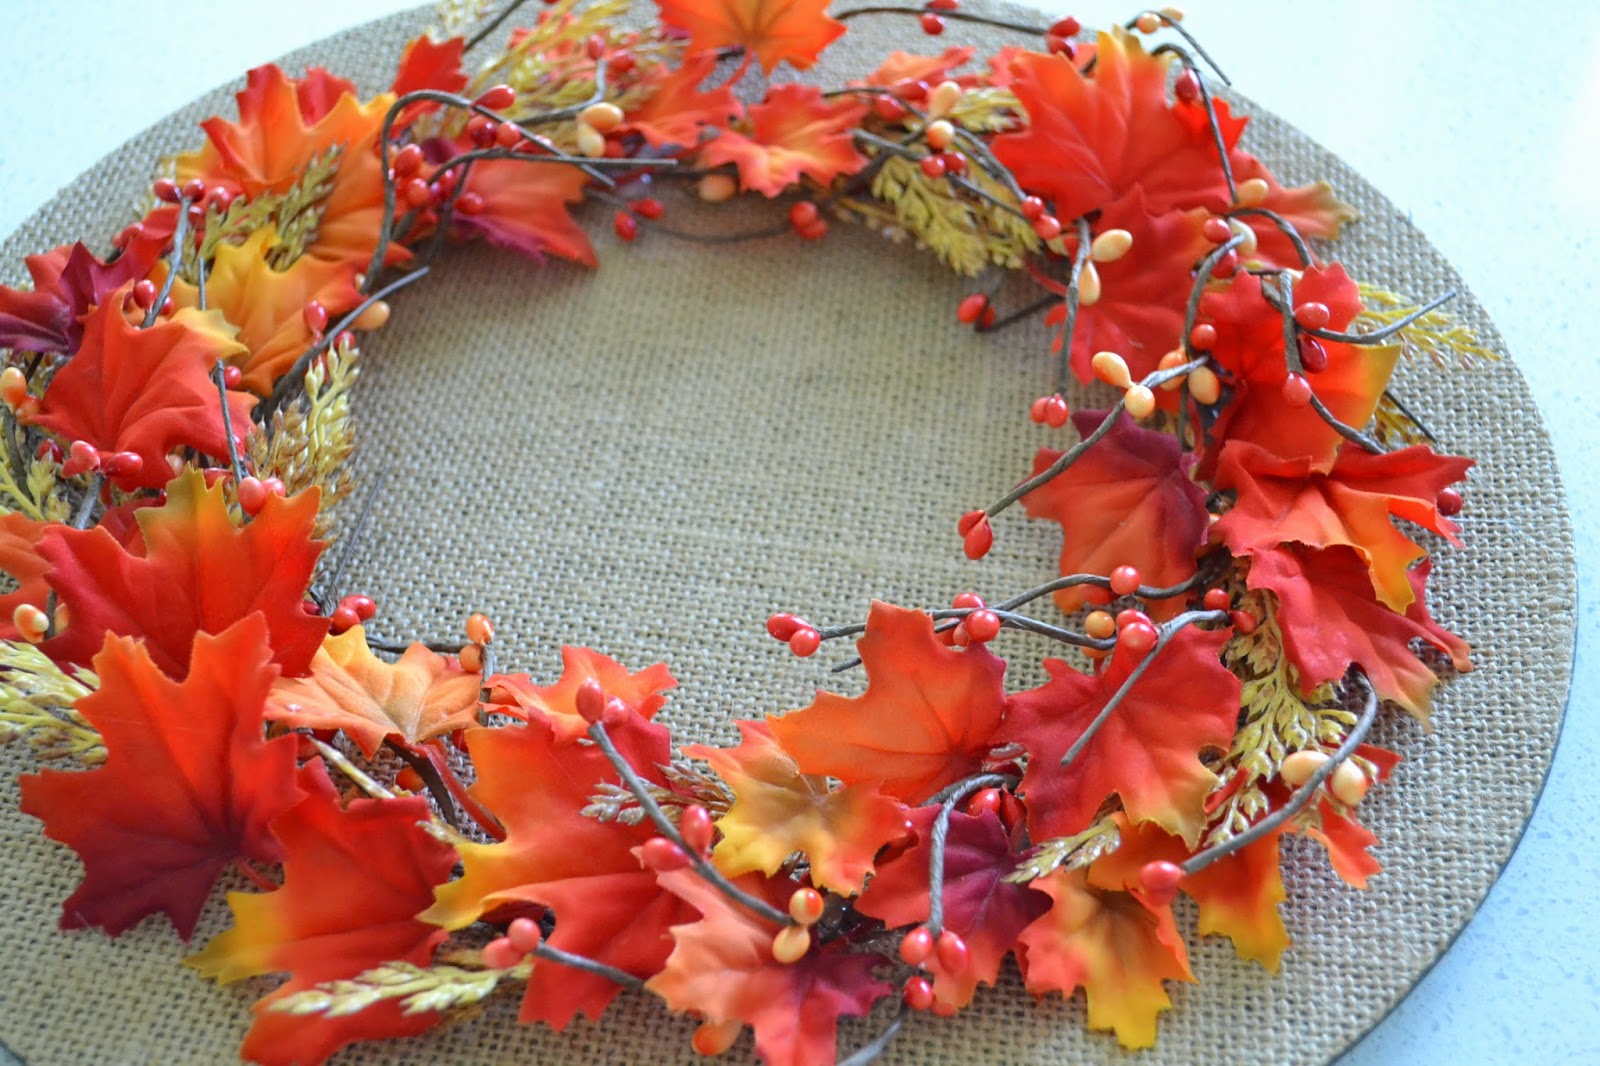
The great thing about this Wreath on a Plate is, you can decorate in two ways.
I used a plate stand to prep the plate. Now, I can enjoy the small ‘Wreath’ on my buffet chest.

or, I can lay it flat and put candles and such to decorate the space.
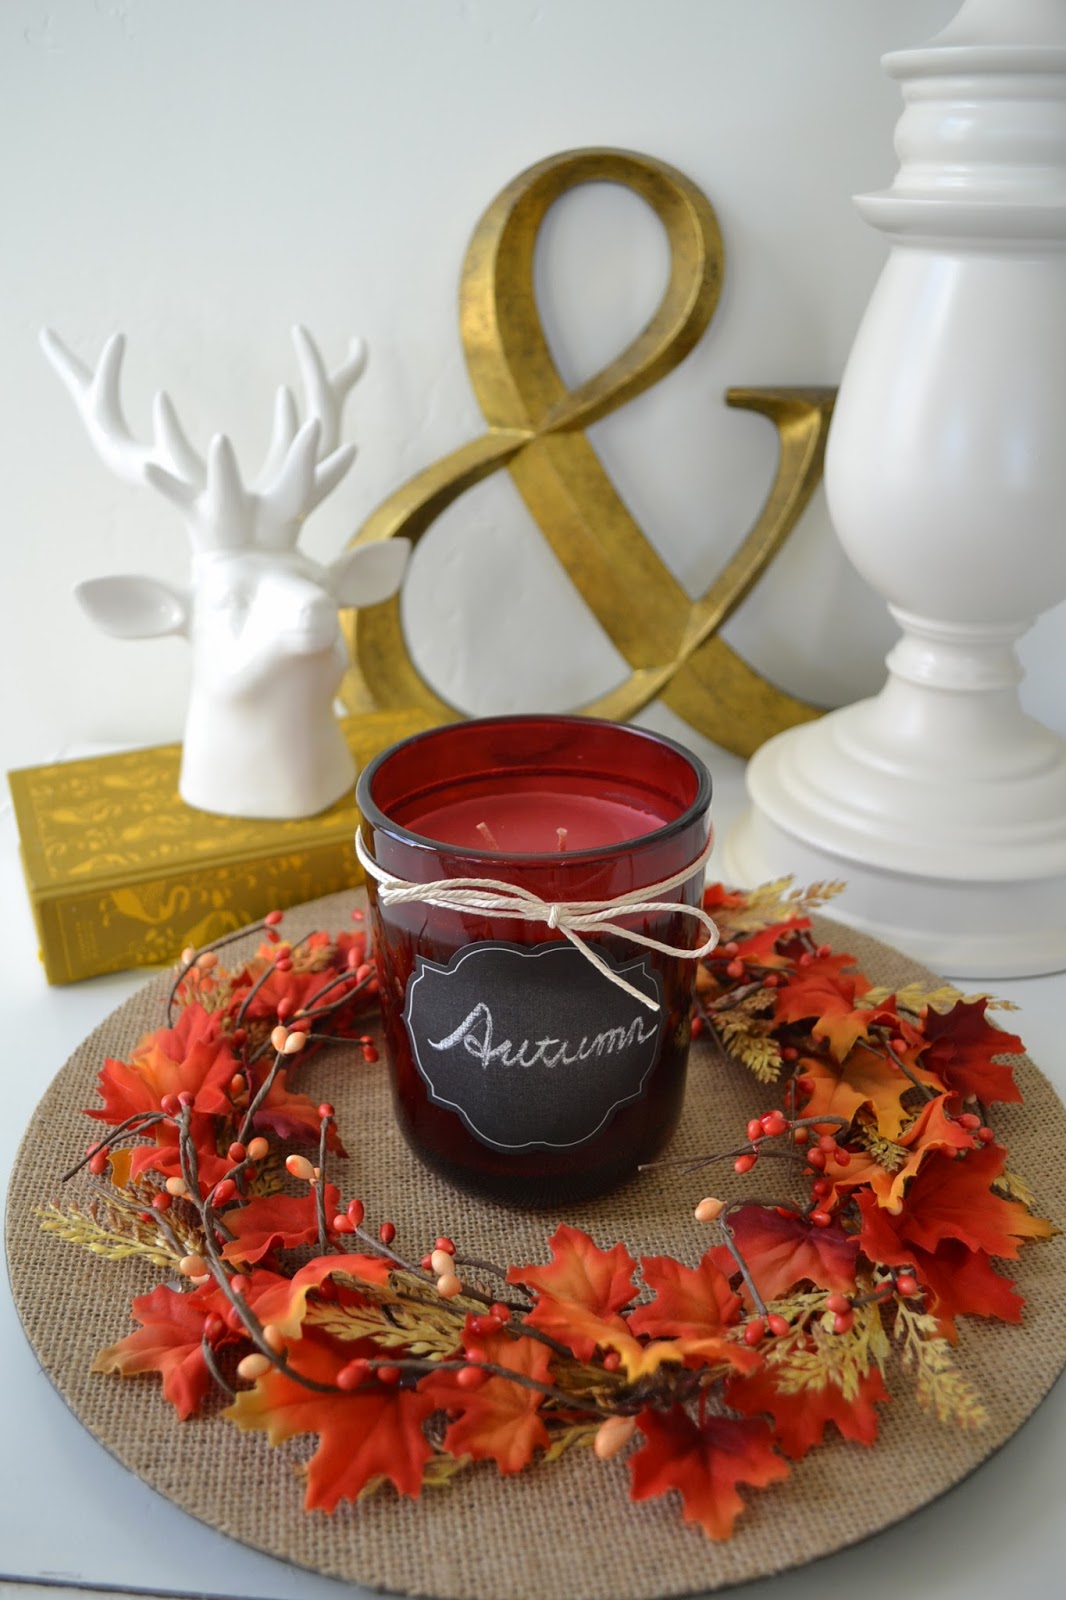
I love versatility. 🙂
Thank you for having me here today, and I hope you enjoyed my post. Please come visit me and explore other sewing/craft posts such as these:
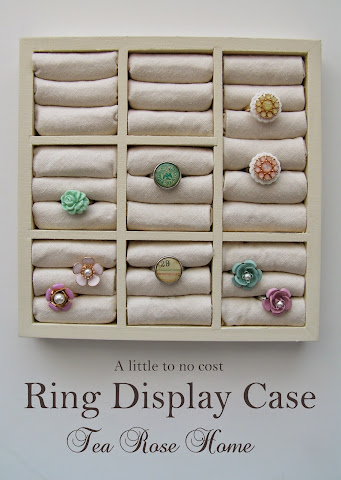
Dollar store find to a ring display case;
If you like sewing, you might like my She Carries flowers bag…