Saturday, March 31, 2012

DIY Under $5 Features

Fun colors are here! I am loving the array appearing in the party! I love how you guys come up with things I never would have thought of. Here are some of my favorite pops of color...

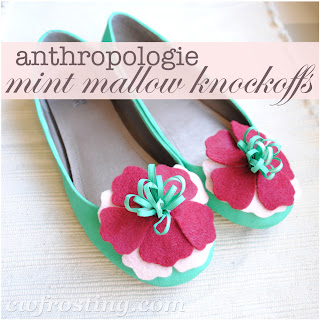
Mint Mallow Knock Offs from c.w.frosting
Chalk paint on shoes!


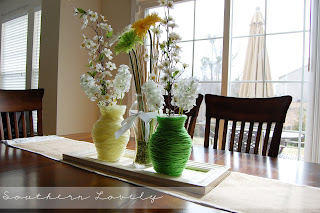
Spring Centerpiece from Southern Lovely
Yarn on vases, too cute!


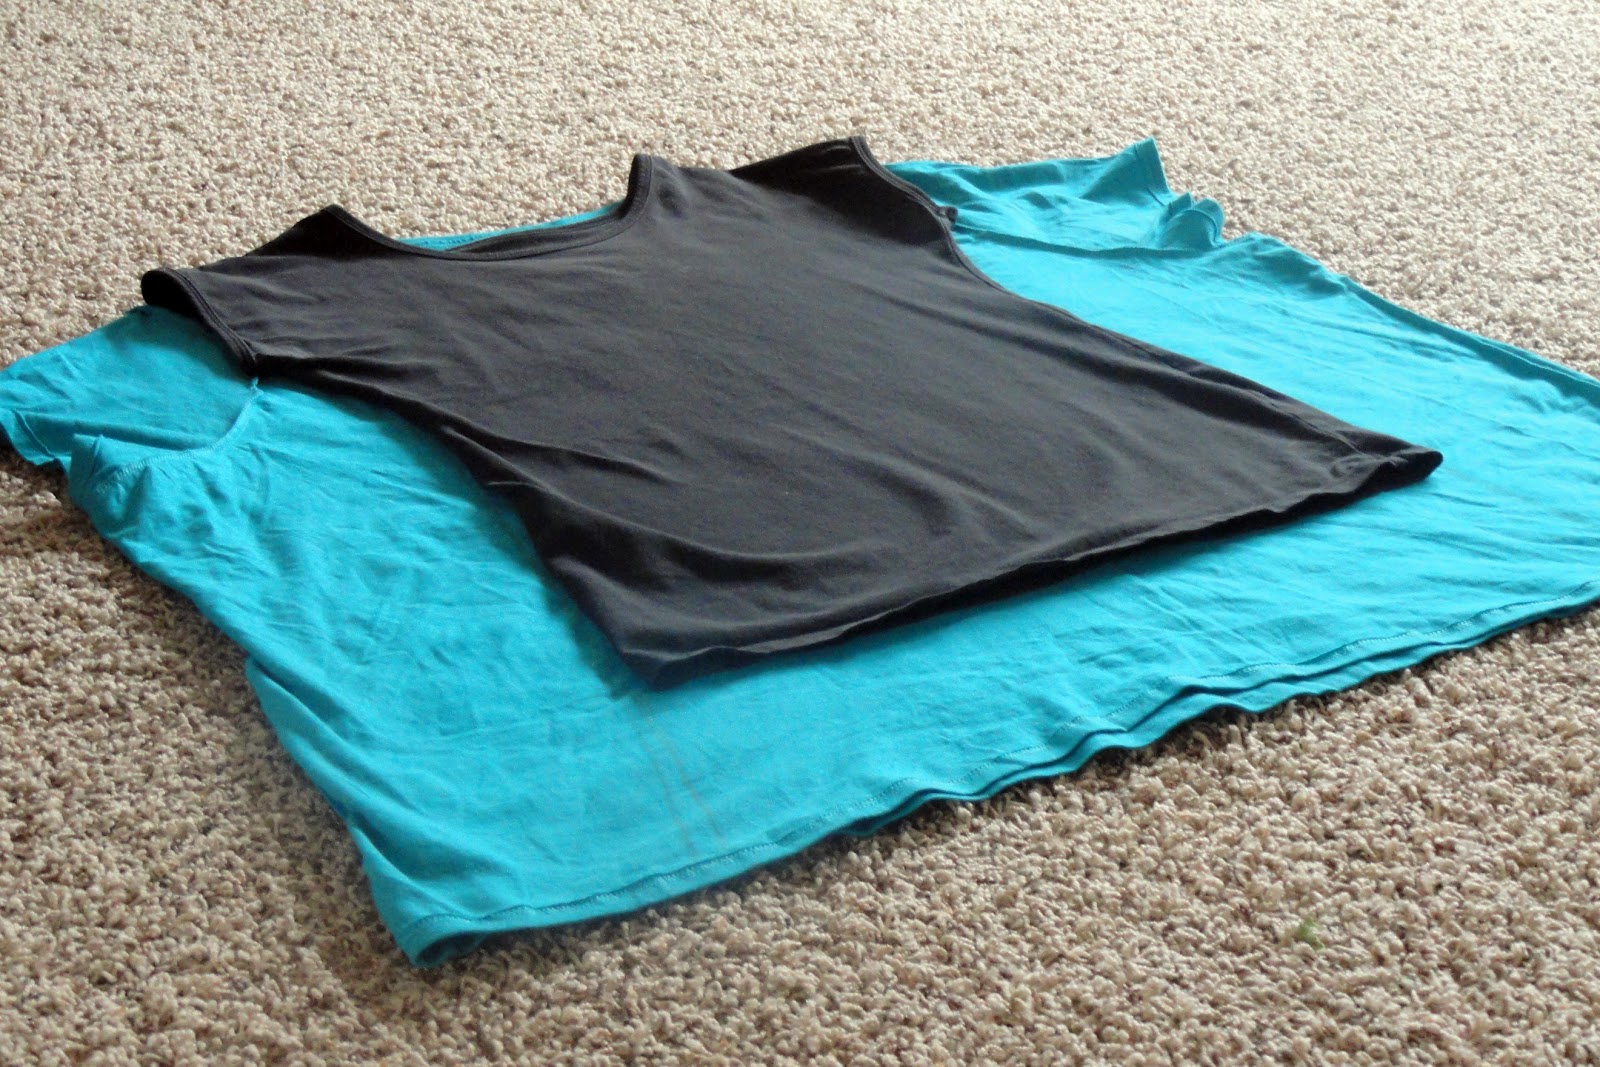
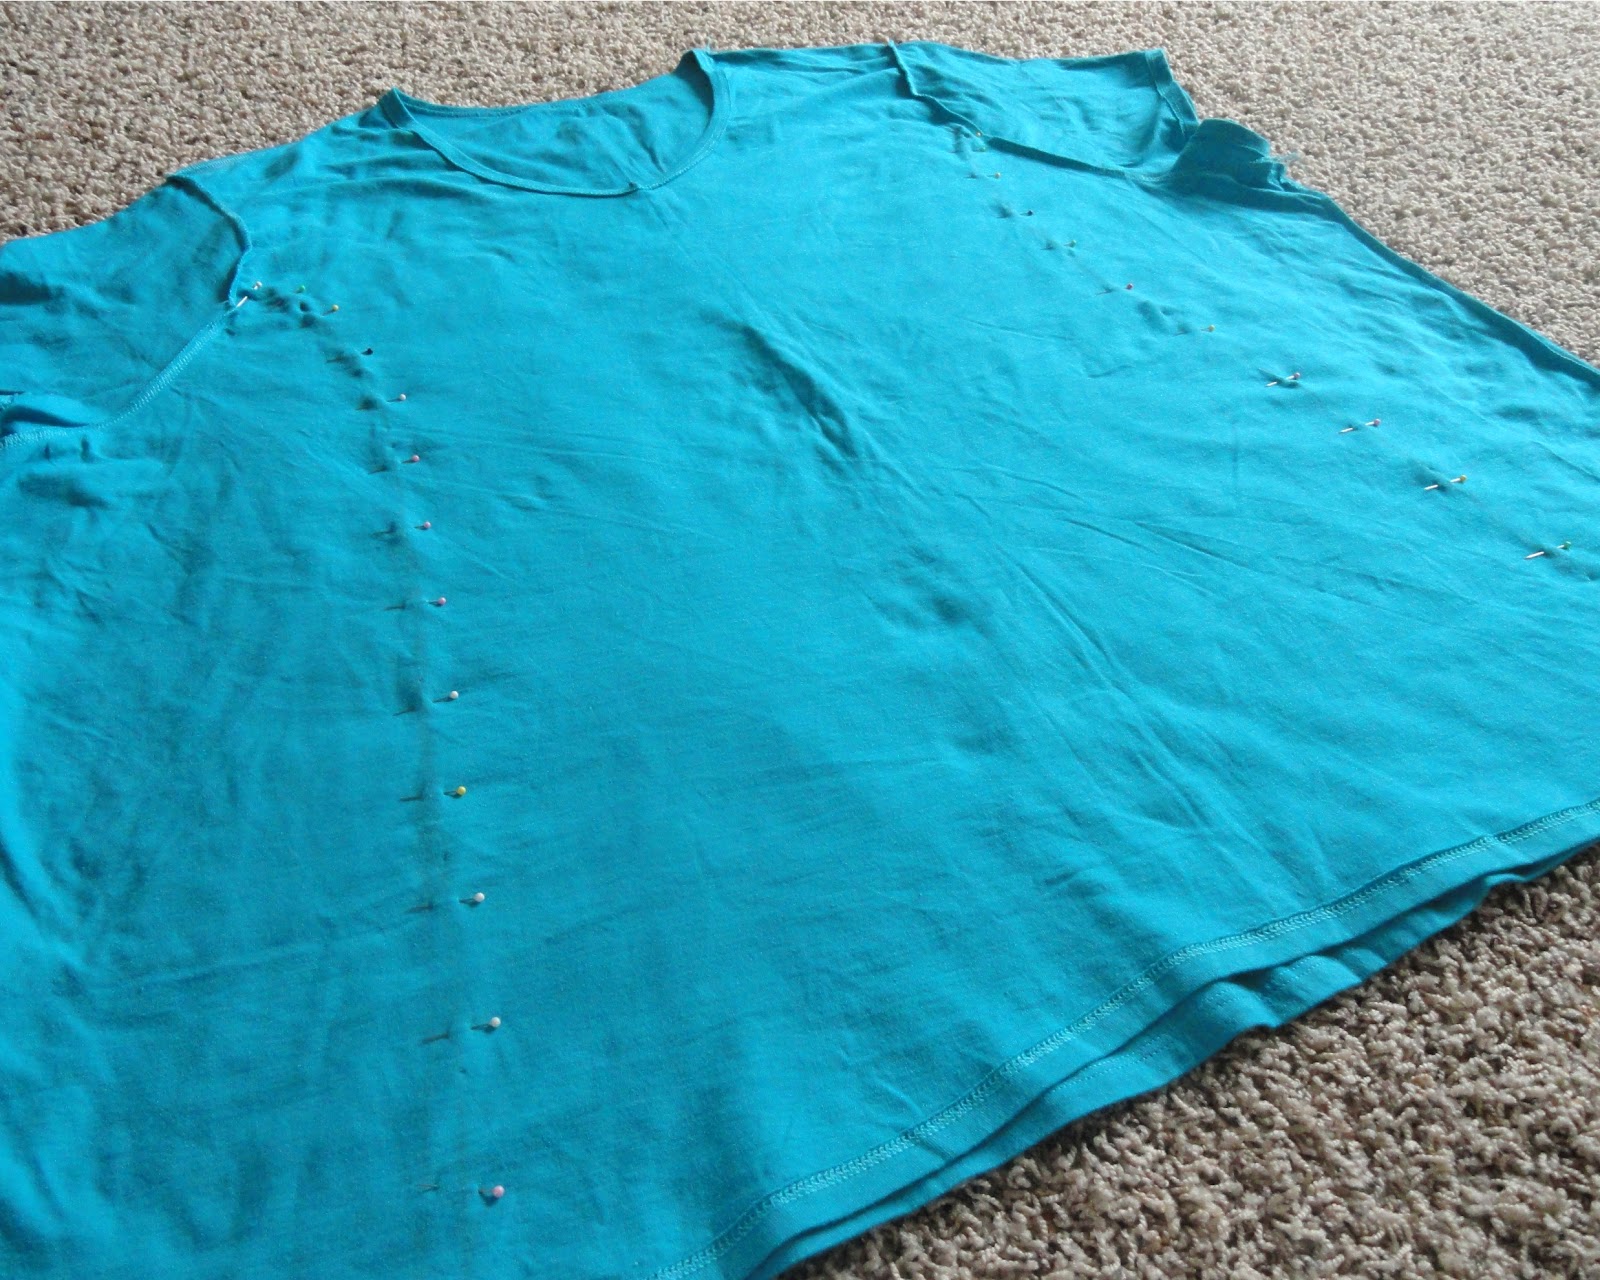
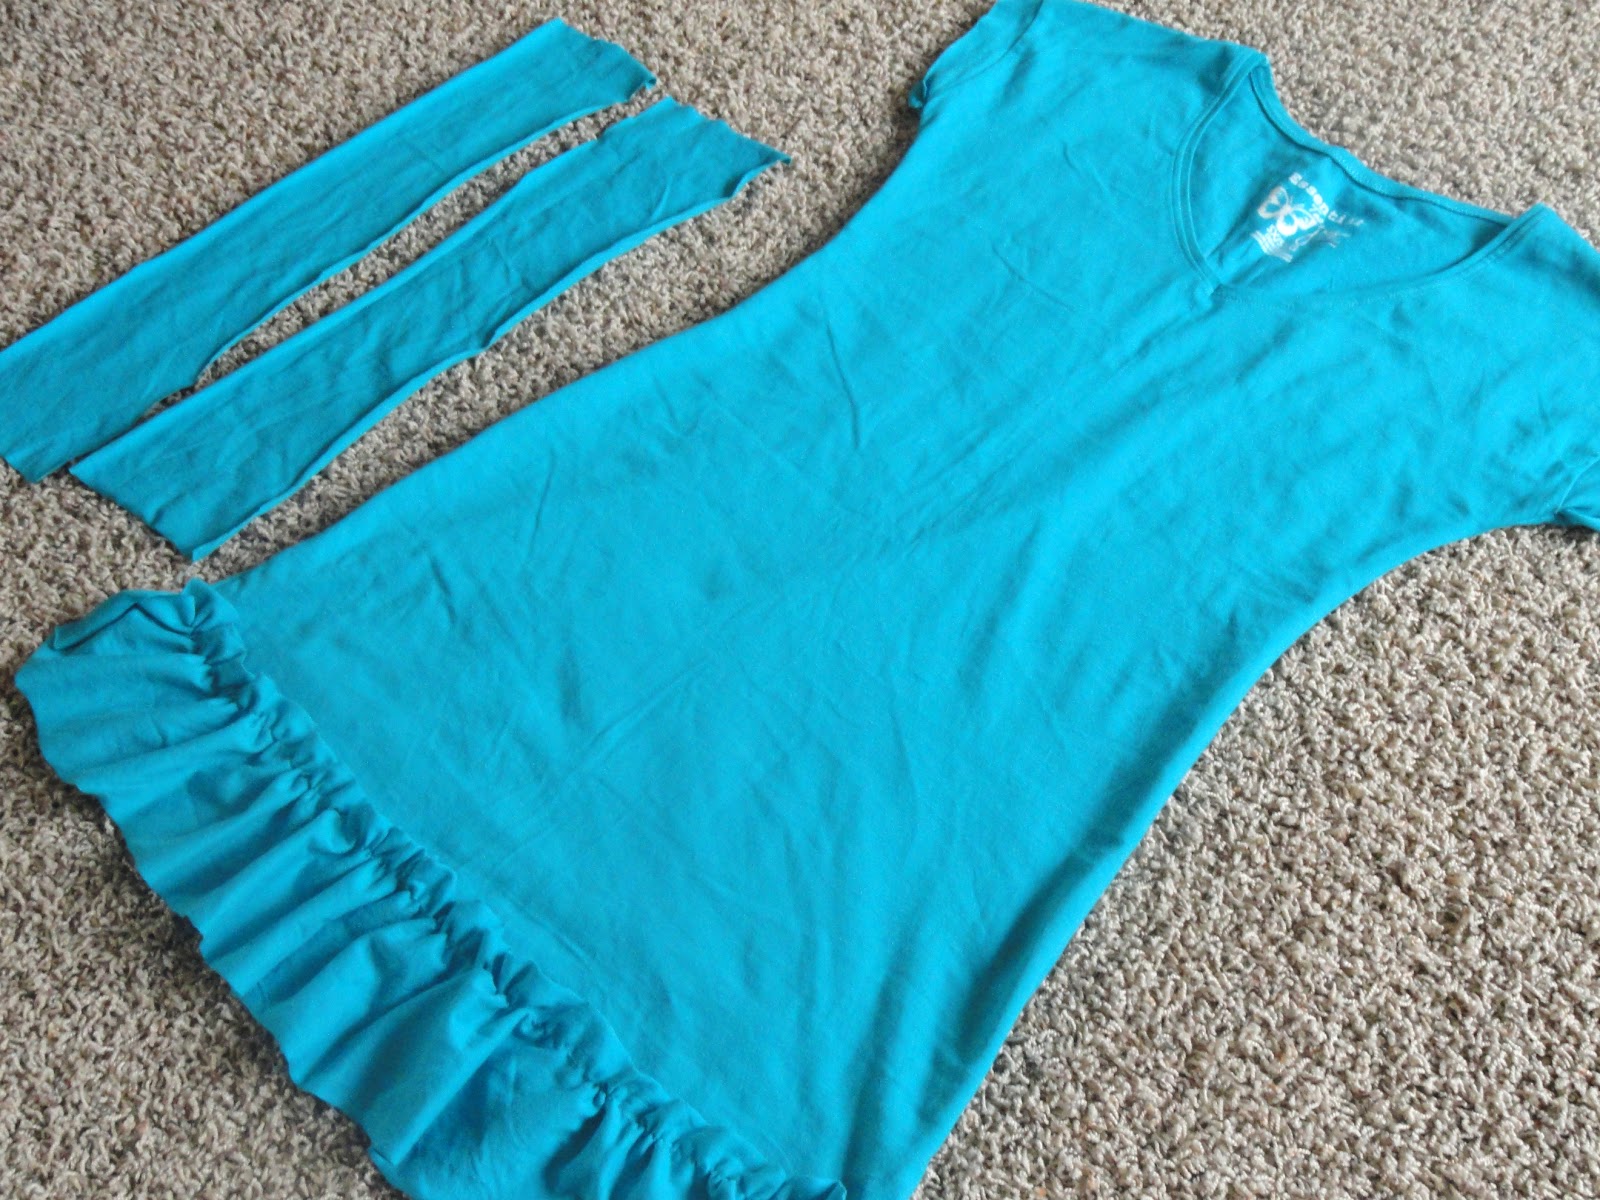
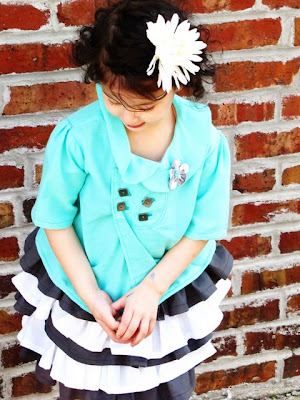
Striped Ruffle Skirt from Mama Says Sew
So fabulous in stripes!


Paint Chip Eggs from a little something in the meantime
Built-in ombre!

Paint Chip Eggs No Banner

For those featured, be sure to grab your A Little Tipsy featured button here.  

P.S. Don't forget to sign up for free Tipsy updates via RSS or email.

Thursday, March 29, 2012

De-stash Bash Winner Projects: Stenciled Tile Coasters & Handmade Cards

Remember at the beginning of this month when we had the De-stash Bash giveaways? Well, Felicia and Leslie have already put their prize packs to good use and I get to share their projects with you!


Let's start off with Stenciled Tile Coasters from Felicia...


--------------------------------------------------------------------


I was so thrilled to win the Paint & Adhesives Pack giveaway from A Little Tipsy that I had my first project planned out in my head before the package even arrived!  Using some of the items from the giveaway, I made stenciled tile coasters.  

I already had 4 white ceramic tiles that I wanted to use as drink coasters for my living room, but that's as far as the project got.

Until - duh tuh duh - the bounty of paint and adhesives was dropped at my doorstep.  I wanted the coasters to coordinate with the Asian'ish decor I one day would have in my living room so the stencils in the pack were perfect and the gold metallic paint could not have BEEN any more perfect!  About 15 minutes after receiving the loot, I started my tile coasters project.  


 The materials I used:

  • 4 white tile coasters
  • Black matte spray paint
  • Krylon glossy water-resistant polyurethane spray
  • De-stash stencils
  • De-stash metallic gold paint
  • De-stash Fruit Punch satin paint
  • Green metallic paint
  • Stencil brush
  • 220 grit Sanding sponge

The ceramic tiles were smooth and very glossy, too glossy for paint to stick to them, so I sanded them a little with a 220 grit sanding sponge. I sanded in the same direction just enough to take the shine off because I didn't want to have to paint 4 or 5 coats of the black paint just to cover up the sanding madness.


Once the tiles were smooth and no longer glossy, I wiped them with a damp cloth to remove the dust and any cosmic debris that floated down.


Next, I liberally painted them with 2 coats of matte black spray, waiting about an hour between coats.


When the tiles were dry and able to be handled, the surface of them felt and smooth and even, perfect for stenciling.


I wanted to paint them as pairs with 2 of the coasters having the same design that coordinated, but didn't match, the other 2.  I chose a cherry blossom'ish looking stencil for the first pair, and a leafier, more robust version for the remaining pair.


I laid out the stencils and taped them to the coasters to keep them from moving around while I painted them.

I was able to paint all 4 coasters at the same time since there was a duplicate of each of the stencils - saving me drama of having to rinse the paint off the stencil after each coaster, repositioning it, crying, etc.  That's a lot of extra work for a lazy person.


I started with the metallic gold paint since it was the primary color.  I used a stencil brush to dab the paint over the whole area.  I wanted the images to have an uneven, blotchy sort of look. Which worked out perfectly because that's how everything I do looks.  I rinsed the brush and after a few minutes to allow the paint to begin drying, I dabbed the metallic green on the leafy parts.  And on some non-so-leafy parts. And on some parts that weren't even meant to be painted.

I cleaned the green paint off the stencil brush and then dabbed the fruit punch color on the blossom parts.  And, finally, what project would be complete without glitter, so I dabbed some of the green glitter paint on the leafy parts and I'm not even ashamed of that.

When I was done with the dabbing of the paint, I carefully removed the stencils and quickly rinsed off the paint before it dried.

After about 30 minutes to an hour later, I sprayed 3 coats of water-resistant polyurethane on the coasters, allowing about 10 minutes to dry between each coat, as the directions indicated.

I then, reluctantly, abandoned the coasters to dry thoroughly overnight.  By the next afternoon, they were ready for the final step.


I applied round adhesive felt circles on the underside at the corners for their feet.  This prevents scratching my furniture and makes it easier to pick them up. And prevents scratching.

I'm really happy with how they turned out and my life is no longer ruled by an irrational fear of furniture water rings.


Thank you for reading through to the bitter end and thank you to A Little Tipsy for the great giveaway and allowing me to share this project!
----------------------------------------------------------------------

Now for some fun cards from Leslie...

Hi, My name is Leslie, and I am excited about guest posting today.  I am a stay at home mom and avid crafter.  I love paper crafts and cardmaking!  During the last year I have been battling breast cancer, and crafting has been my solitude from all of the craziness of the cancer.  It was so fun to win part of the Great De-Stash giveaway.  I have lots of plans with the all of the goodies I got, and made several cards to start.  


I make cards for all of the patients in chemo (blank cards for them to give away), knowing getting to a card store is not a high priority, and is sometimes not possible...everyone loves my cards, and the nurses know how much the patients appreciate having a card to send.  


I also plan to make bandana style head coverings for the chemo patients too with the fabric that Michelle included!  Thanks again, and I hope you enjoy my cards.

-----------------------------------------------------------------

 It is so fun to see what they came up with! Leslie is such a sweetheart to make cards for the patients in chemo and Felicia makes me want to try multiple colored stencils. Thanks a bundle ladies!

Tuesday, March 27, 2012

DIY Under $5


This week I featured two more no cost projects as part of the De-stash Bash. I made a swim suit cover from a 5XL shirt and a bow tank top to go with my swim skirt from my husbands old baseball style t-shirt.


What have you been up to? Let's Party!

I enjoy your $5 projects so much that I decided to add an addition link section for anything under $15! That's right. It will open up a place to show additional projects that can't be purchased with an Abe Lincoln, but are still totally affordable! I can't wait to see more from you!

Please remember:

  • Only link to your own projects that cost you $5 or less (price does not have to include items you had on hand) or $15 or less in the 2nd section.
  • You can link past projects that fit the dollar limit, but please only link each project one time to one DIY Under $5 party. Do not link the same project week after week.
  • No linking giveaways or items for sale
  • Please link back so others can join the party and so you have the opportunity to be featured on Saturday!


DIY under $5


Projects under $5


Projects under $15 


P.S. Don't forget to sign up for free Tipsy updates via RSS or email.

DIY Swim Suit Covers

I am that girl who buys the 5XL t-shirt from the dollar store because she likes the color. You know, you figure what the heck it's $1, you'll do something with it someday. Well my friends, today I am vindicated. Not only did I use that 5XL shirt from my stash, but I used a sewing machine without breaking something. 


For some reason the only swim suit covers I could find last month for our trip either didn't cover much of anything, or they were long sleeved (which I honestly don't understand). Those of you who are fair skinned and farmer tanned know that it doesn't take long for our shoulders to completely sizzle, thus began (and ended) my search for cute swim suit covers that had sleeves, but also covered enough that when I bend down with my kids I'm not embarrassing myself.


How to Make Your Own Swim Suit Covers

Supplies:
5XL (or very large) shirt
Pins
Scissors
Sewing Machine
Thread

1. Turn the 5XL shirt inside out and lay your fitted t-shirt on top of it.


OPTIONAL: pin out about 3/4-1 inch on each side using safety pins. This makes it so you can turn it right side out and try it on to make sure it will fit right. Remember if you did not pre-wash the shirt it will probably shrink a bit.


2. Once you know where you want the seam pin with straight pins. I continued the flare of the fitted shirt all the way to the bottom so the skirt would be a short A line.
3. Trim off the excess material from the sides. 


4. My seams lined up with the shoulder seams on the large shirt so if I cut it off right on the seam it would have been a cap sleeve. I wanted the sleeves a tad longer so I just left about an inch outside the seam.


5. Sew along the pins and stop when you get to the sleeve seams to finish the sides for a plain t-shirt dress.


6. Use strips of the excess material to form your ruffle. I had 4 strips about 3 1/2-4 inches wide and 13 inches long. You can sew all four strips together for one long strip or do two at a time to make it easier. 
7. Sew a loose stitch all along one edge of the strip about 1/2 inch from the edge leaving strings on each end. Pull one of the strings, holding the other in place to gather the fabric. 
8. Pin the gathered strips on to the skirt. I ended up with seams on the right and left sides and in the middle of the front and the back, but they are not visible because of the gathering.


9. Sew a straight stitch right down the line where you gathered to attach the ruffle.


Congrats you made your very own swim suit cover! 

I wore this all day on the dive boat in Maui and it was so comfortable! I borrowed my mom's sewing machine  (cause well I killed mine after 3 uses) and when I told her what I was doing she gave me the courtesy smile and nod like "this should be interesting." When I told her in Maui that this was the one I made, couldn't believe it.


I also made the matching ruffly headband from the shirt material, but this post was getting massive, so we'll save that for another day.

I hope your having as much fun with the De-stash Bash as I am!


If you like this post you may like these projects made with t-shirts:

P.S. Don't forget to sign up for free Tipsy updates via RSS or email.

Monday, March 26, 2012

DIY Shirt

Spring is here which means swim suit season is around the corner. My new swimming suit came with a skirt cover up, but I wanted a cute tank to pair with it. The hubs had lost some weight and I guess you could say his loss was my gain because I found the perfect shirt for this project in the donate pile. I do not claim to be a seamstress, but seriously this DIY shirt is easy enough for even the most beginner.


DIY shirt supplies:
Old shirt (really light jersey so it flows nicely)
Scissors
Pins
Sewing Machine
Ribbon

1. Start by cutting off the sleeves and the neckline at a diagonal.


2. Fold over diagonal sleeve area and pin. Sew to have a finished edge on your arm hole.
3. Cut the neckline straight across on the front and the back of the shirt. Fold over about 2 inches (far enough that you leave a place for the ribbon to go through), pin in place and sew.
4. Attach a safety pin to the end of your ribbon and thread it through the front and back of the shirt. 
5. Put it on and tie a bow to gather the fabric to your liking.


Mine also has the back higher than the front which I love because I can switch it around and wear it higher in the front or the back based on where I am getting too much sun. Freckles/fair skin + sun = burn.

I would love to see if you give this DIY shirt a whirl!

Hope you are enjoying the De-stash Bash!


If you like this post you may like these projects made with t-shirts:


P.S. Don't forget to sign up for free Tipsy updates via RSS or email.

Saturday, March 24, 2012

DIY Under $5 Features

Spring is in the air and it shows in this weeks party! Love all the color popping up in projects! Thanks to all who linked up and now on to this week's features.

Kindle & Notebook Holder from Organize and Decorate Everything
So fun to house them in a book cover!


Ginormous scissors from Tales of a Trophy Wife
Love her version of the pottery barn scissors!


Paper Punched Easter Eggs from Alderberry Hill
So colorful and cute hanging on a branch.


Easter Egg Speciman Art from Every Creative Endeavor
I am feeling the bright Easter colors and chunky frame!

Easter Egg Specimen Art (12) copy

Link with the highest clicks:

Reusable Swiffer Pad from Moments with the Montanos


For those featured, be sure to grab your A Little Tipsy featured button here.  

P.S. Don't forget to sign up for free Tipsy updates via RSS or email.

Tuesday, March 20, 2012

DIY Under $5

To continue with the de-stash, this week I decided to paint a rug. It is a dollar store number that I had sitting around for such an occasion. I had everything on hand, so it was free except for the two hours on my knees stenciling. I am quite pleased with how it turned out!


What have you been up to?


I enjoy your $5 projects so much that I decided to add an addition link section for anything under $15! That's right. It will open up a place to show additional projects that can't be purchased with an Abe Lincoln, but are still totally affordable! I can't wait to see more from you!

Please remember:

  • Only link to your own projects that cost you $5 or less (price does not have to include items you had on hand) or $15 or less in the 2nd section.
  • You can link past projects that fit the dollar limit, but please only link each project one time to one DIY Under $5 party. Do not link the same project week after week.
  • No linking giveaways or items for sale
  • Please link back so others can join the party and so you have the opportunity to be featured on Saturday!


DIY under $5


Projects under $5


Projects under $15 


P.S. Don't forget to sign up for free Tipsy updates via RSS or email.

Paint a Rug

I am loving de-stash month! Not only is it a good form of spring cleaning craft style, but I am surprised at what can come from existing items. I can feel spring in the air and wanted a little something bright on my doorstep so this week I decided to paint a rug.


Wanna see what I started with? 


Sad, isn't it. I found this at the dollar store a few months ago and thought it would come in handy at some future moment. Well, that future moment is now! 

Supplies to paint a rug:

Rug
Martha Stewart stencil
Martha Stewart High Gloss Acrylic Paint
Sponge brush
Scotchguard


1. Place stencil on one side of the rug and paint the rug dabbing directly up and down with your sponge brush. 
2. Continue aligning and moving the stencil down until you have that whole side done.  


3. Continue aligning the stencil and moving across your rug. The bigger your stencil, the easier it will be since you won't have to align and move it as much. 
4. Let the paint dry.
5. Spray with a couple coats of Scotchguard to protect.

All in all it took me just over 2 hours. Longer than I anticipated for such a small rug, but I did have to move my stencil A LOT! Really I think it was worth it to put the poor rug out of its bland taupe misery.


A fun little springy doorstep for the first day of spring!


Are you enjoying The Great De-stash Bash? We have more coming up! I have two refashions: one from my hubs shirt and one from a 5XL shirt, so stay tuned! We'll also have the guests from our de-stash giveaway with what they made with their prizes.


P.S. Don't forget to sign up for free Tipsy updates via RSS or email.