Who doesn’t love Mike Wazowski? Seriously, he’s hilarious not to mention simple so he is easy to make in to a shirt. It cost me all of $1. Gotta love those numbers!

SUPPLIES:
Computer
Silhouette
Contact paper
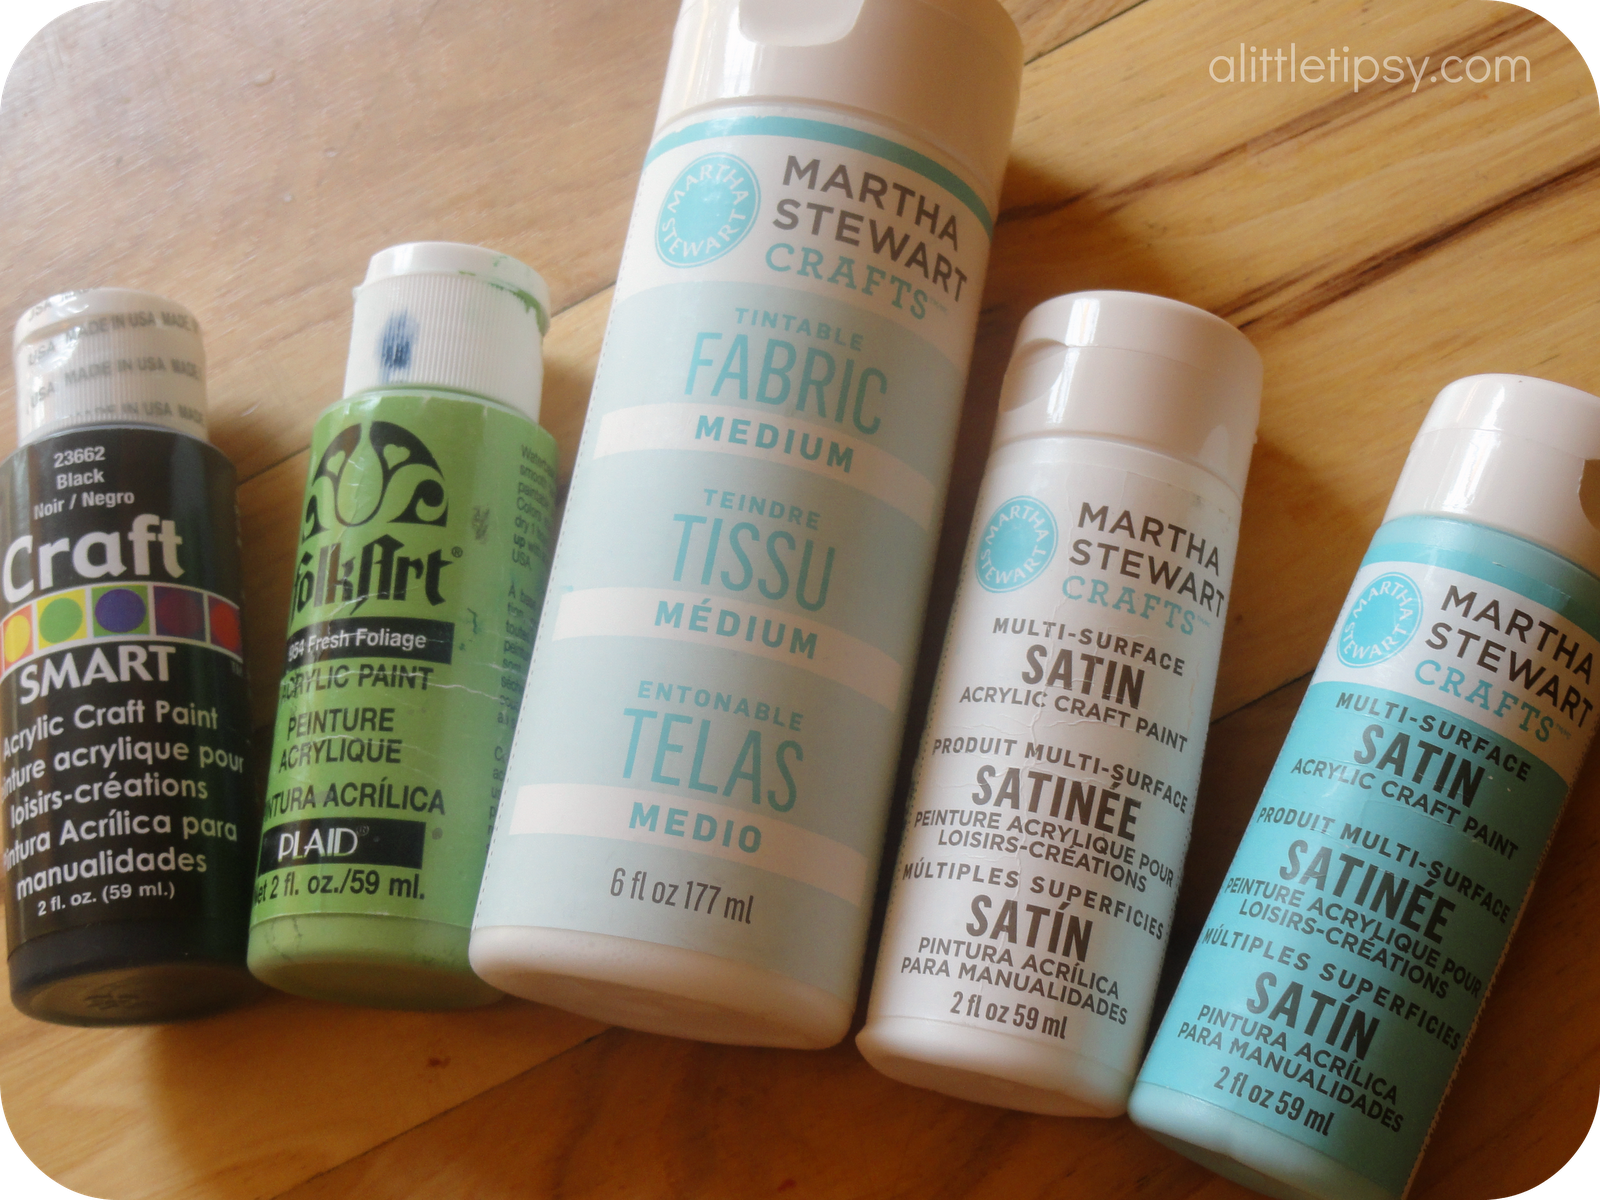
Fabric Medium
Black paint
Green Paint
White Paint
Turqouise paint
Foam brush
Cardboard
Green shirt
Iron
INSTRUCTIONS:
1. I saw this shirt and took matters in to my own hands. Import the image in to the silhouette software and use the trace feature to get your cut lines. Cut two stencils out of contact paper. You’ll use different pieces at different times.
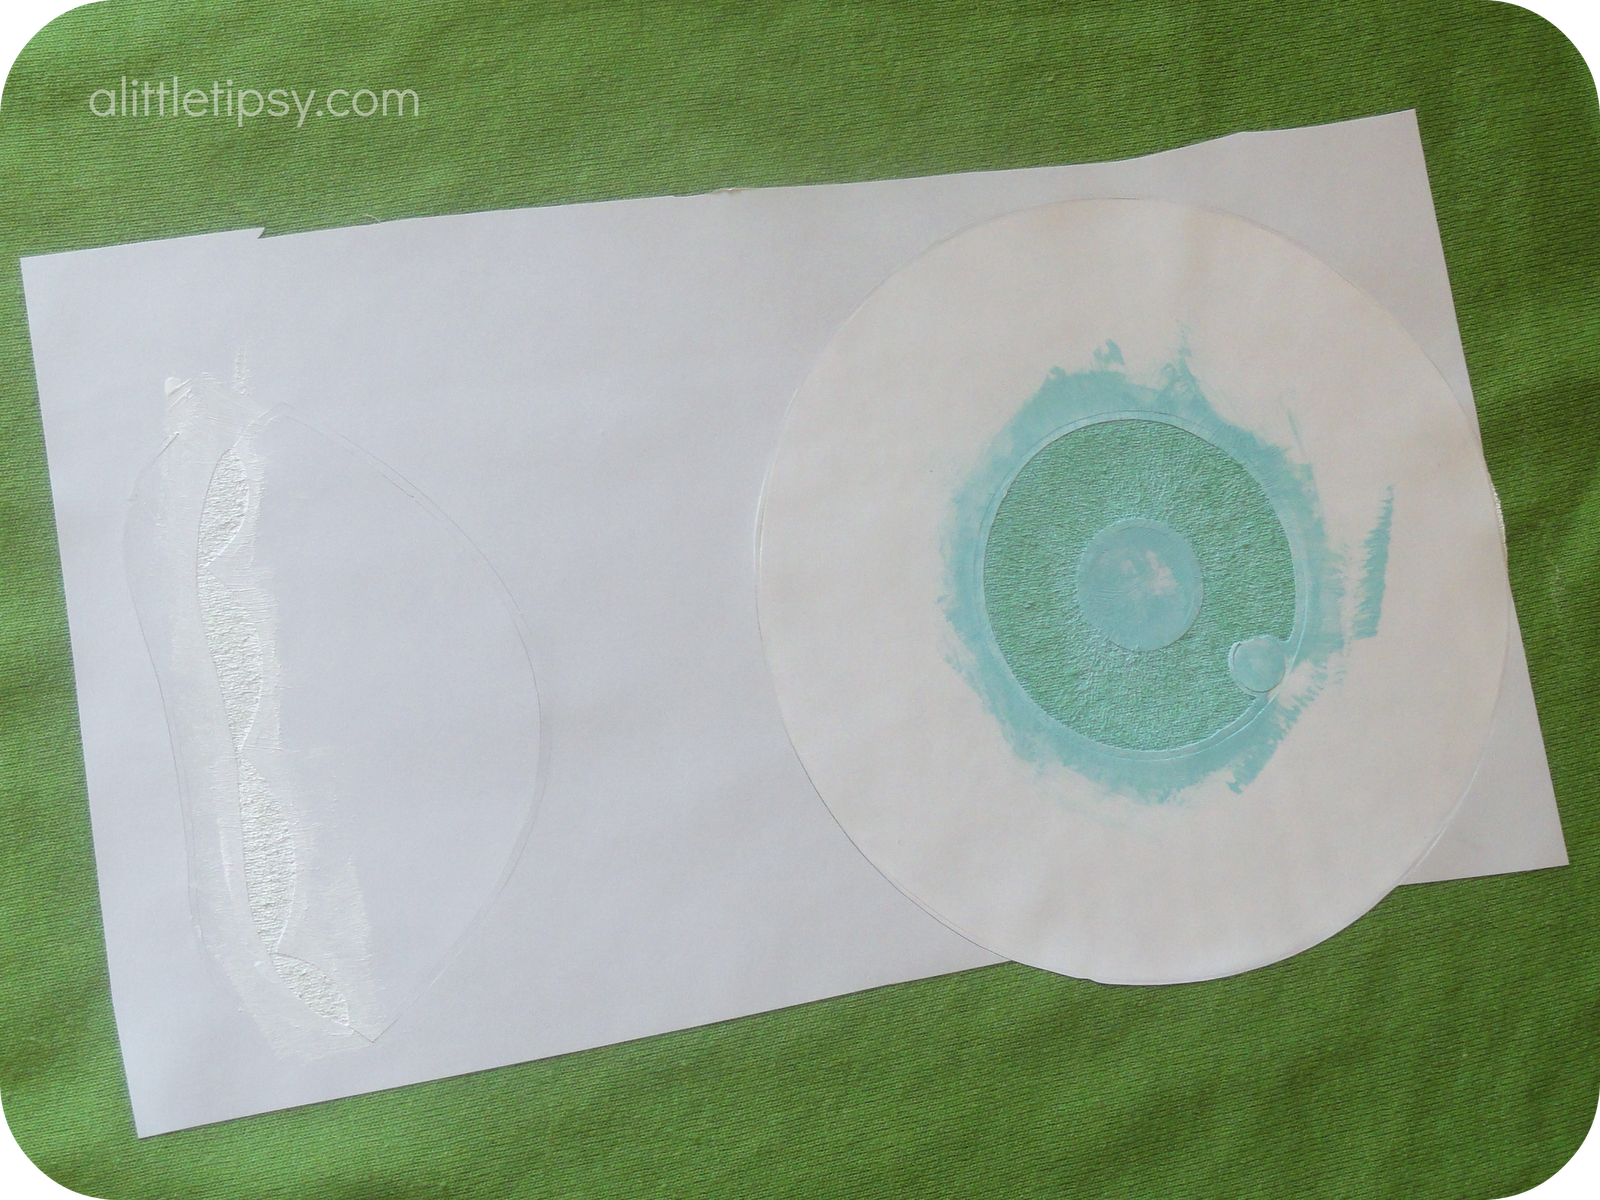
2. Place your first set of contact paper stencil shapes as shown below.

3. Using separate little bowls mix up black, white and green with the fabric medium according to package directions. Carefully paint by dabbing with the foam brush. Paint the mouth and the middle of the eye black. Paint the outer eye and little dot in the eye white. Paint the lip line green. Use as many coats as it takes to get the vibrancy you want. Let it dry completely.

4. Layer the stencil as shown below covering the painting you already did. Mix up the turquoise with the fabric medium.

5. Paint the teeth white and the middle of the eye turquoise. Let dry completely.
6. Carefully remove all stencils.

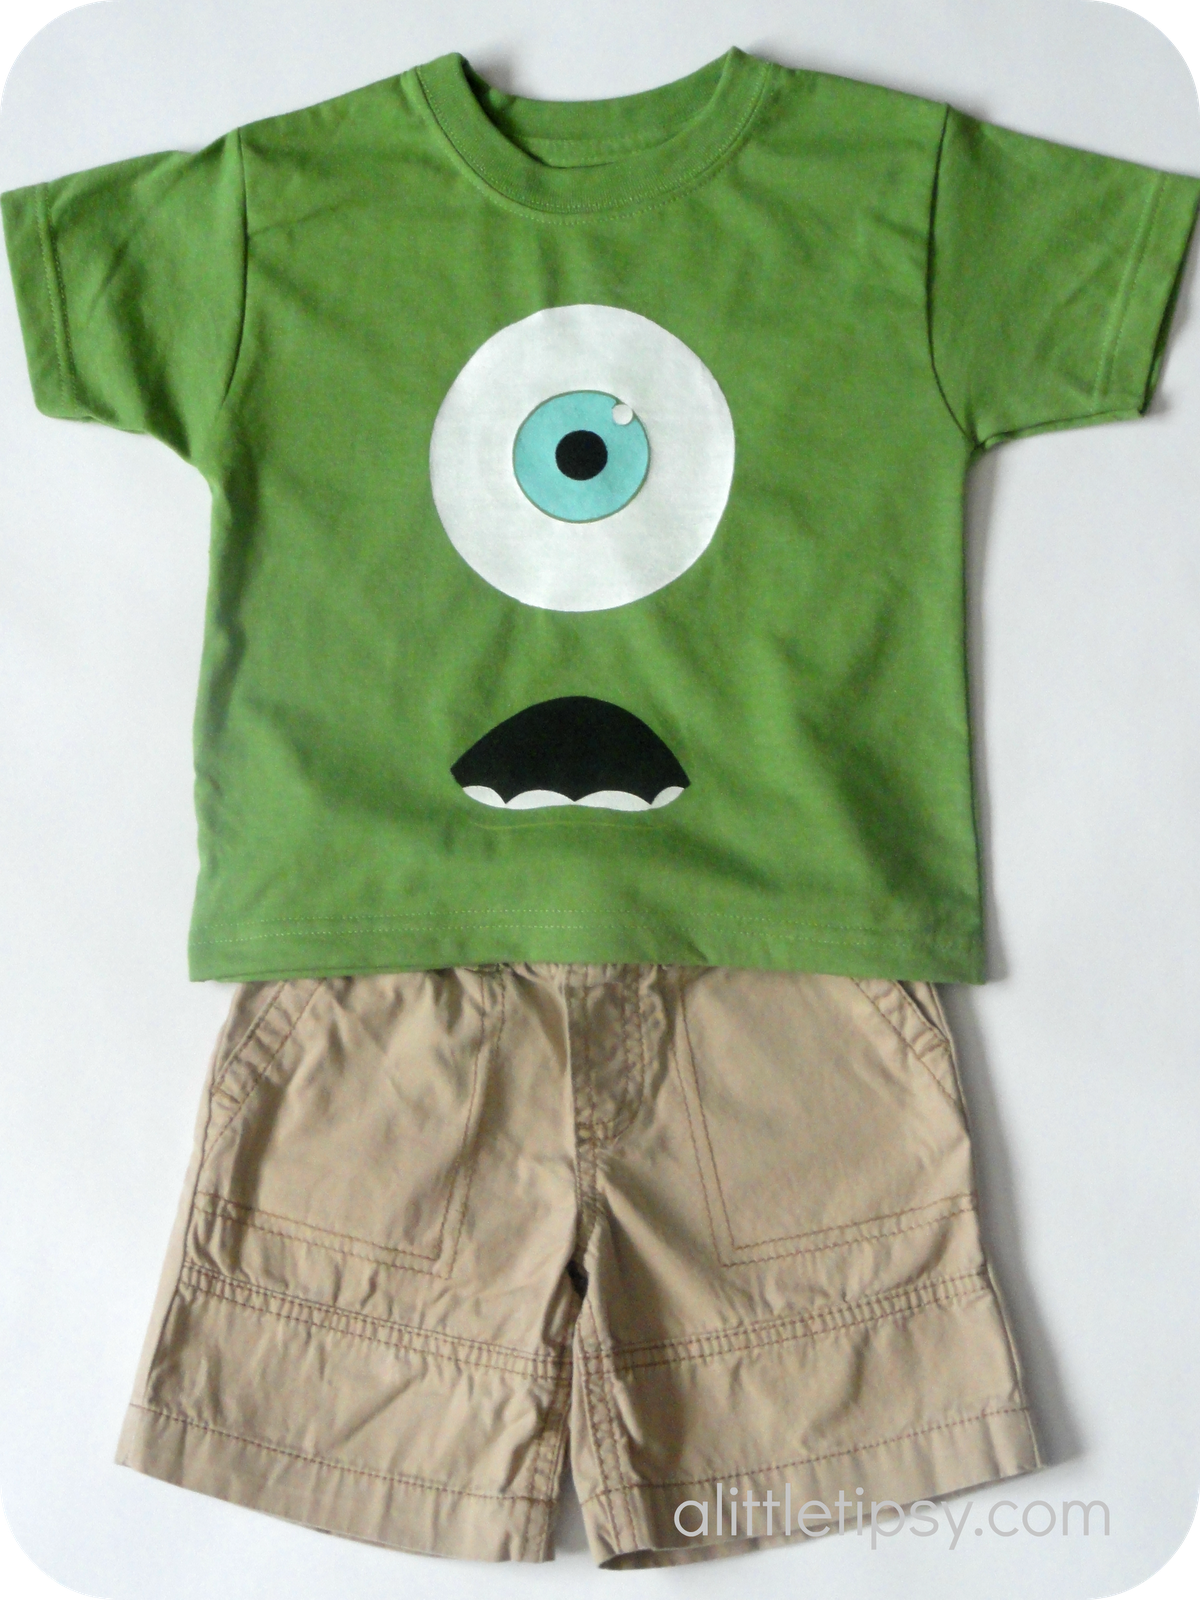
I am seriously in love with this Mike Wazowski shirt!!
It was easier and turned out better than I thought!

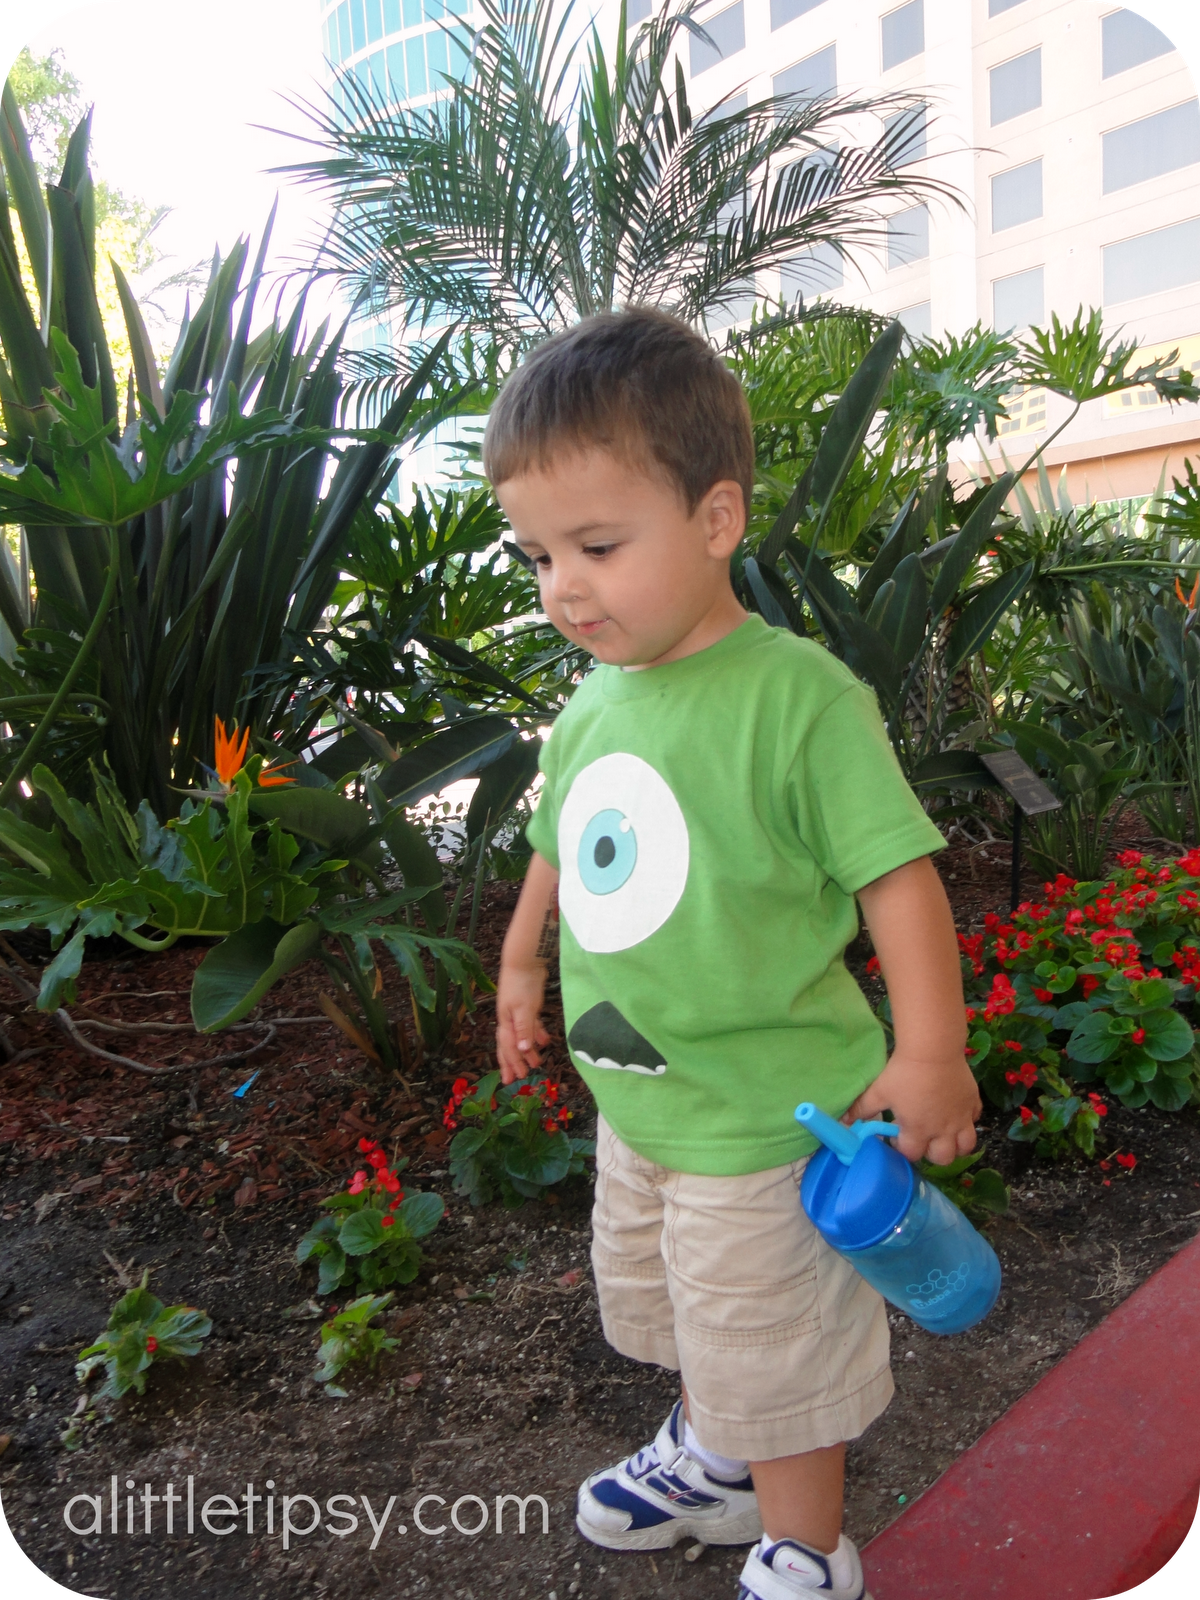
Pair it with some shorts and you’re all ready for Disneyland!
Mike was my little guy’s favorite Disney shirt of them all and that’s saying something considering I made about 10 different shirt designs for our trip.

If you liked this Mike Wazowski shirt, stay tuned every Wednesday through January for a new Disney DIY project each week!
P.S. Don’t forget to sign up for free Tipsy updates via RSS or email.
We have decided to truncate our feed to help protect against stolen content. I apologize for any inconvenience. Please love us anyway. 🙂