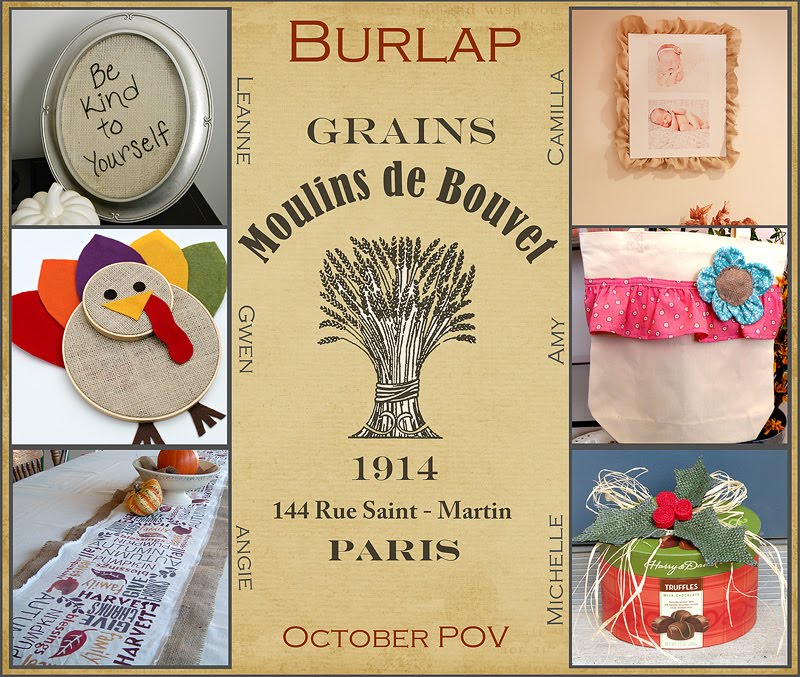
Each month is a fun new theme and this month is no different! We’re talking burlap ideas with the Point of View Girls.
I am loving how different things can be with one medium!
Leanne (Organize and Decorate Everything)
Camilla (Rosy Red Buttons)
Gwen (Gwenny Penny)
Amy (Ameroonie Designs)
Angie (Country Chic Cottage-POV guest)
Michelle (Stay right here!)
& YOU!!
We want to see your burlap ideas! Link up down below and you may be featured by one of the Point of View girls! Be sure to go visit these ladies and see their point of view on burlap, but first, let’s talk holly!
I went shopping for burlap and when I saw the red and green it spoke to me. Such vibrant happy holiday colors! I have always had a thing for holly, so I figured why not give it a shot.
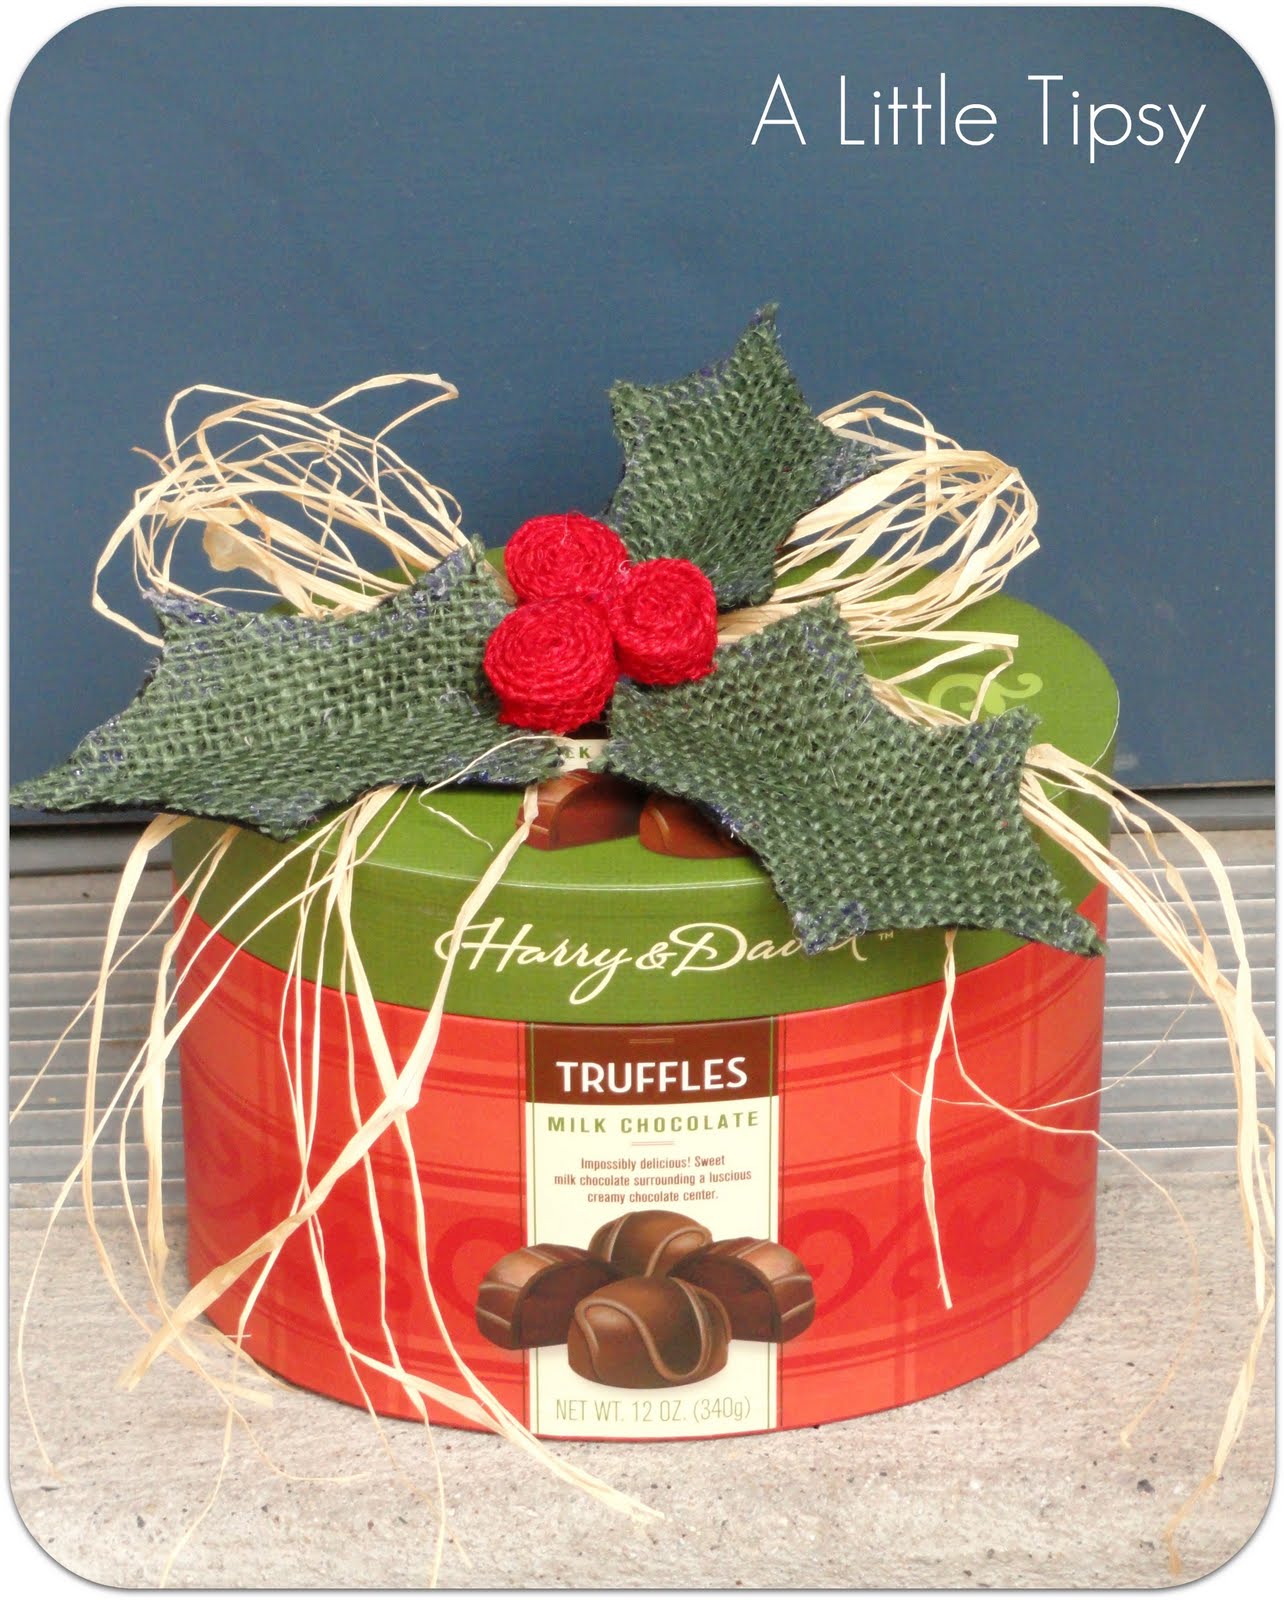
Perfect for a gift topper or to spruce up some decor…

Burlap Holly
Supplies:
- Red Burlap
- Green Burlap
- Sharpie
- Scissors
- Felt
- Hot Glue
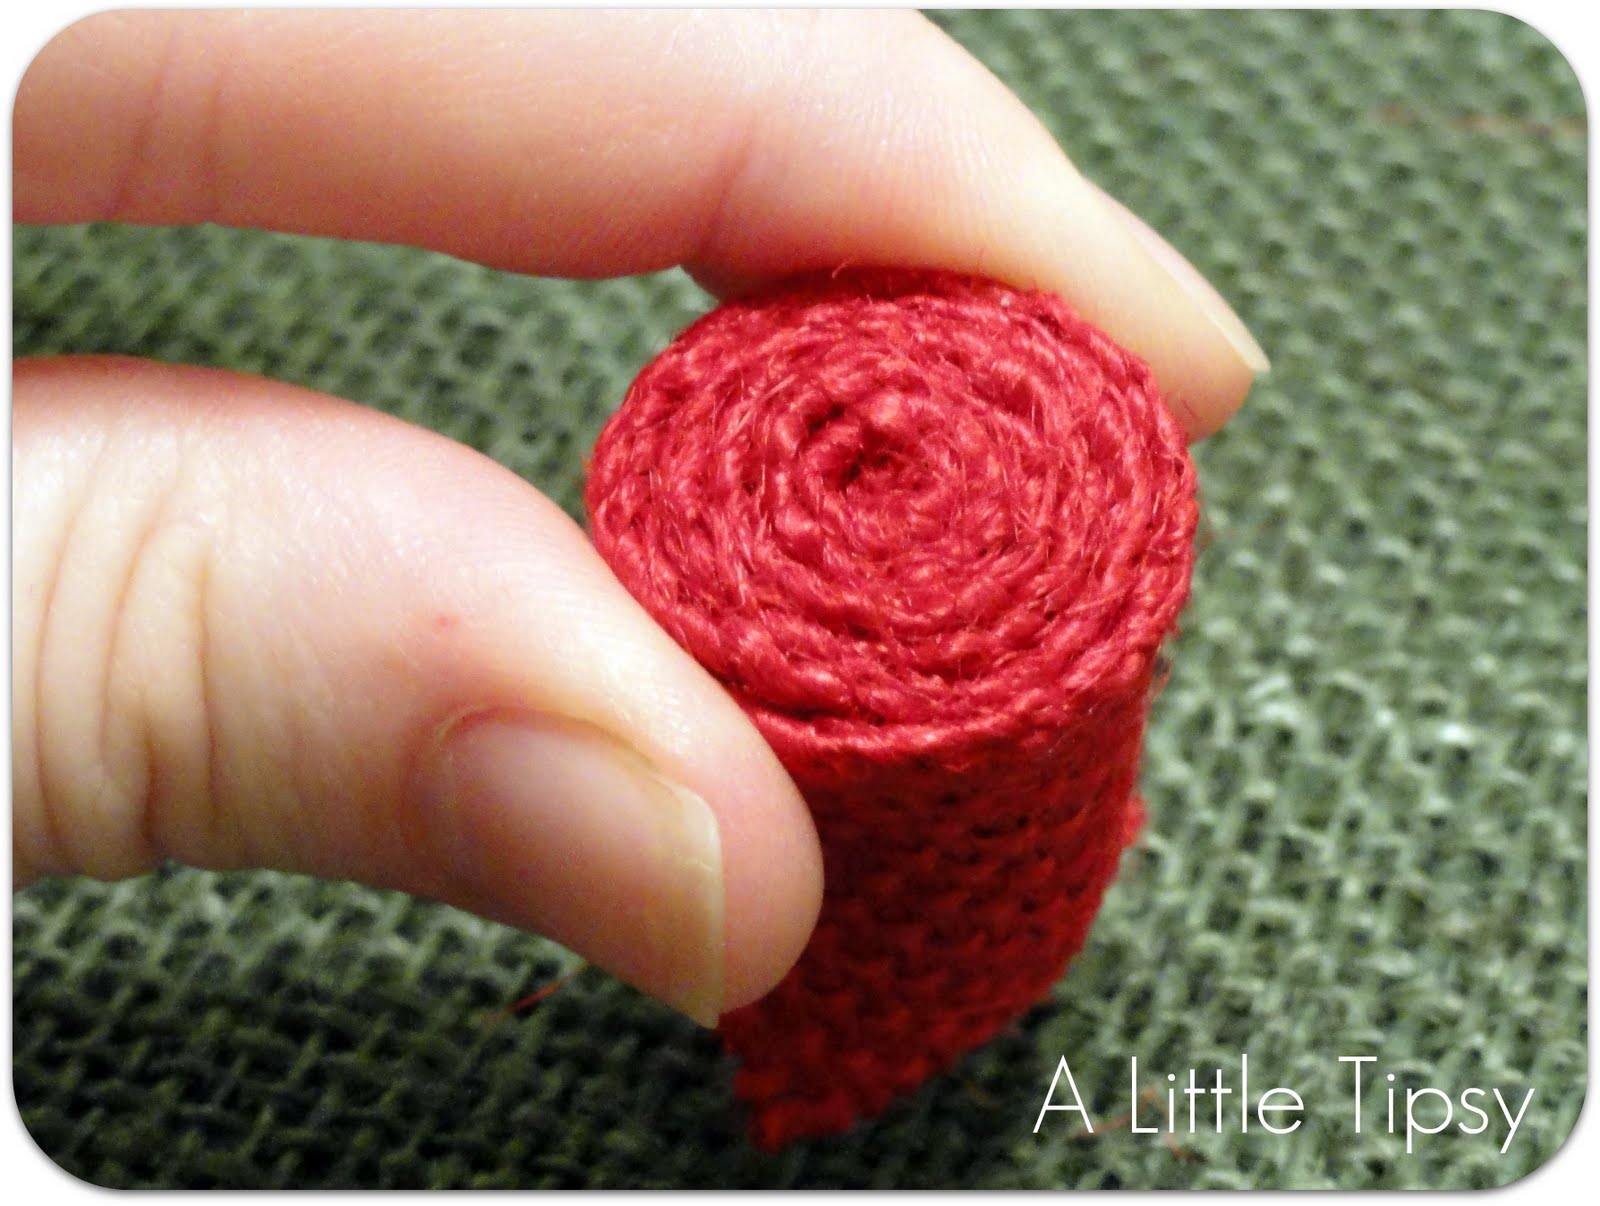
1. Take a 6 inch by 1 inch piece of red burlap and fold over one of the long edges. Roll the burlap keeping the folded edge out. Hot glue the end of the roll to secure and trim off excess from the bottom so it is about 1/2 inch thick.
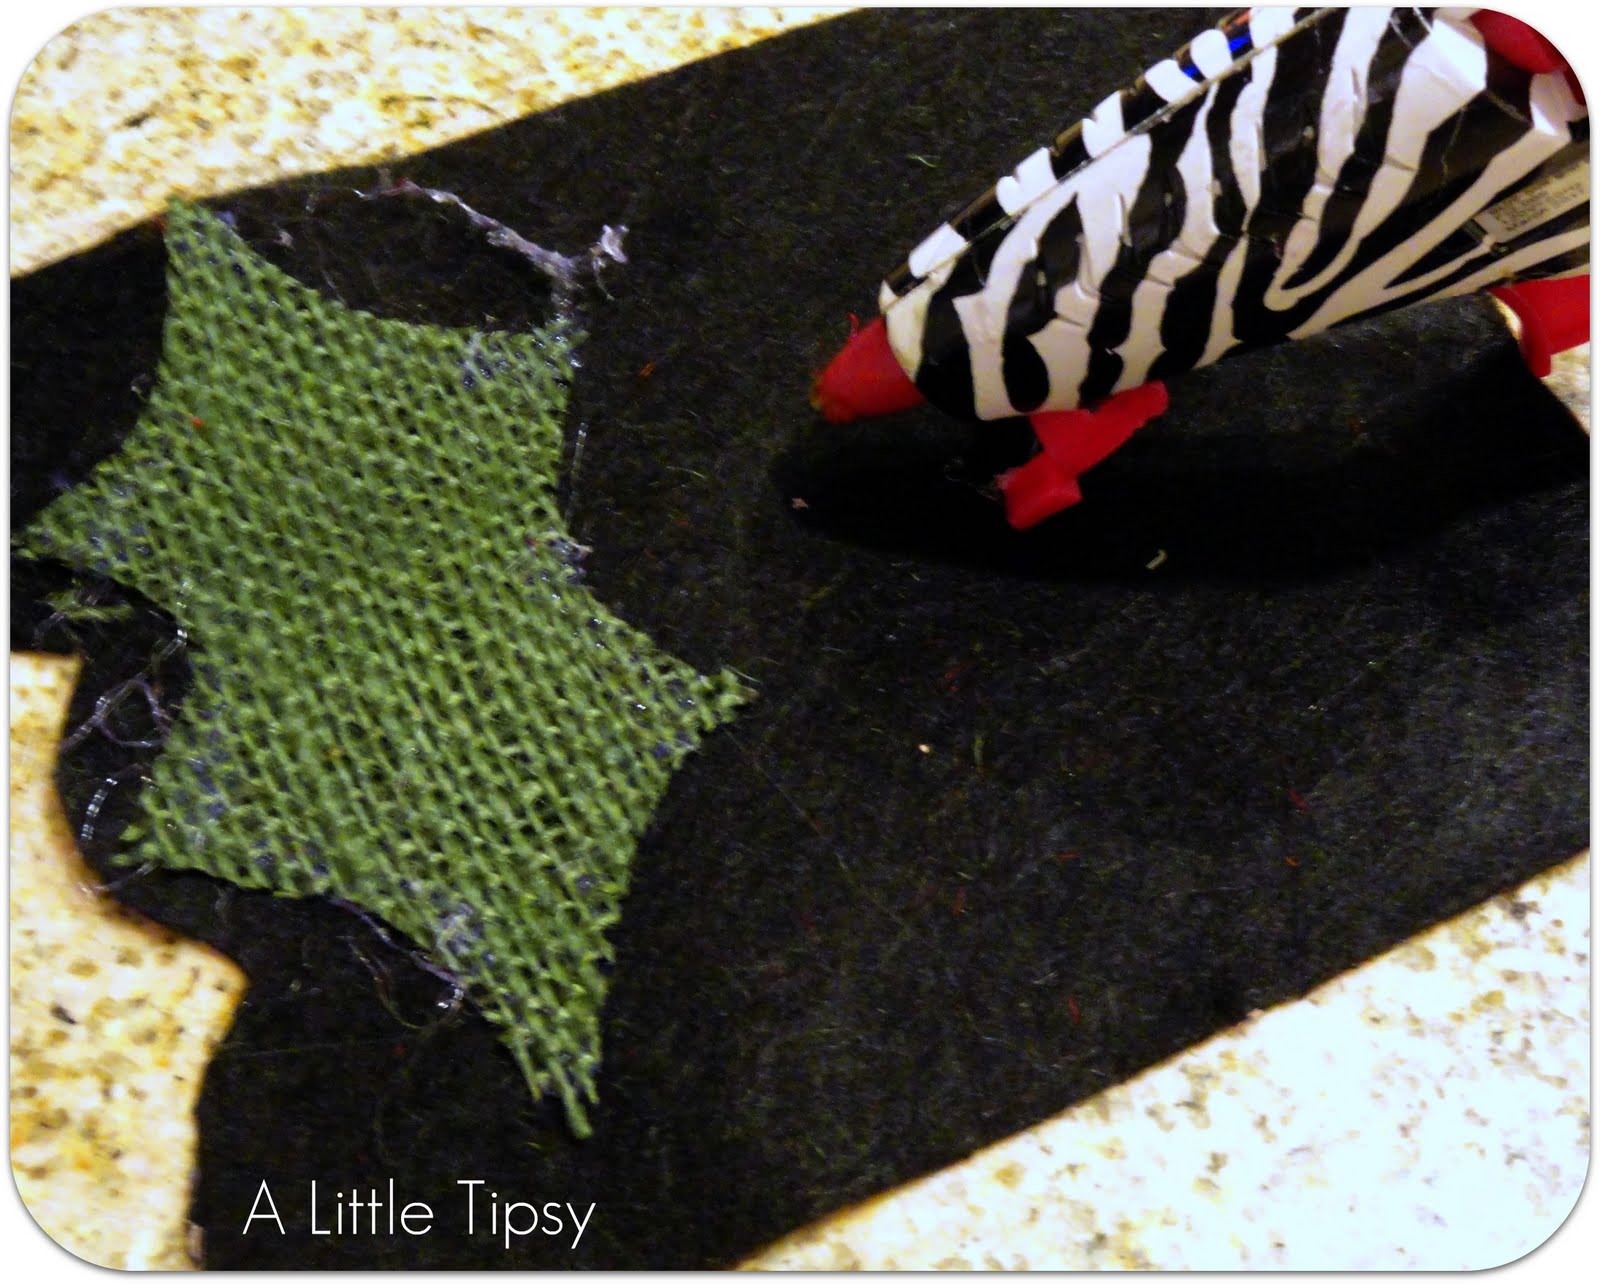
2. Draw a holly leaf onto some green burlap and cut out.

3. Hot glue round the edges of the holly leaf and back with some felt to strengthen and keep from fraying. I chose black because my green felt was too bright.
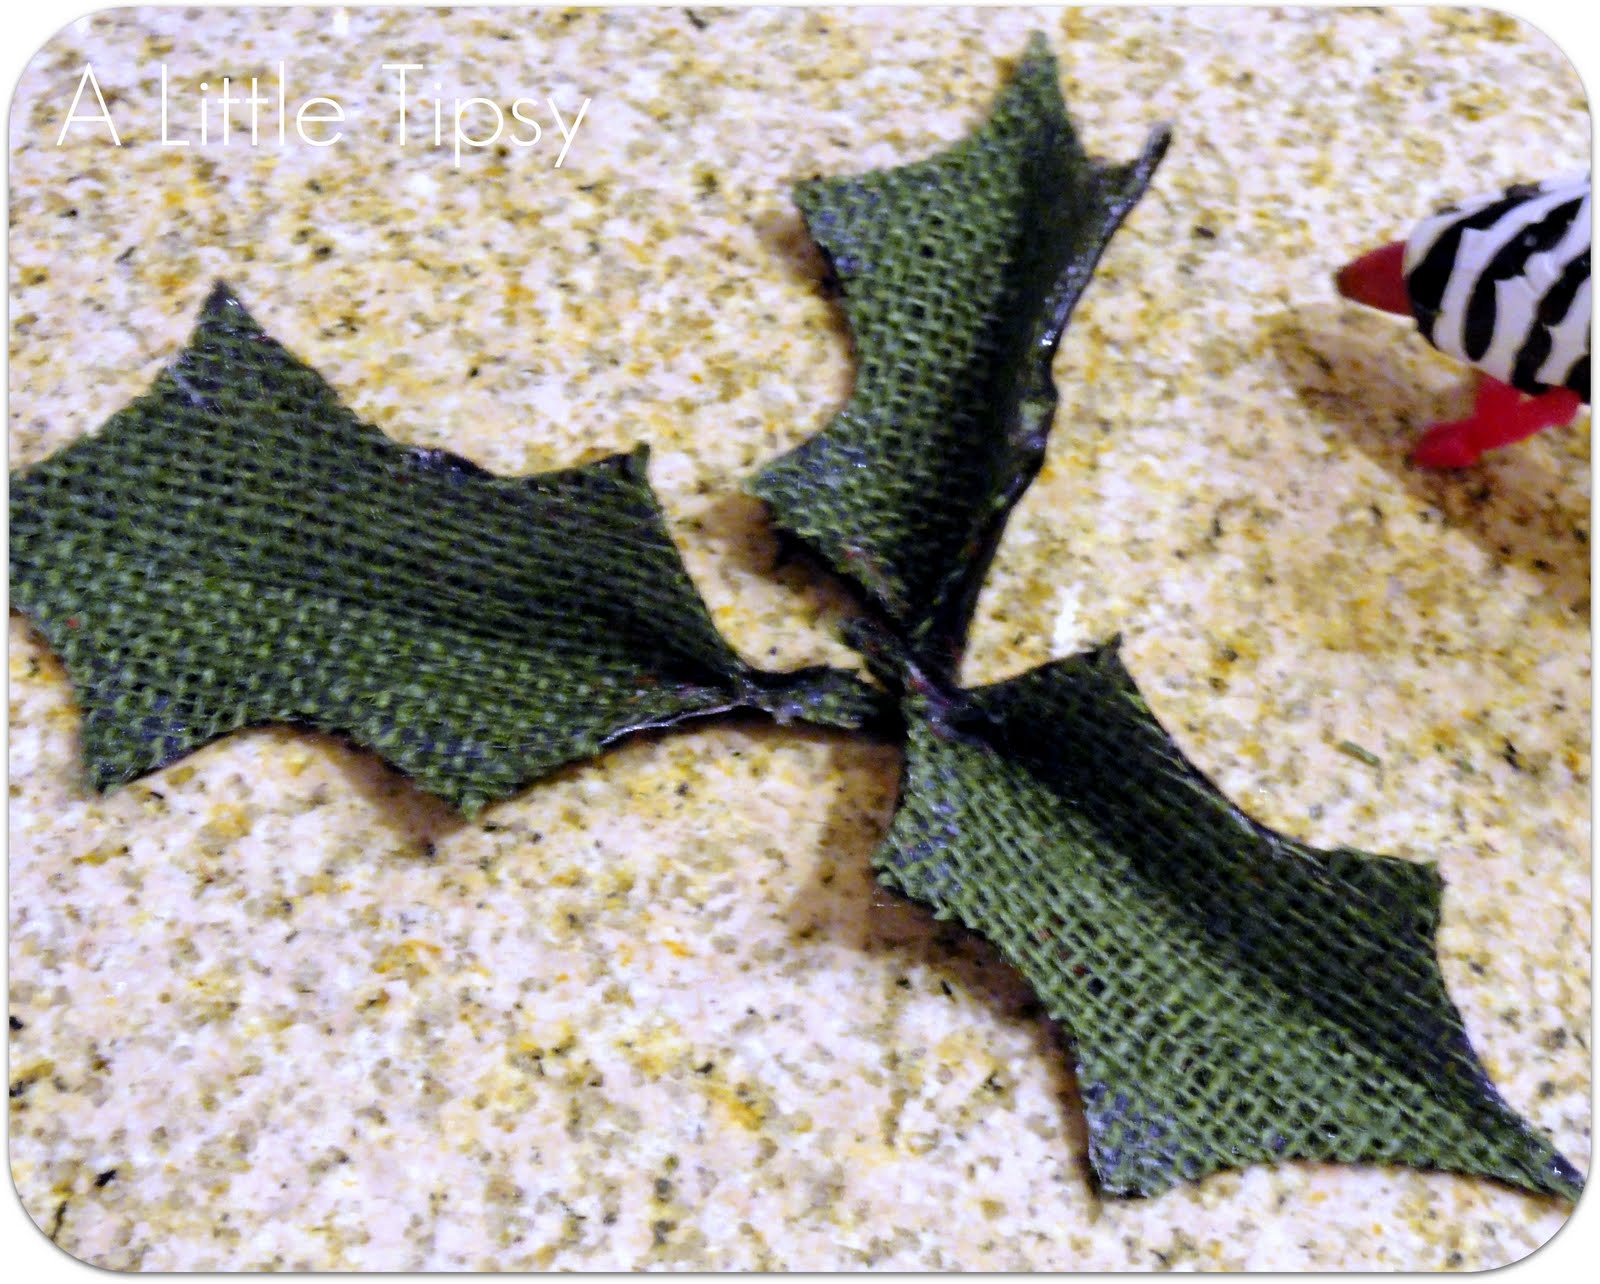
4. Place a dab of hot glue in the middle of one of the end point and pinch to give the leaf some dimension. Once you have three leaves, lay them how you want them and hot glue together. Hot glue 3 berries on top of your leaves.
5. Flip over your holly and cover the back junction of the leaves with hot glue to make it even stronger. Cover your glue with a circle of felt.

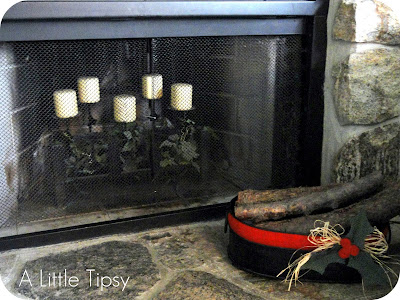
6. Now decide where you want to put it. I added it to a raffia bow and put it on top of a gift and decorated a thrift store container with a strip of red burlap and added the holly for a fun place to store logs by the fireplace.

I love the texture and holiday spirit! Now, I just have to put it away for a month. 😉
Now it’s time to link up your burlap ideas! I can’t wait to see all your projects!


P.S. Don’t forget to sign up for free Tipsy updates via RSS or email.
We have decided to truncate our feed to help protect against stolen content. I apologize for any inconvenience. Please love us anyway. 🙂
Hi! This is my first time posting on “Point of View”. Do you have a button that I can add to my posts?
Thanks so much for hosting!
I didn’t know there was red and green burlap? I need to get on the ball. This is a great idea. I love the berries.
Where do you get Burlap, seeing so many great ideas!
What a cute idea, Michelle! It’s so great that burlap comes in lots of different colors now. Your holly could be incorporated into so many different Christmas projects. Really clever 🙂
How fun! This came at the perfect time since I just finished my first-ever burlap project. Can’t wait to see all the other great ideas.
I will have to check out the colored burlap. I love the color and the texture! Thanks for hosting, I love the POV link parties!
Christina
http://www.inspirationforcelebration.com
Thanks so much for including me in the POV this month! I had no clue there was green and red burlap — I am excited!! 🙂
I am glad that you posted this because now I get to check out all of these fun burlap ideas!!! It is a good day I would say. 🙂