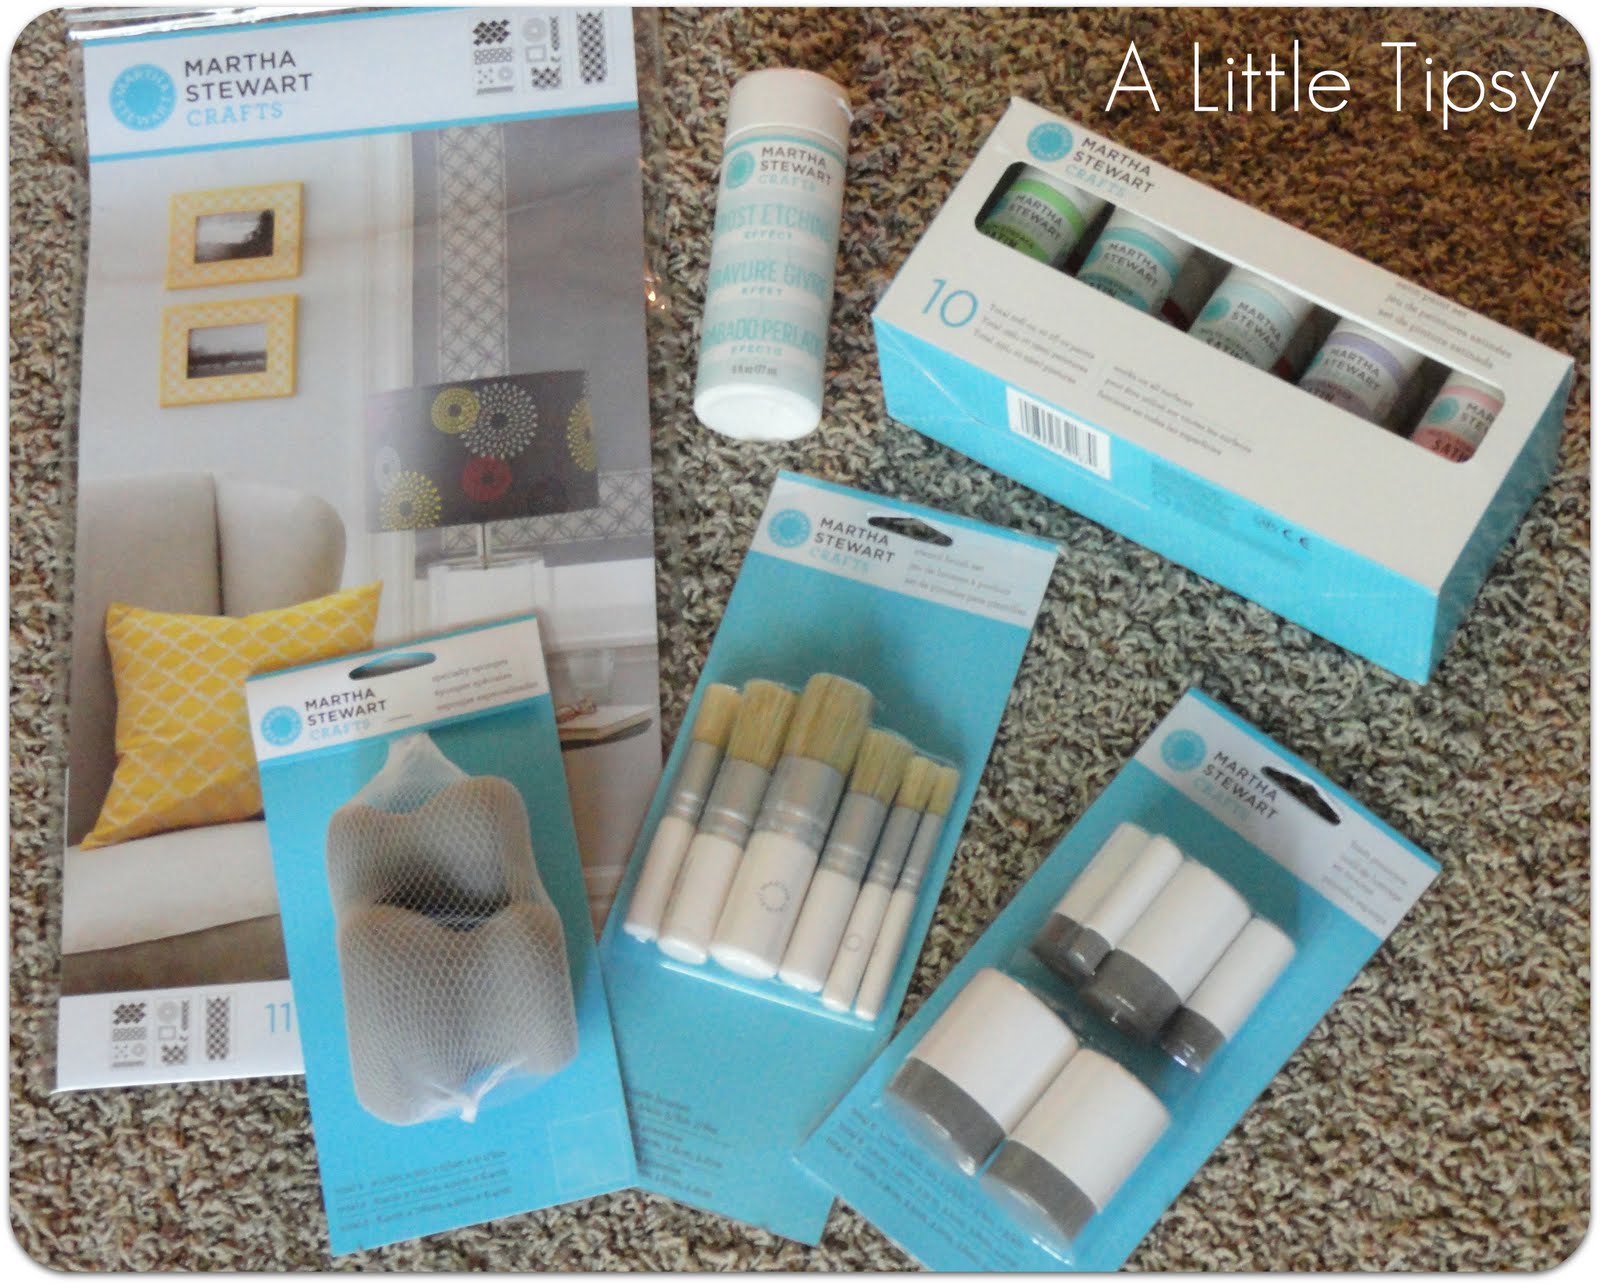
About a week ago I got a box in the mail. It’s one of those times when you open up the package and know you’ve hit the jackpot. It was brimming with amazing new products coming at the end of August exclusively to Michael’s Stores. I’m so excited to show you the Martha Stewart Crafts Decorative Paint Line, brought to you by Plaid Crafts. You are seriously going to love it!
- The paint is formulated to work on all crafting surfaces including wood, metal, glass, ceramic, terra-cotta and fabric. It is indoor/outdoor safe, dishwasher-safe on glass.
- There are 160 paint colors in five finishes (Satin, High Gloss, Glitter, Pearl, Metallic). All come in 2 oz. bottles and are non-toxic (so safe to use with children).
- Prices start at just $1.99!
Wanna see what I did for my very first project with the new Martha Stewart Paint?!
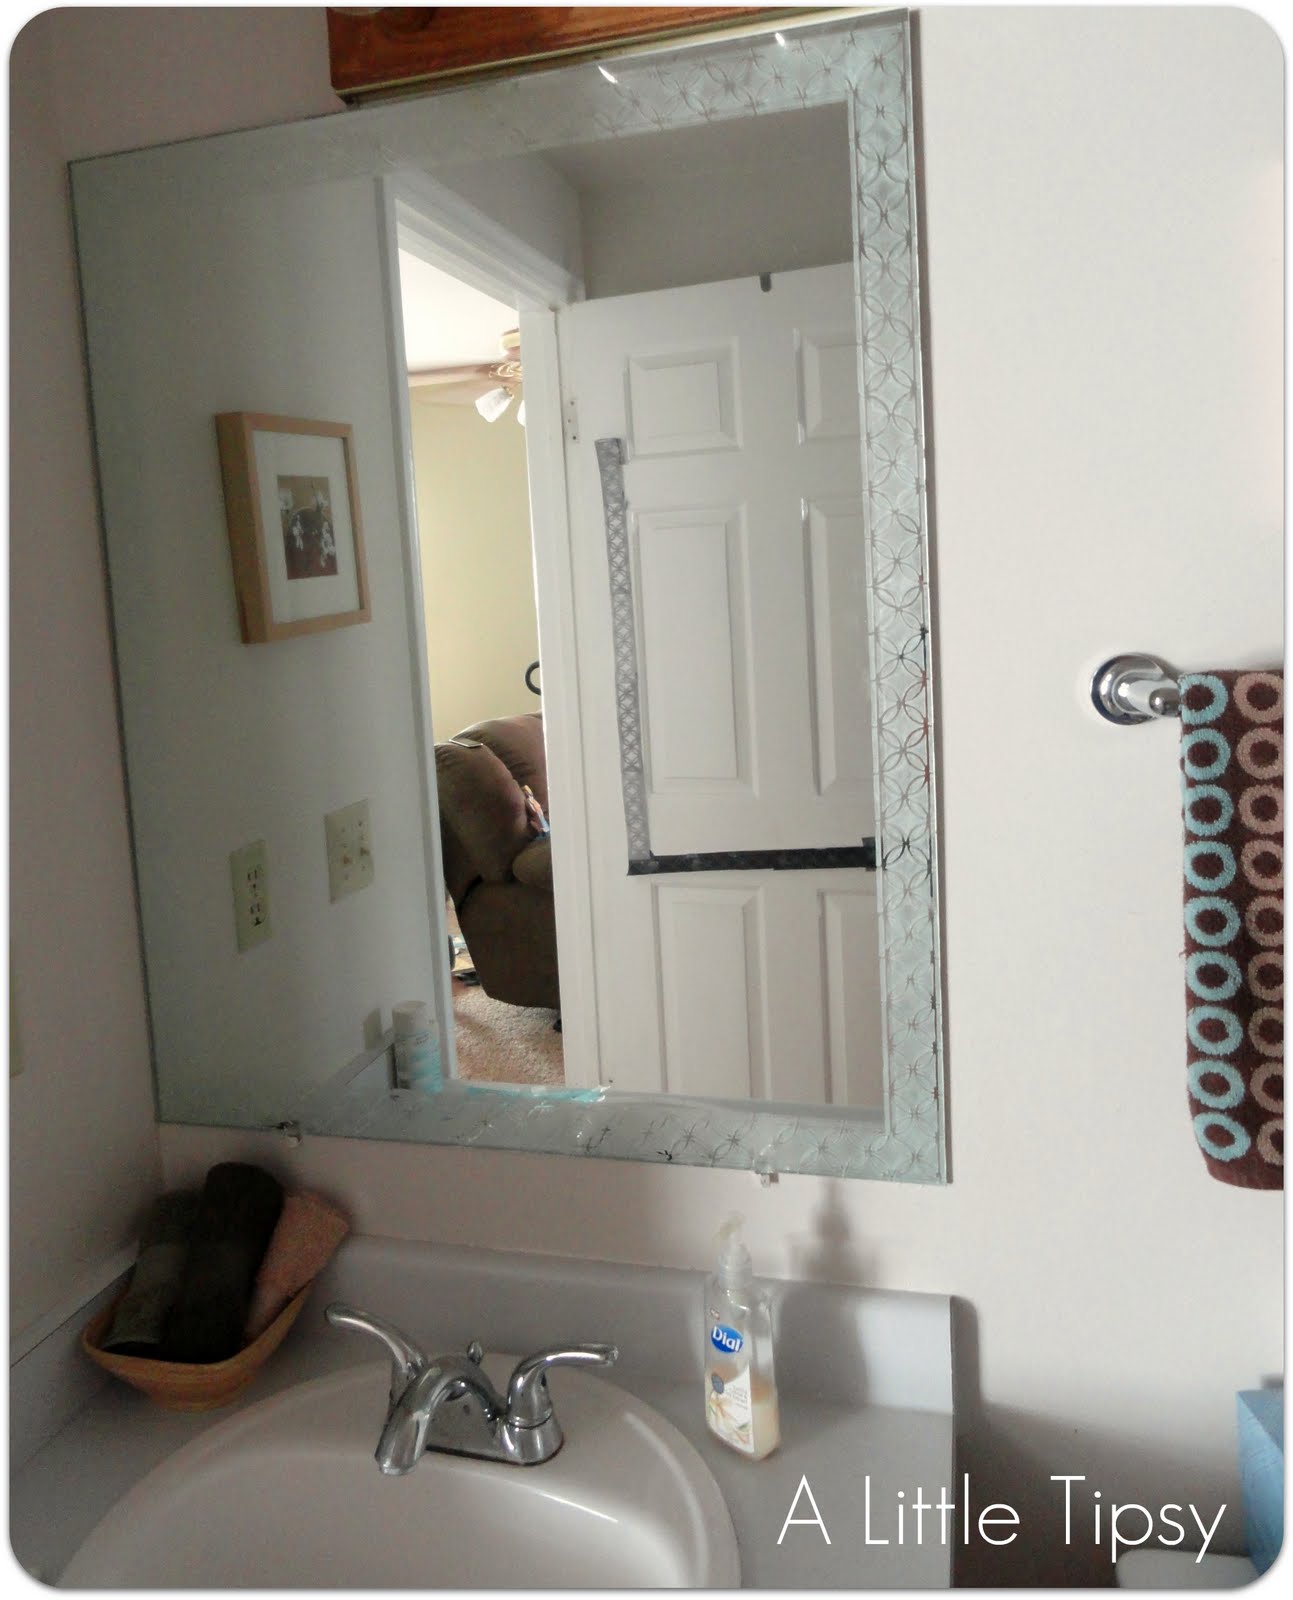
I have the most boring builder grade mirror in my guest bathroom. You know the big rectangle pretty much just glued to the wall. I have been wanting to spruce it up for a while now and this gave me the perfect opportunity!


I started out with this group of tools below, not sure which brushes would work best on glass. Now I know, the stencil brushes (the ones with the flat cut bristles) give the best look on glass with frost effect paint.
{Frosted Mirror}
- Boring mirror
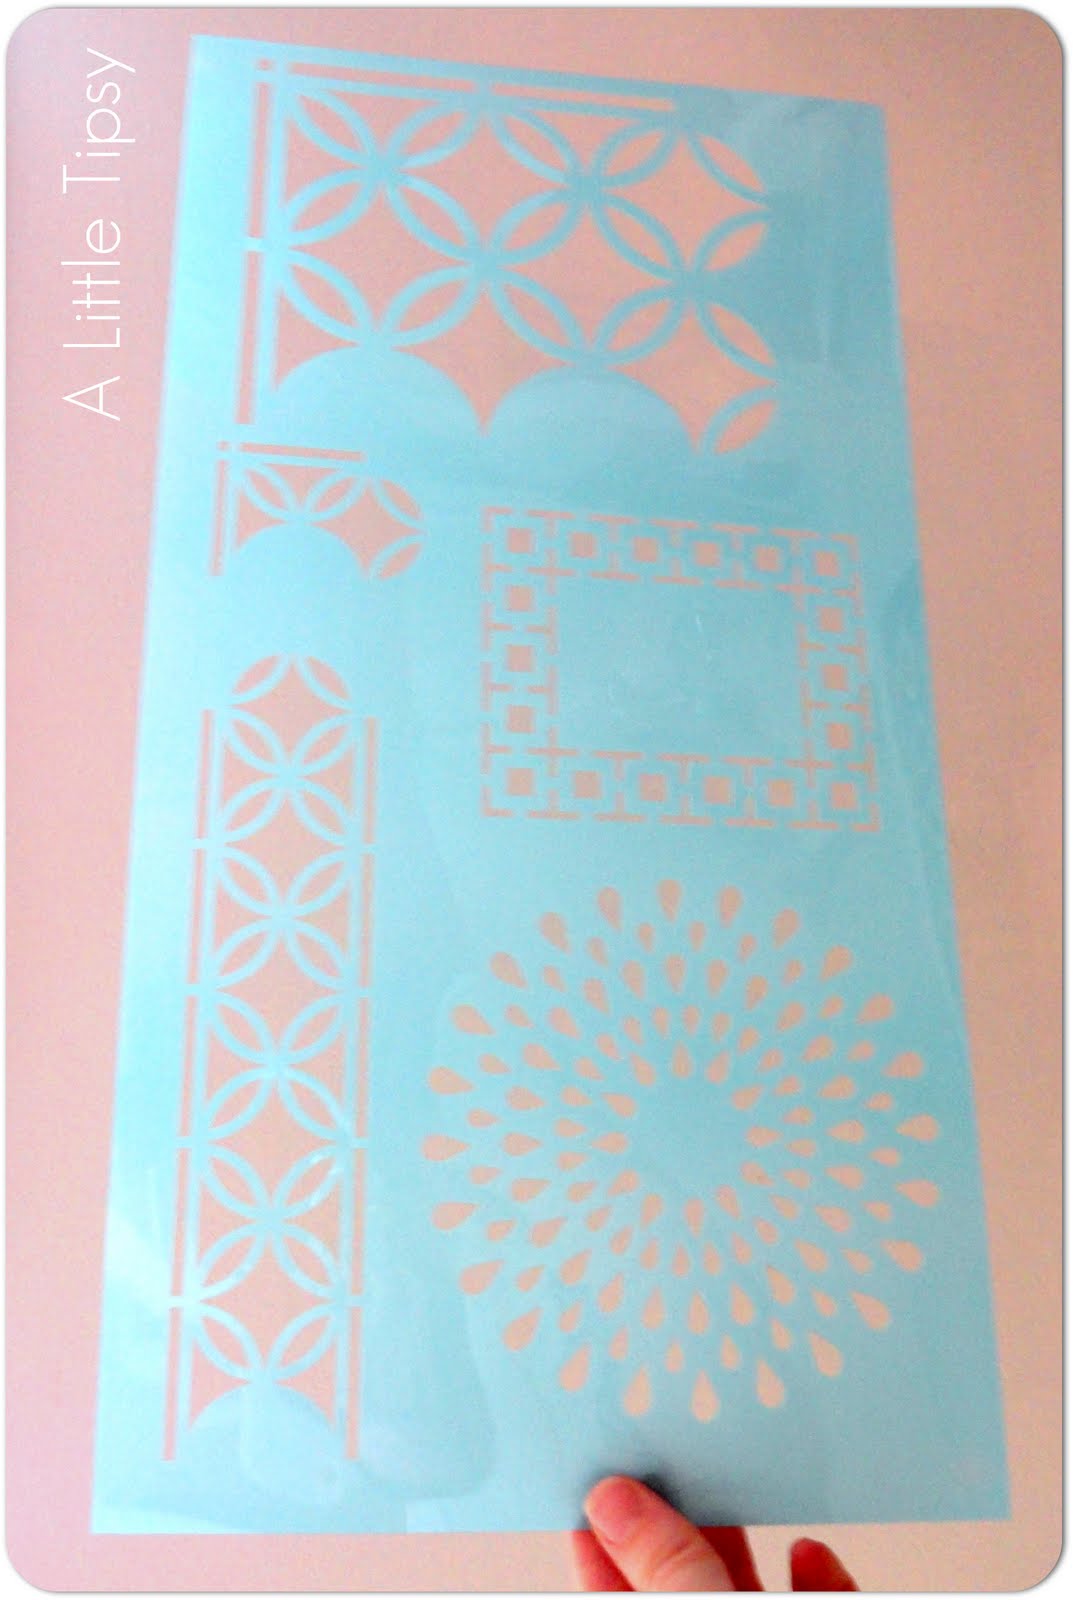
- Martha Stewart large stencil (Arabesque line)
- Copier or scanner/printer (optional)
- Scissors
- Tape
- Martha Stewart Stencil Brushes(the bristle ones)
- Martha Stewart Frost Etching Effect Paint
- Martha Stewart Satin Sea Lavender Paint (in the center of the box below)
- Toothpick

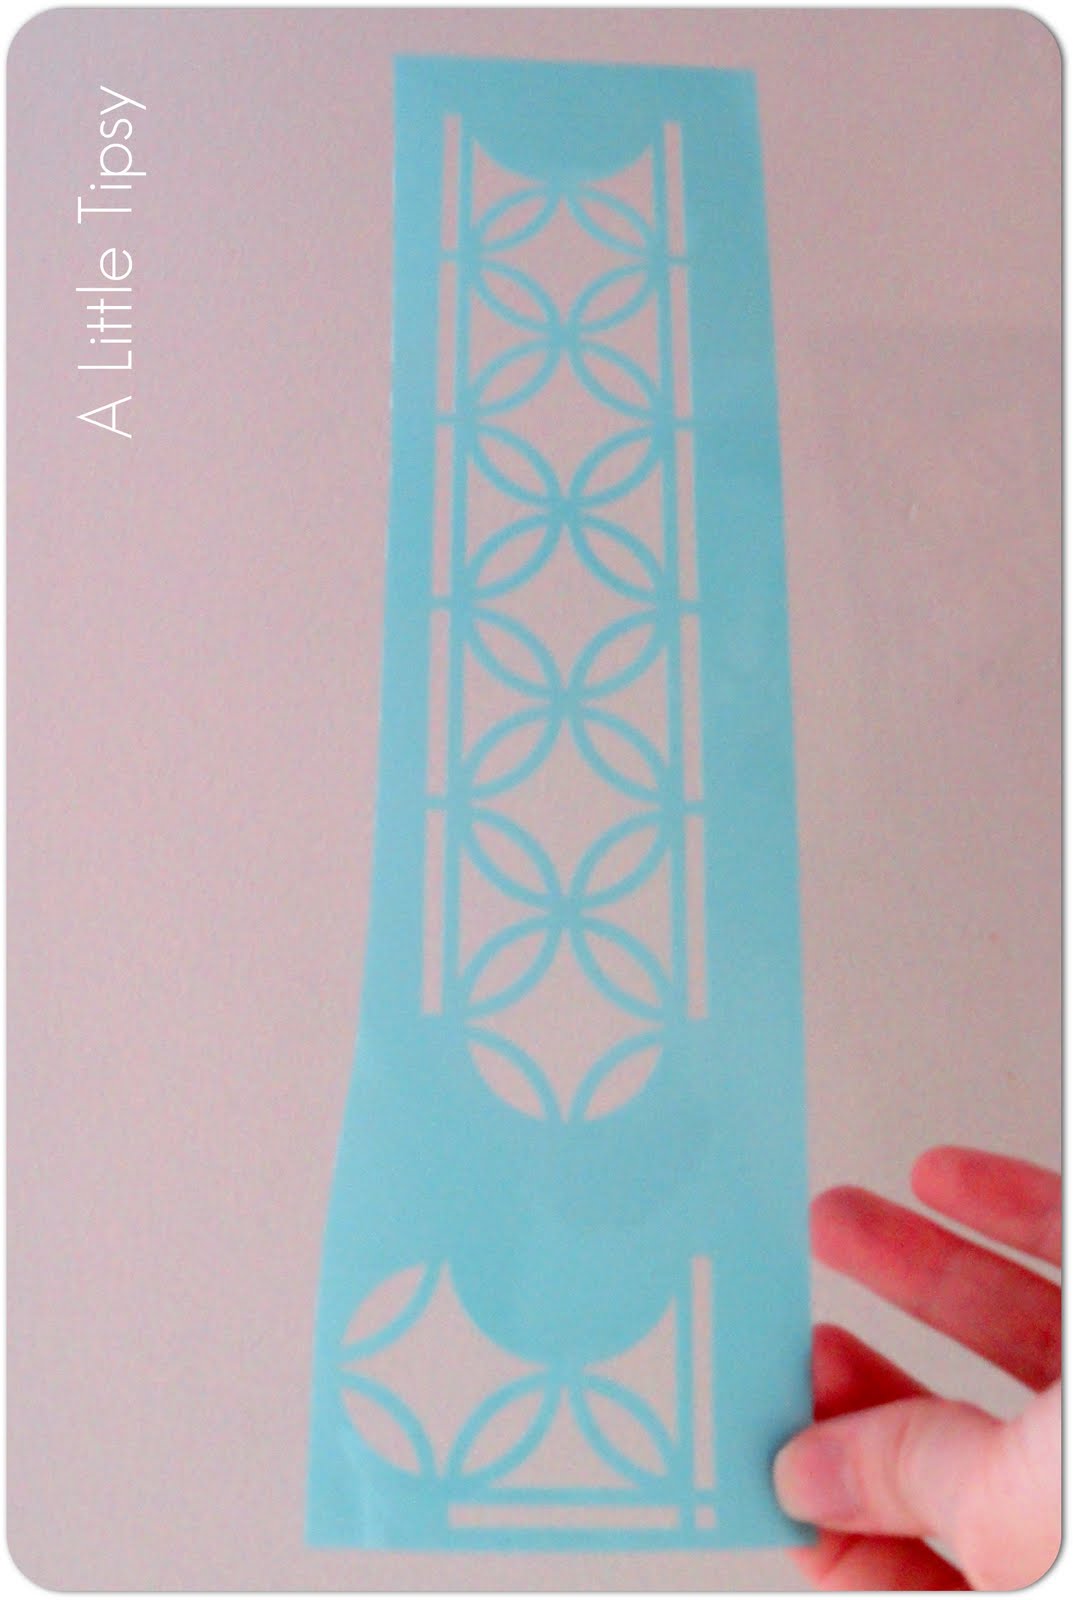
1. First off, I chose the design that would work best for me and trimmed it for the stencil so I wouldn’t have so much to hold in place.
2. I made copies of my stencil and taped them to the mirror to see how it would look and if everything would fit right.

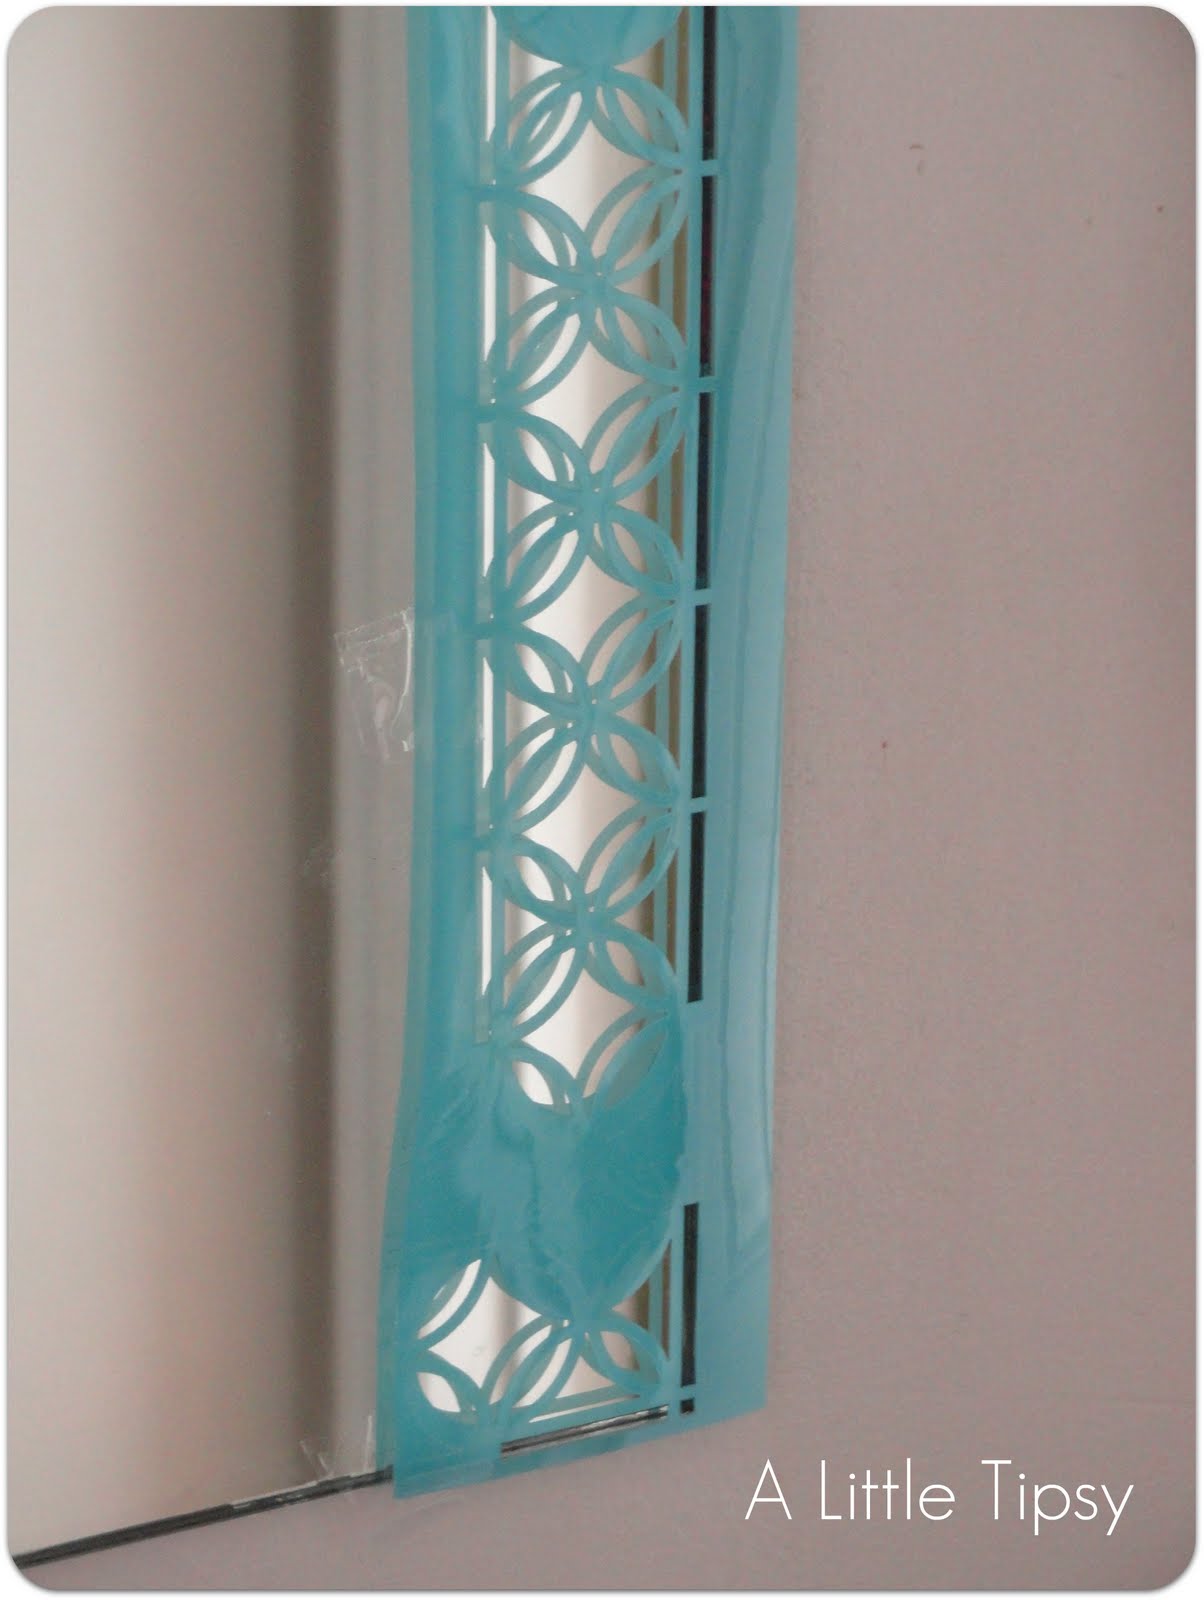
3. Start with the most visible corner and tape your stencil in place.
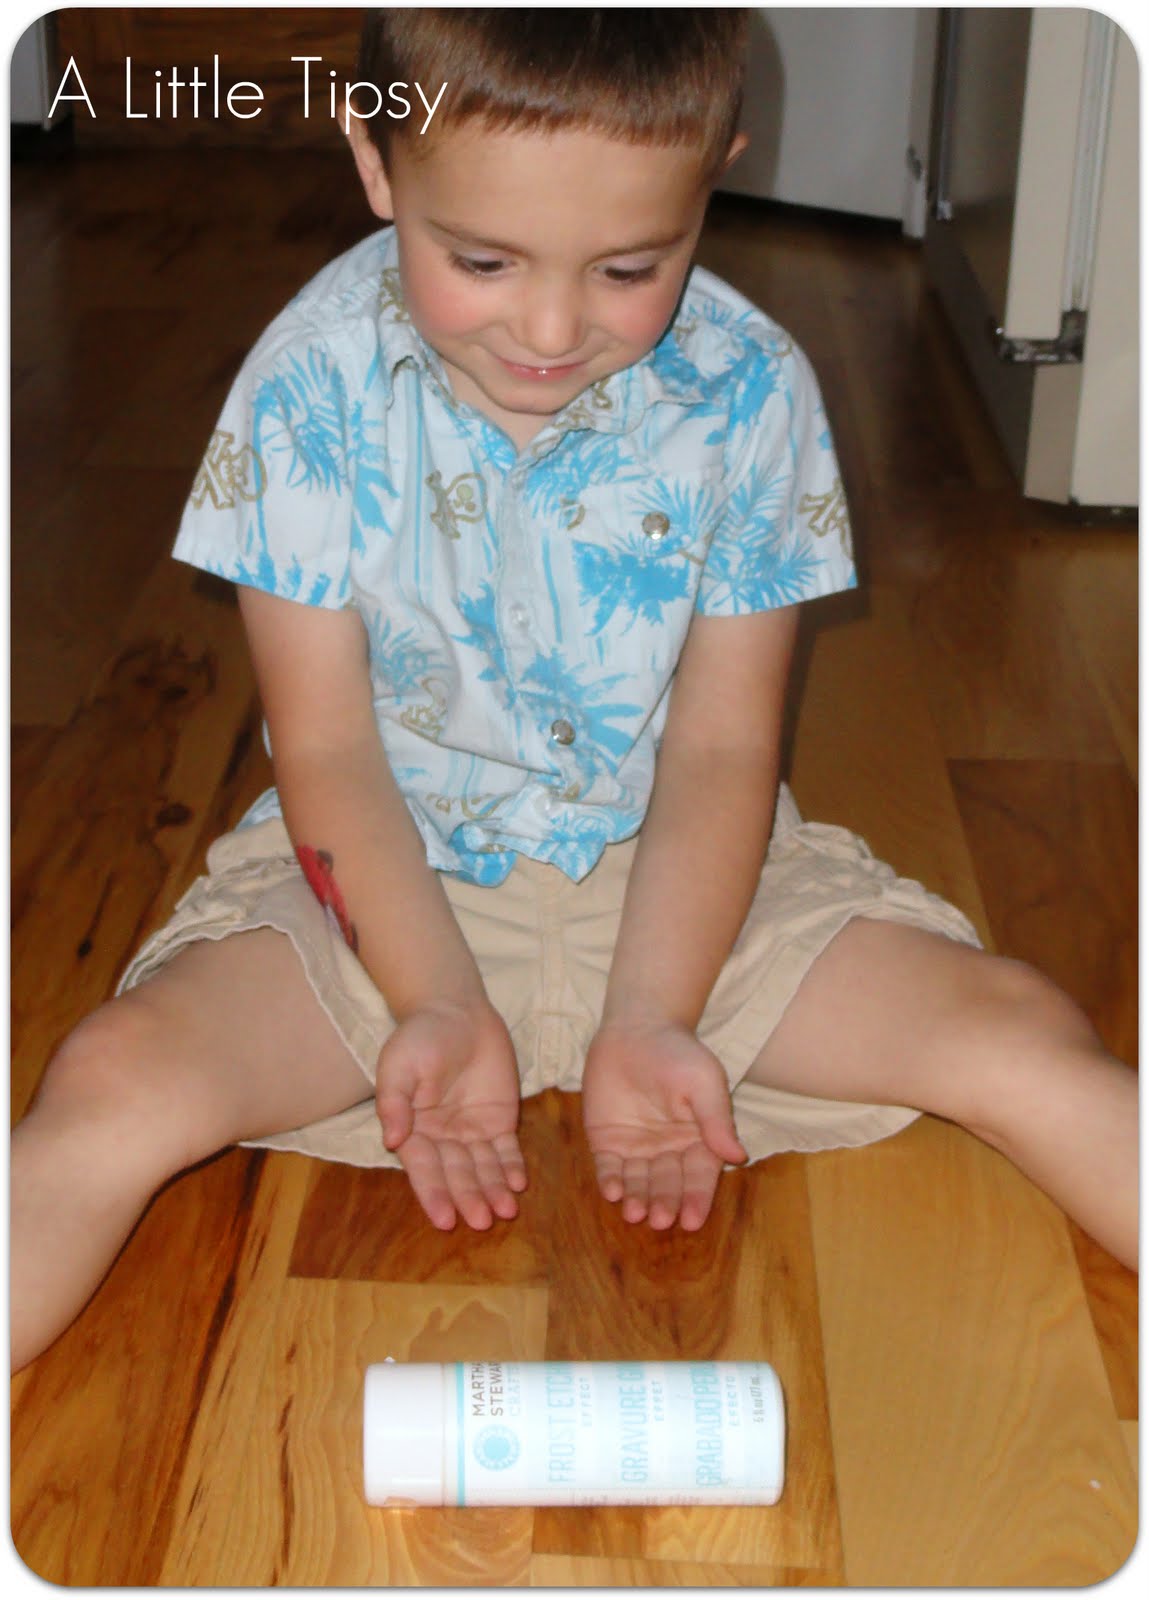
4. Roll the frost etching paint to mix well. You can do this easily on the table or with a game of pass the paint with a more than willing 3 year old. Squirt the frost etching on a palatte (or plastic plate if you’re like me) and mix with your desired color. I used the tiniest drop of color possible because I wanted to stay true to the frost for this project and just wanted it visible from certain angles. Use more paint if you want it more vibrant.
5. Brush on a light coat making sure to get in all the nooks and crannies of the stencil. Remove the stencil while the paint is still wet. Clean up any leaks or messes with the end of a toothpick. For larger leaks I wrapped a tiny piece of toilet paper around the end of the toothpick.
Sorry the video is sideways. I have not put my video editing software on my laptop yet.
6. Wait until the paint is dry, which is really fast with the frost effects. Then, line up the next piece of the stencil, tape it on and repeat with paint. The Martha Stewart stencils make it super slick because they have guides to make lining up the stencil easy as pie.

Notice the wardrobe change?
There was an unfortunate incident involving baby food and an untimely sneeze.
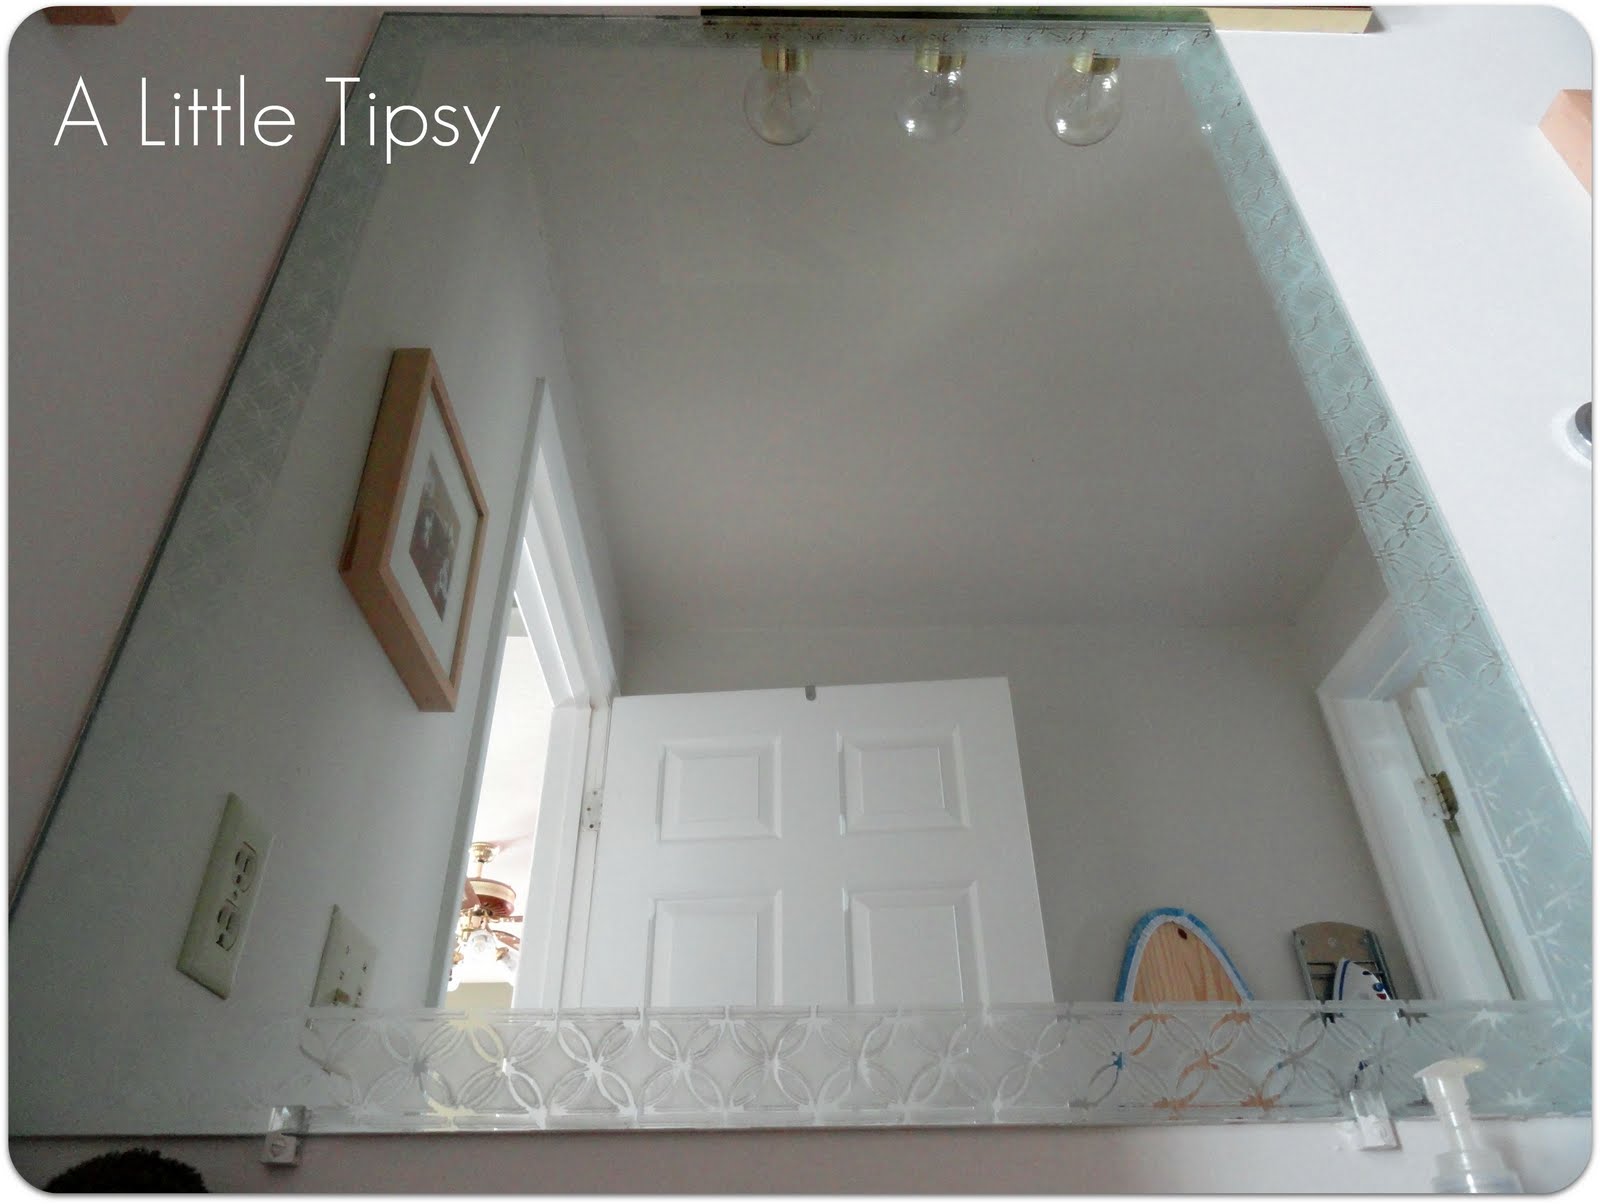
7. Most likely, you will get to a corner where the pattern does not align perfectly. This is where you get creative with using only part of the design or overlapping and erasing parts to make it look cohesive. Thus, also why you did the most visible corner first so it would look perfect, while the others are less noticeable.

Enjoy your new upgraded mirror!

Stay tuned for a whole bunch more projects in the line up with the new Martha Stewart paint line! I love all the possibilities!
Full post disclosure here.
Linking up with:
Thrifty Thursday
Transformation Thursday
Strut Your Stuff
Show Off Your Stuff
Look What I Made
Whatever Goes Wednesday
Get Your Craft On
P.S. Don’t forget to sign up for free Tipsy updates via RSS or email.
Wow your mirror turned out absolutely wonderful. This is so much easier than how I went about frosting my mirror so I will definitely be giving this a try! I am your newest follower.
xo
That turned out great!
The Tuckerbag
I love how your mirror turned out!!! I never thought to jazz up my boring mirror… oh, is Mr. Woodsy going to (not) be happy I saw this video and blog post! Great job!
GENIUS use of the paint!!! it’s stunning!
The mirror looks so great! I’m not sure I’d think to dress up a mirror to give a bathroom more dimension. Except to try to custom (as in, build around the mirror) frame it. But this looks much faster. How long did it take you do make?
Wow! I love how the mirror turned out! I have always wanted to learn how to do this and you (and the products) make it look so easy!
Love this! So many possibilities. I need to get some!
Come for a visit, I have several mirrors to play with. 🙂
You did a great job in the corners! I had a few, um, issues because I tried to do a slant :p But, I was really pleased at how easy the products are to use.
Love the mirror! I can’t wait to try the Frosting Medium now!
so cute! and a cheap way to update a plain mirror.
Love it. I have a sad mirror in my bathroom and this is just perfect for it!!
It turned out great – so simple, so pretty!
I love it! Now I want to get those stencils, too! PS- love the tip of trimming down the stencil to make it easier to handle- I really wouldn’t have thought of it.
Love this! You did a great job…and I am in the middle of redoing my bath. So I am going to try this! Thanks.
You’re one smart cookie!
Really cute and clever idea!! I will definitely have to remember this.
Beautiful! Found you via the Martha campaign. I wasn’t sure what to do with the frost etching. I am a new follower. Would love you to link this to Thrifty Thursday. Tweeting and stumbling this!
I love this mirror! I was at Michaels yesterday and saw this line of products and can’t wait to give them a try soon for some fun DIY makeovers for my house! This stencil was on my “must” list to buy!
Where can I find the stencil? I don’t live near a Michaels and yahoo search doesn’t turn anything up. Cute!
Cool idea, Michelle! that etching paint is awesome!
thumbs up!
happy crafting,
Linda
That rocks! I love the mirror so much more now! I have 20 mirrors I should do that to. I am highlighting this at somedaycrafts.blogspot.com
Oh awesome, now i can’t wait to try the frost! I love how this turned out 🙂 I used the pearl and satin paints on my his and hers tray tables!
I LOVE this!!! I think this is gonna be my next project! 🙂
That turned out great! Love it!
Love this mirror and plan on doing this in the near future! My question is, how does this hold up when cleaning the mirror?
Is this an etching cream or a frosting medium that can be washed off?
@Crazylifeasamom It is a paint type medium. I have not tried to remove it, but it goes on top of the glass and does not etch it so I imagine you could.
I just bought this yesterday and started a similar project. I am wondering how to seal it, so cleaning the mirror doesn’t ruin all the hard work. Did you seal it?
I did not seal it and it looks as good as new still today. I am careful when cleaning around it but it has not come off.
Well this is a coincidence! I just purchased that stencil kit yesterday and today I was looking at the boring mirror I have sitting in the basement and thinking “I should do something with that mirror”. That’s why I was looking at the internets to see what I could do with the stencil but I would have never thought of stenciling a mirror.
Thanks!