Welcome, welcome to another month of Point of View where, on the 4th Friday of each month, we each show you our takes on a particular theme. This month’s theme is PILLOWS. Take a look at the fun projects we have lined up for you!

1. Amy {Ameroonie Designs}
2. ME & here you are for the tutorial!
3. Jonie {Just Between Friends}
4. Gwen {Gwenny Penny}
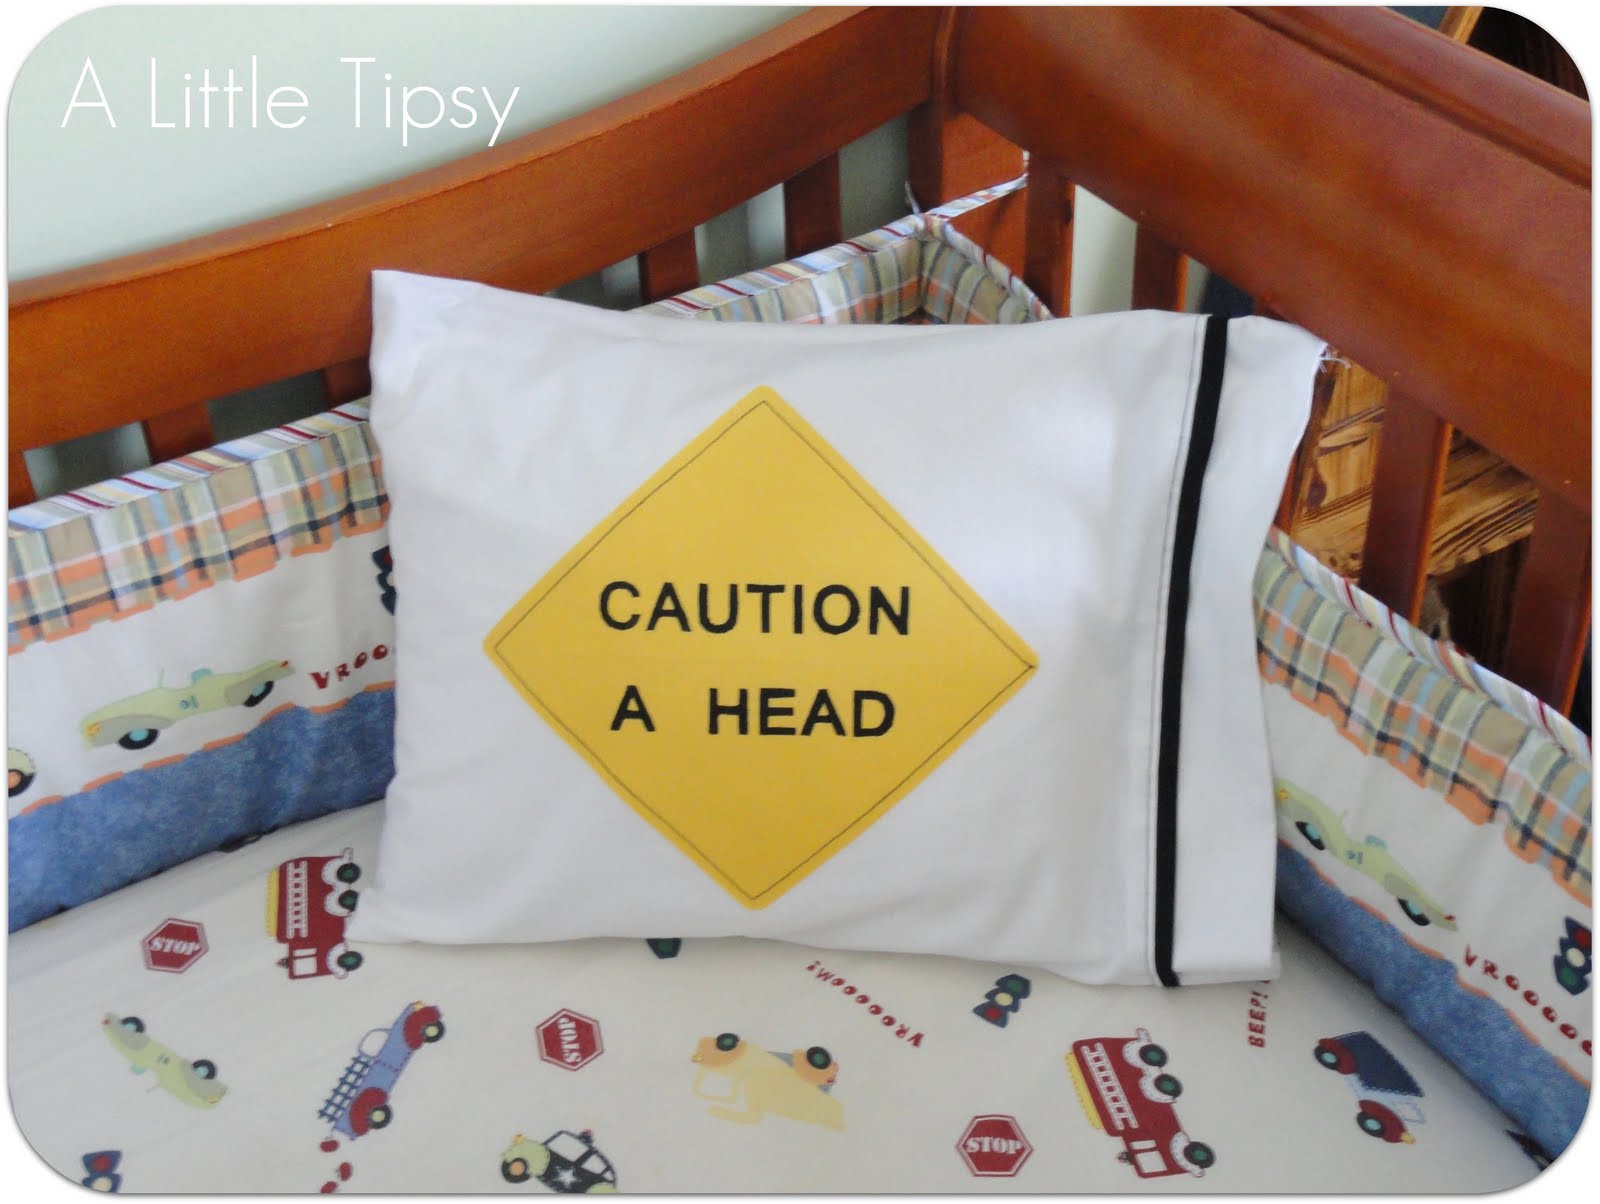
I have been meaning to make this pillowcase for months. Like since my older son sleeping was in the transportation themed nursery, oh nearly 8 months ago now. I even purchased the supplies and had them in a bag starring me down any time I pass them. My recent girls craft weekend finally gave me the uninterrupted time and motivation to pull out the bag and get it done.
It makes me chuckle inside every time I think about it.
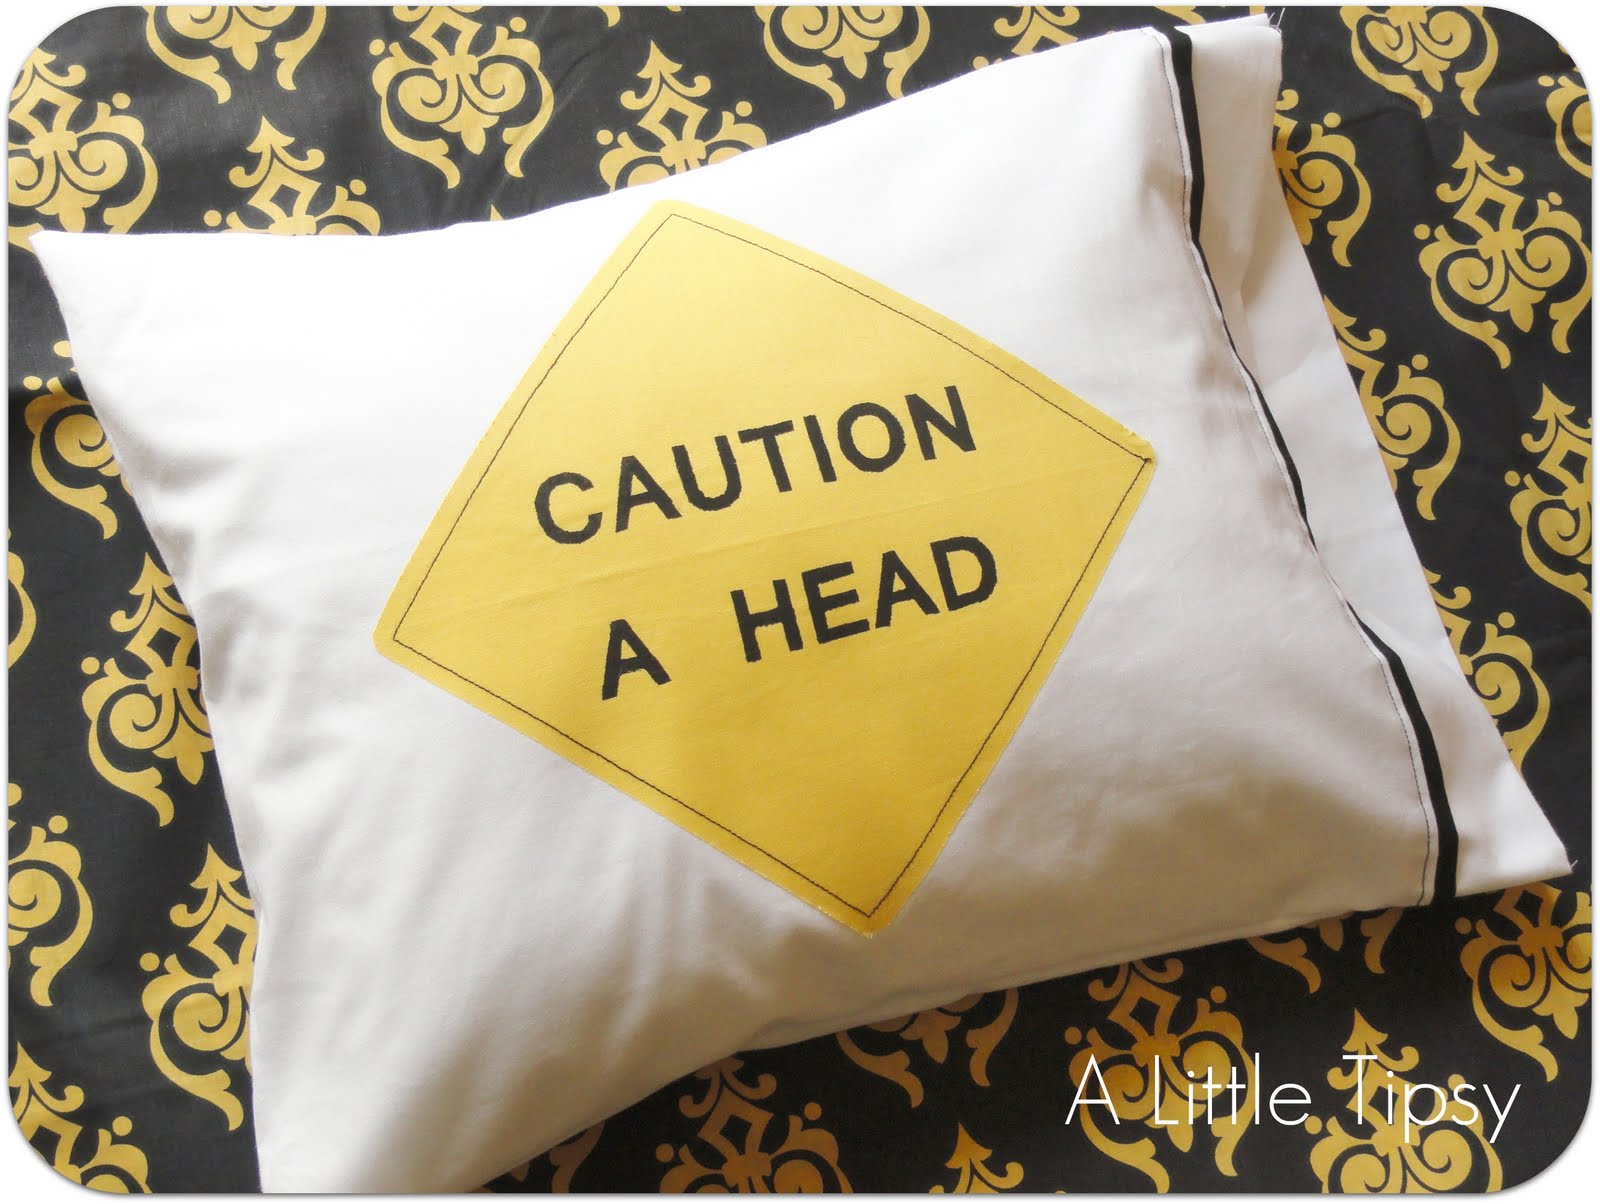
So here’s the DL so you can make a pillowcase of your very own.
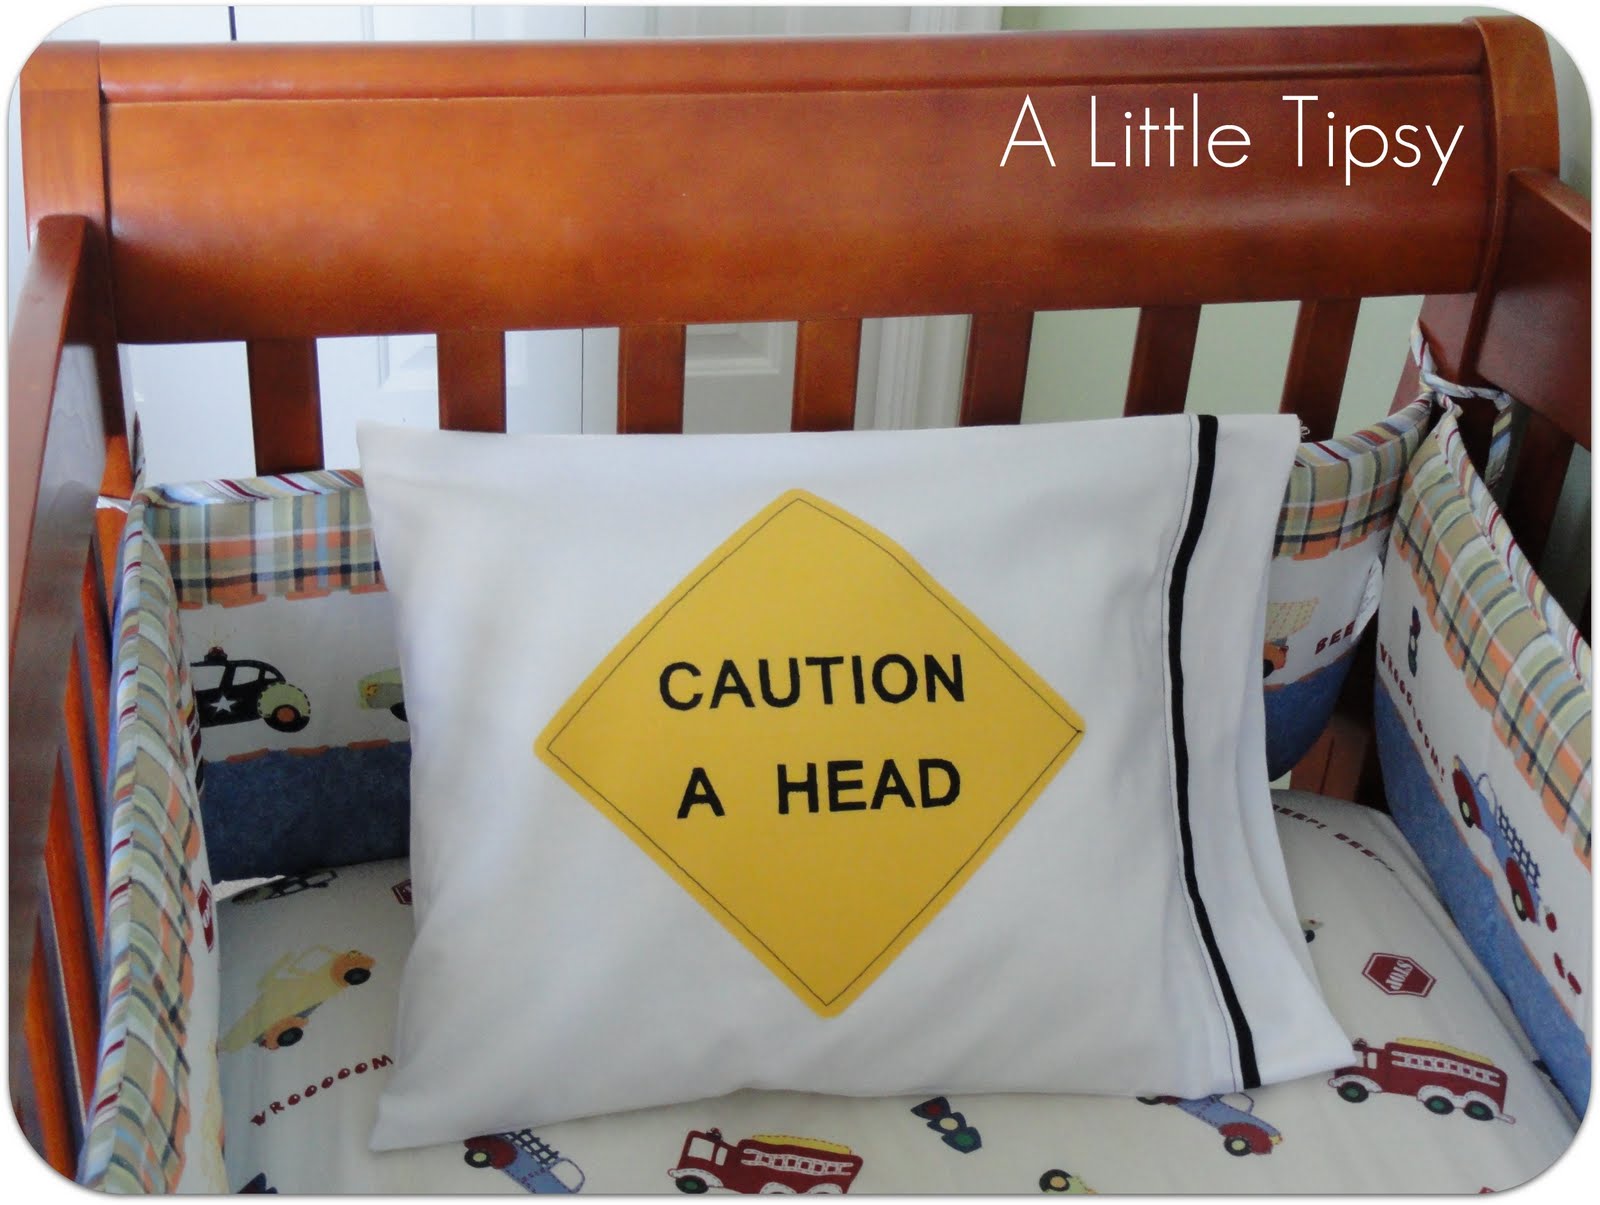
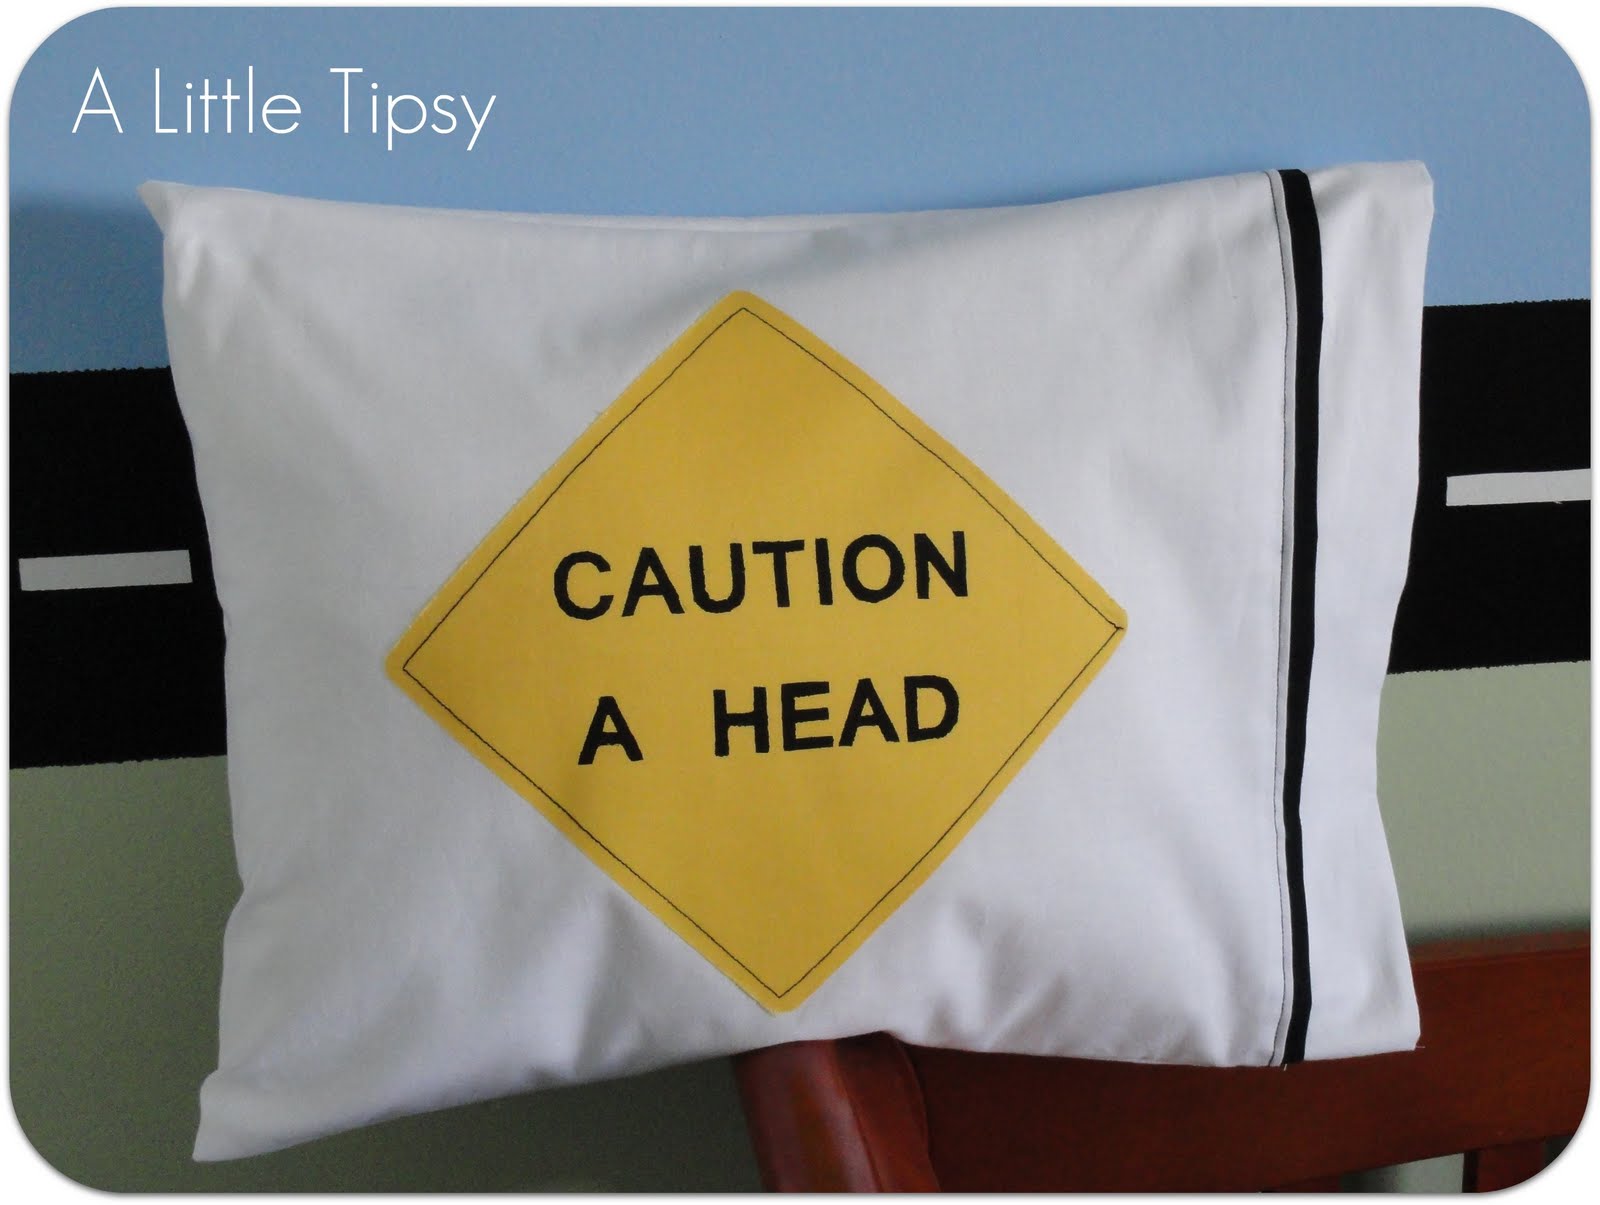
{CAUTION: A HEAD} Pillowcase
- White cotton fabric
- Yellow cotton fabric
- Black cotton fabric
- Black thread
- White thread
- Fabric interfacing
- Iron
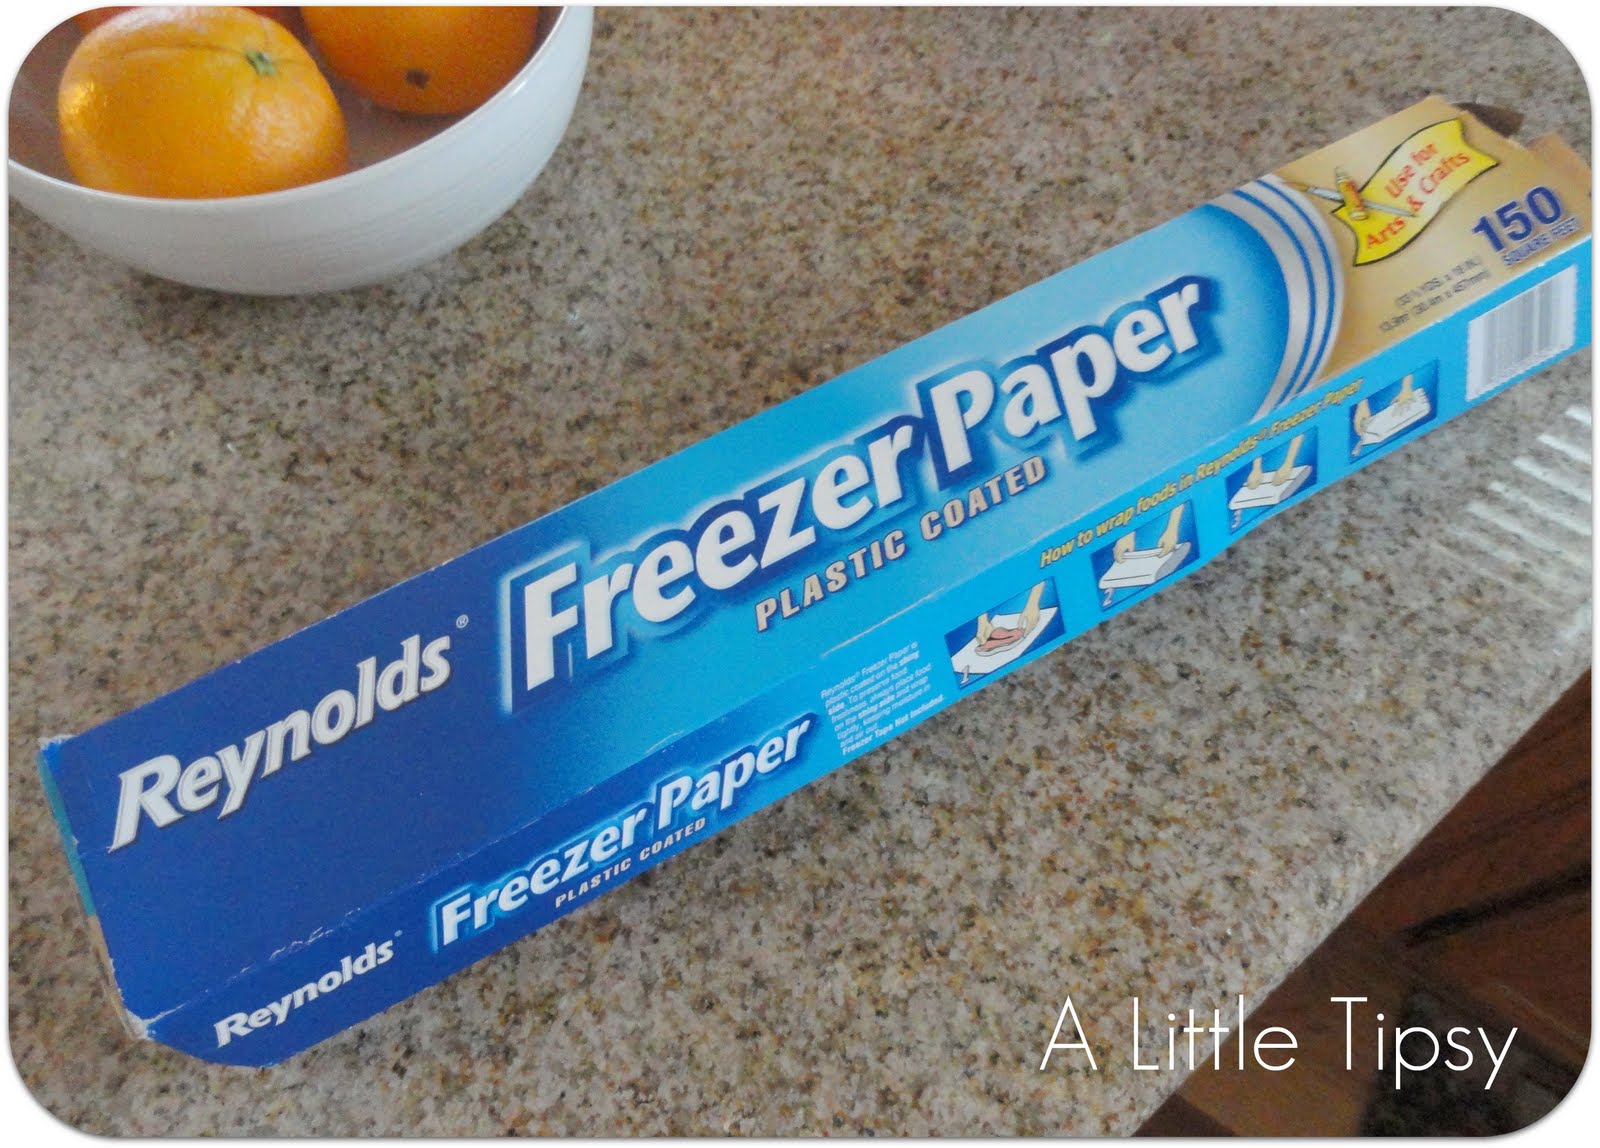
- Freezer paper
- Printer
- Cutting board
- Exacto
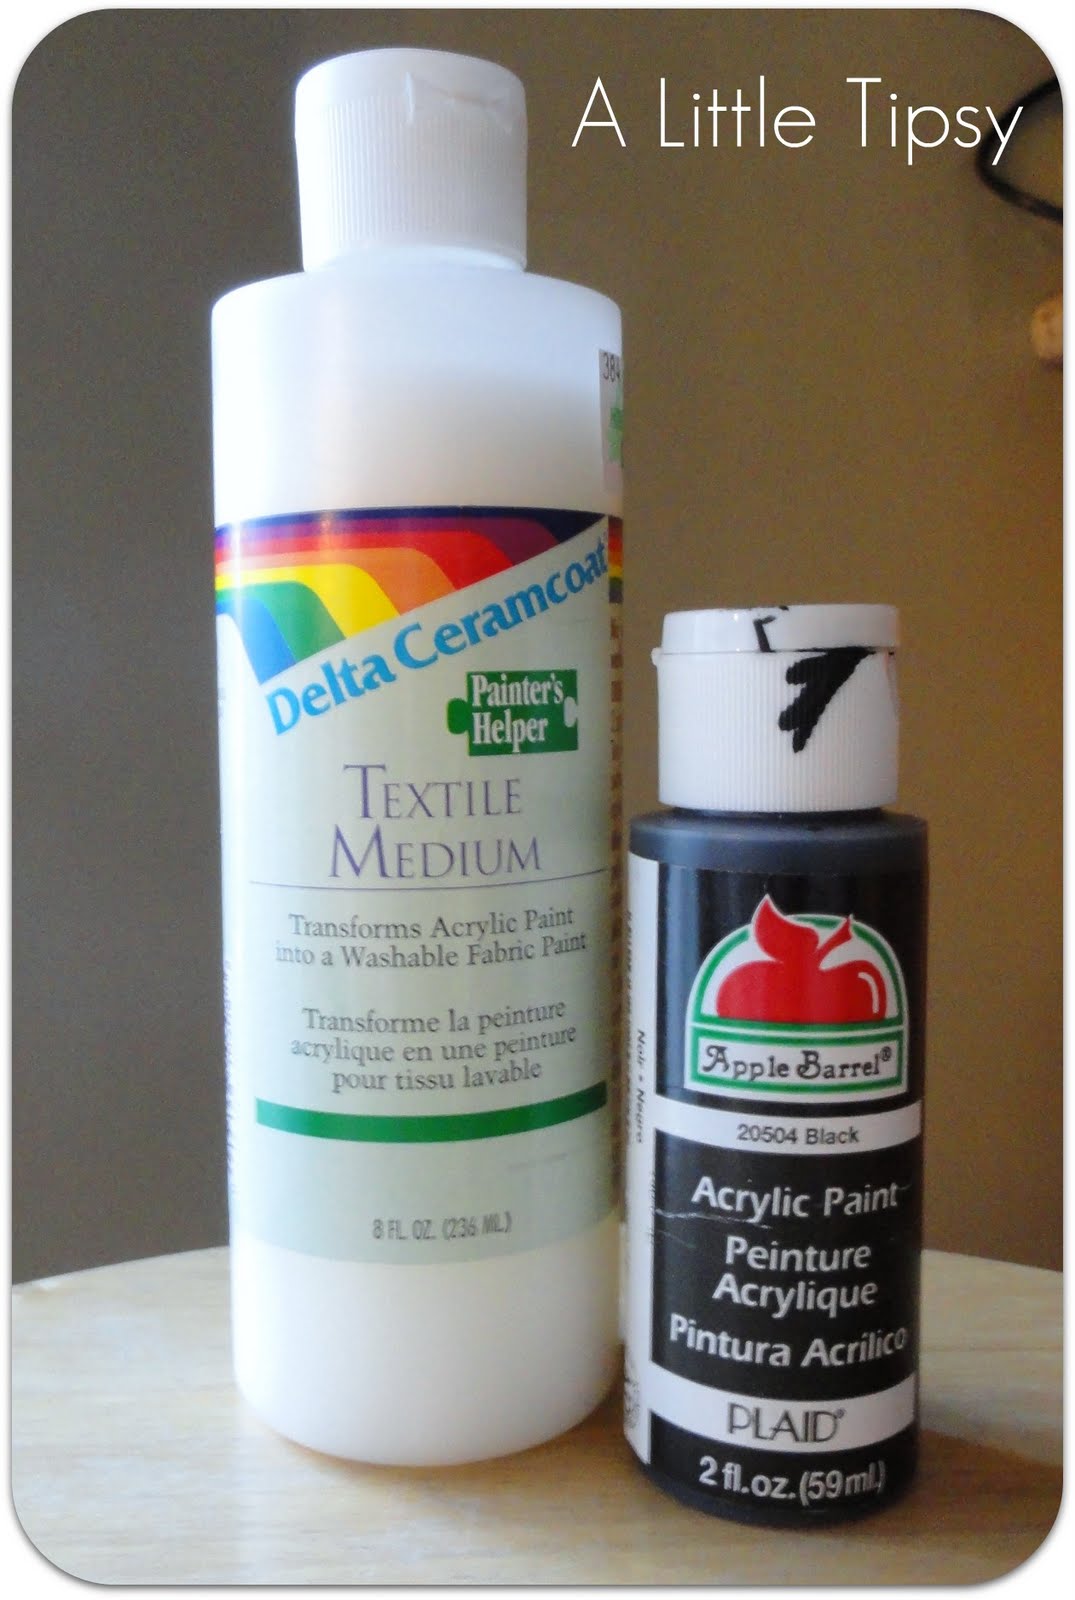
- Textile medium (turns acrylic paint into fabric paint $5 at Hobby Lobby)
- Black acrylic paint
- Piece of cardboard
- Foam brush
I made my pillowcase for a toddler pillow (travel sized pillow I got at a conference) so I will not give measurements because most people don’t have that exact pillow.
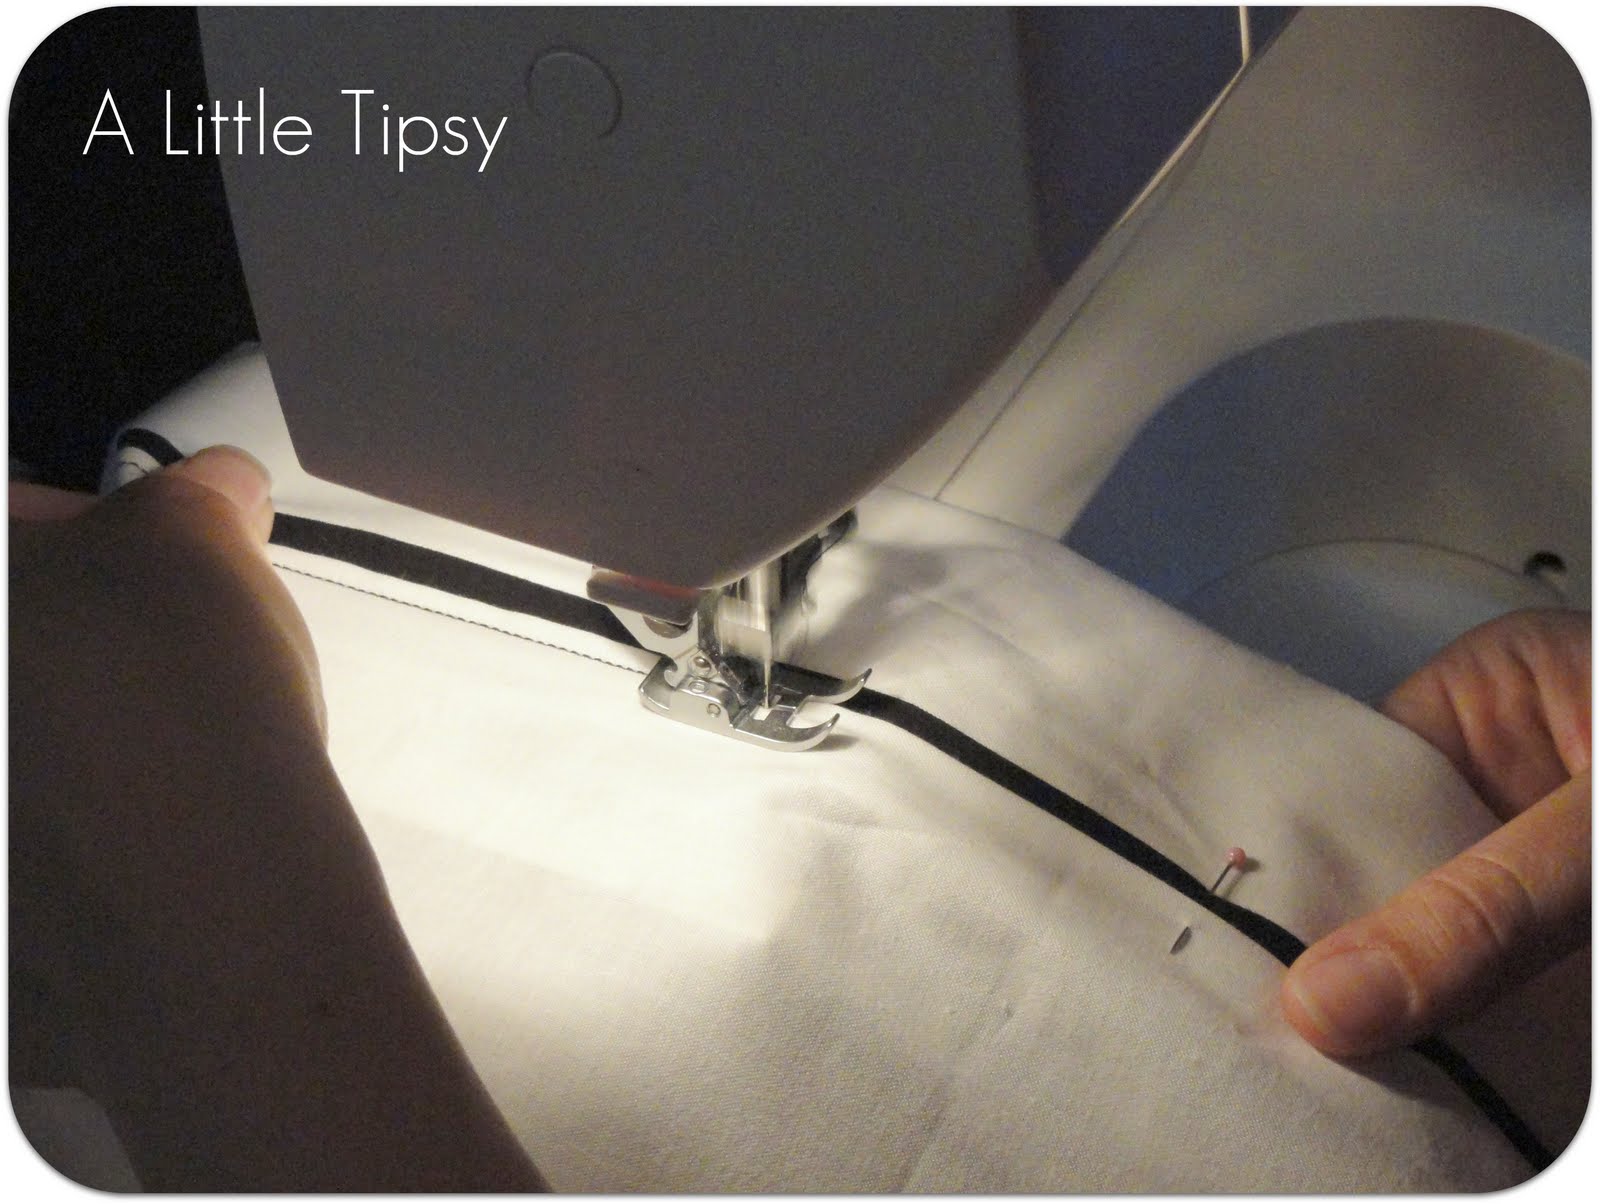
2. Cut two 1.5 inch wide strips of black material an inch longer than the length of the end of your pillowcase. You will fold these in half and iron flat for the pillowcase trim.
3. Cut two 3 inch wide strips of white material an inch longer than the length of the end of your pillowcase. You will fold these in half and iron flat to finish the pillowcase opening.
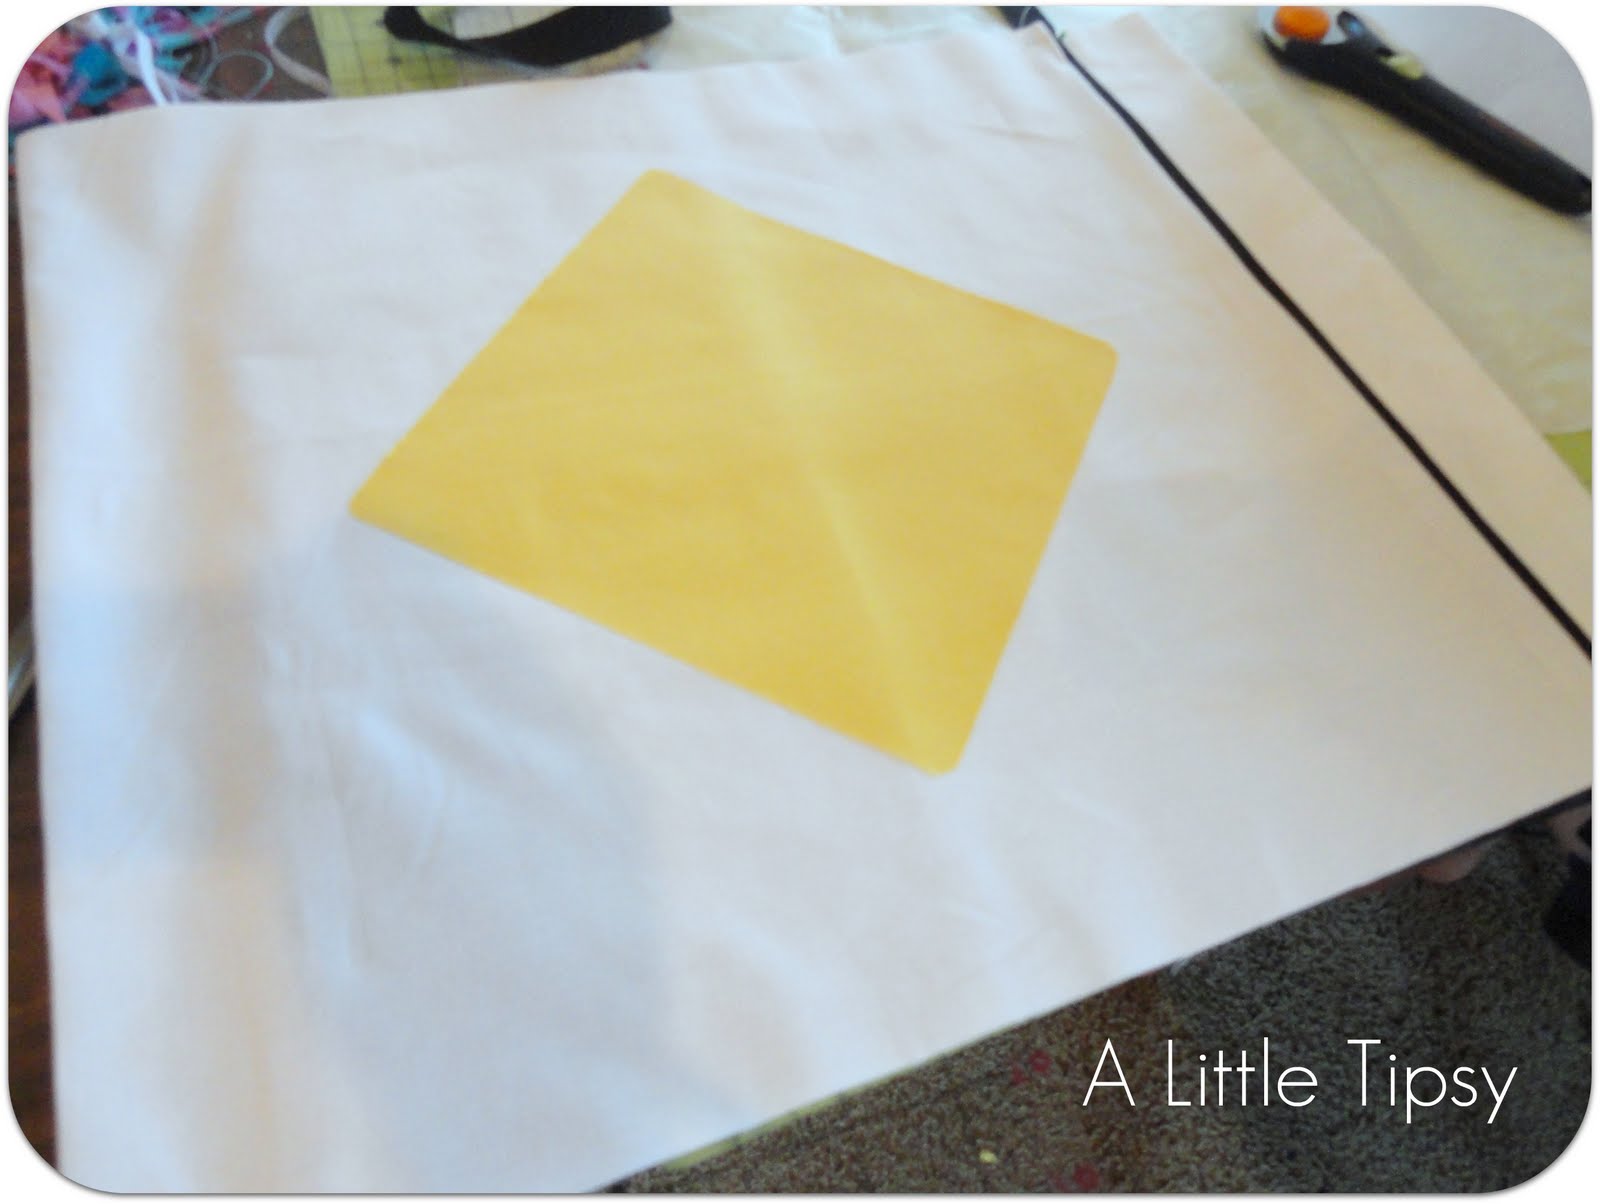
4. Cut a square out of the yellow and round the edges. You will turn it on point to make the diamond. Make it big enough to be 2 or three inches from the top and bottom edge of the pillowcase.
6. Sew layers together with black thread.
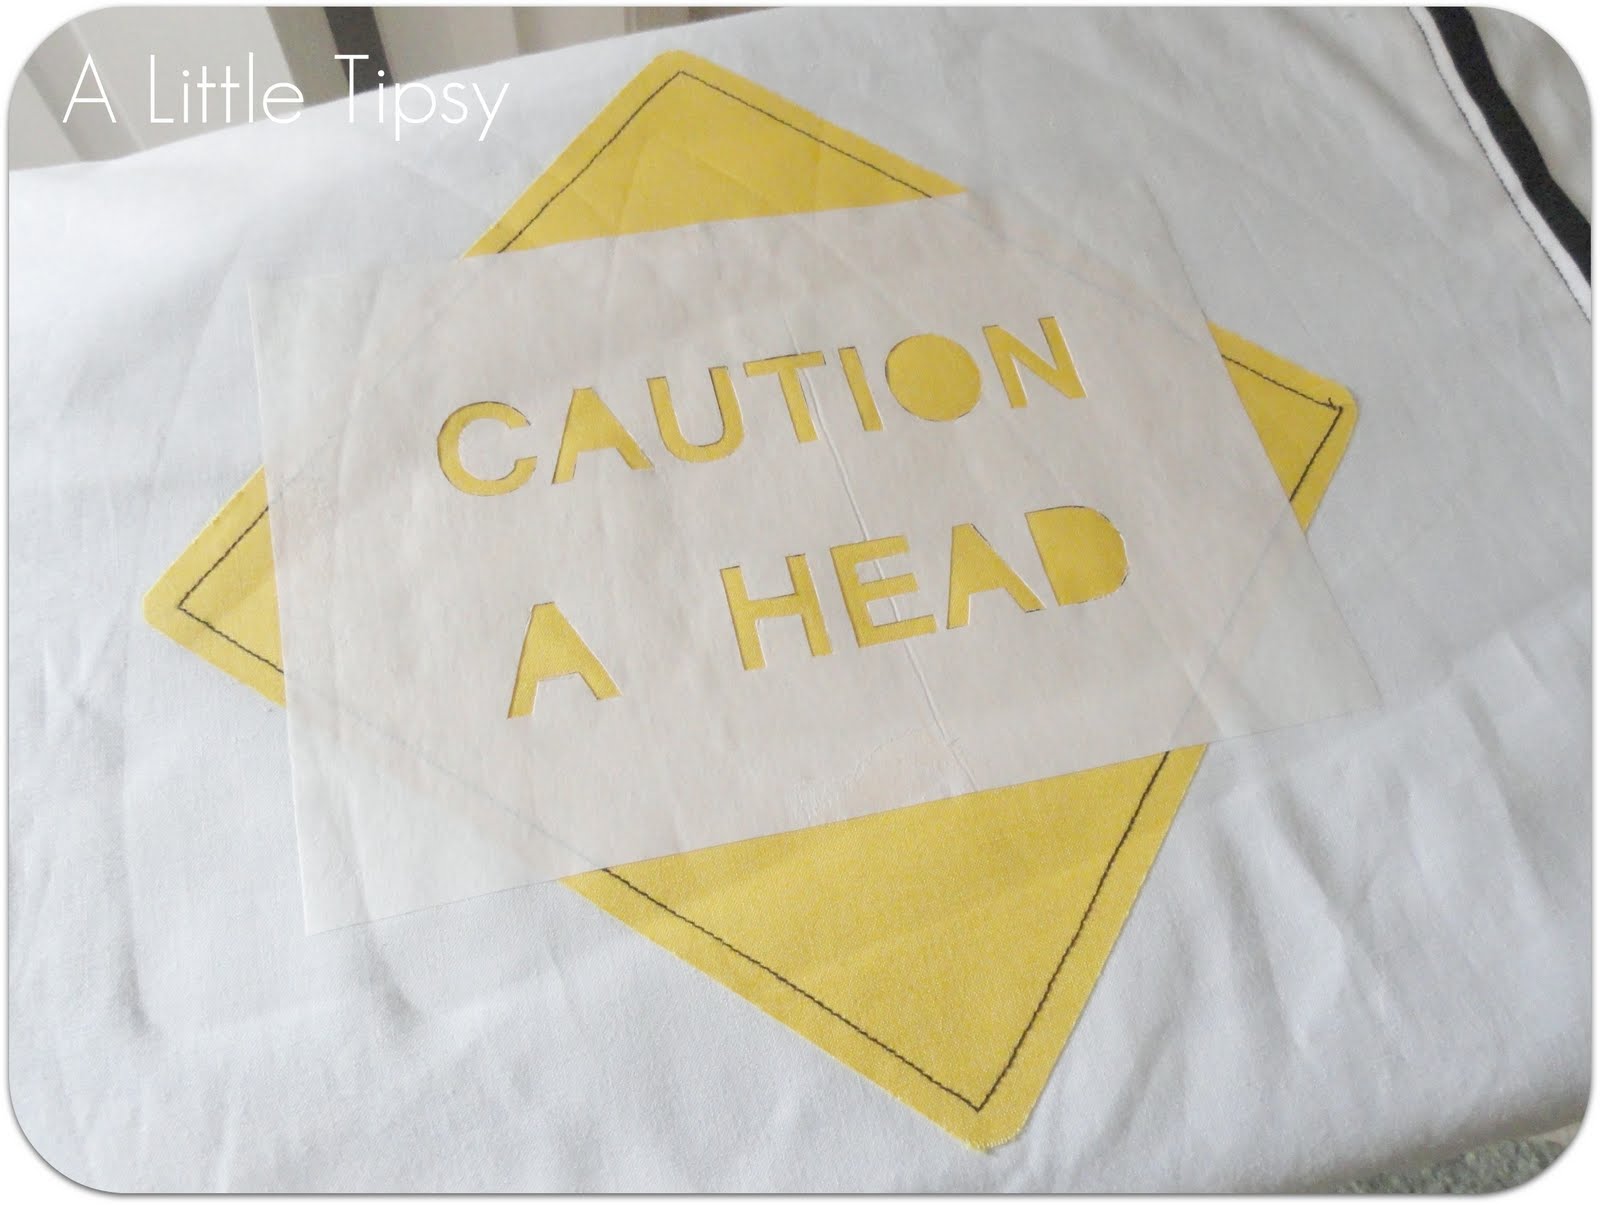
8. Stitch a straight line around each edge of the yellow diamond to secure and make it look more like a sign.
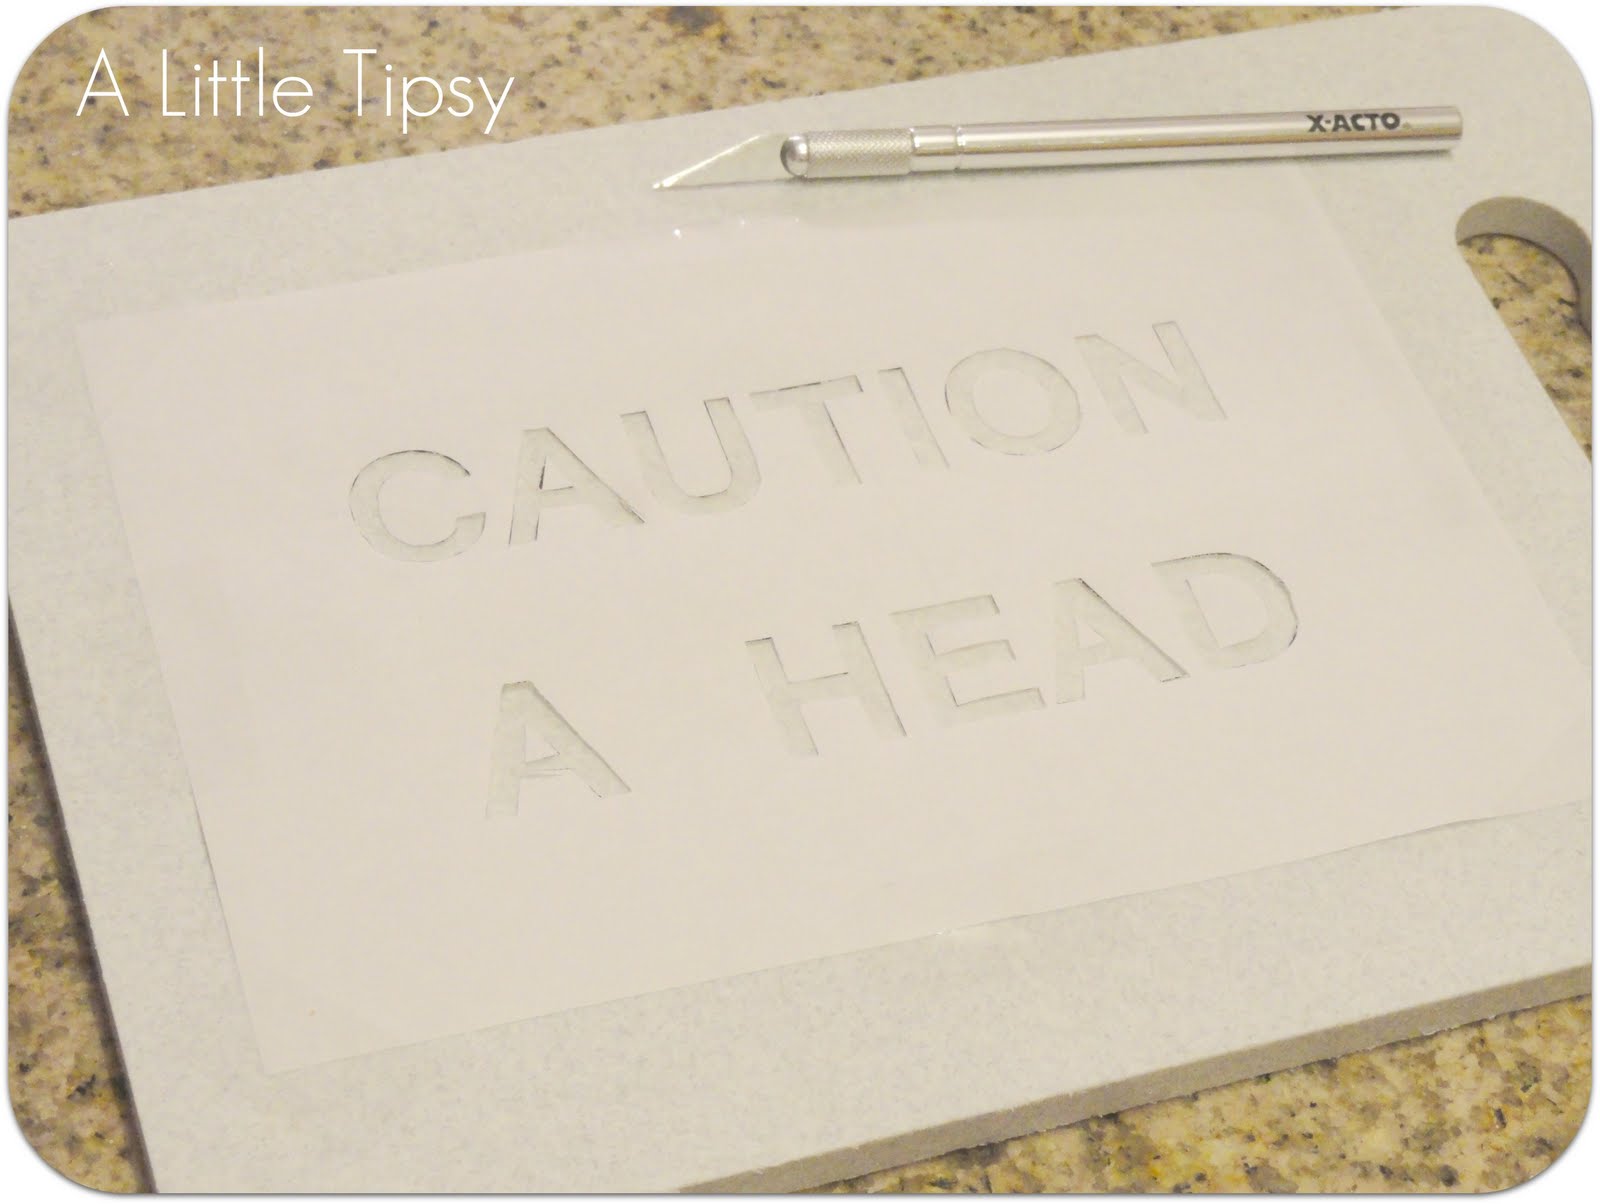
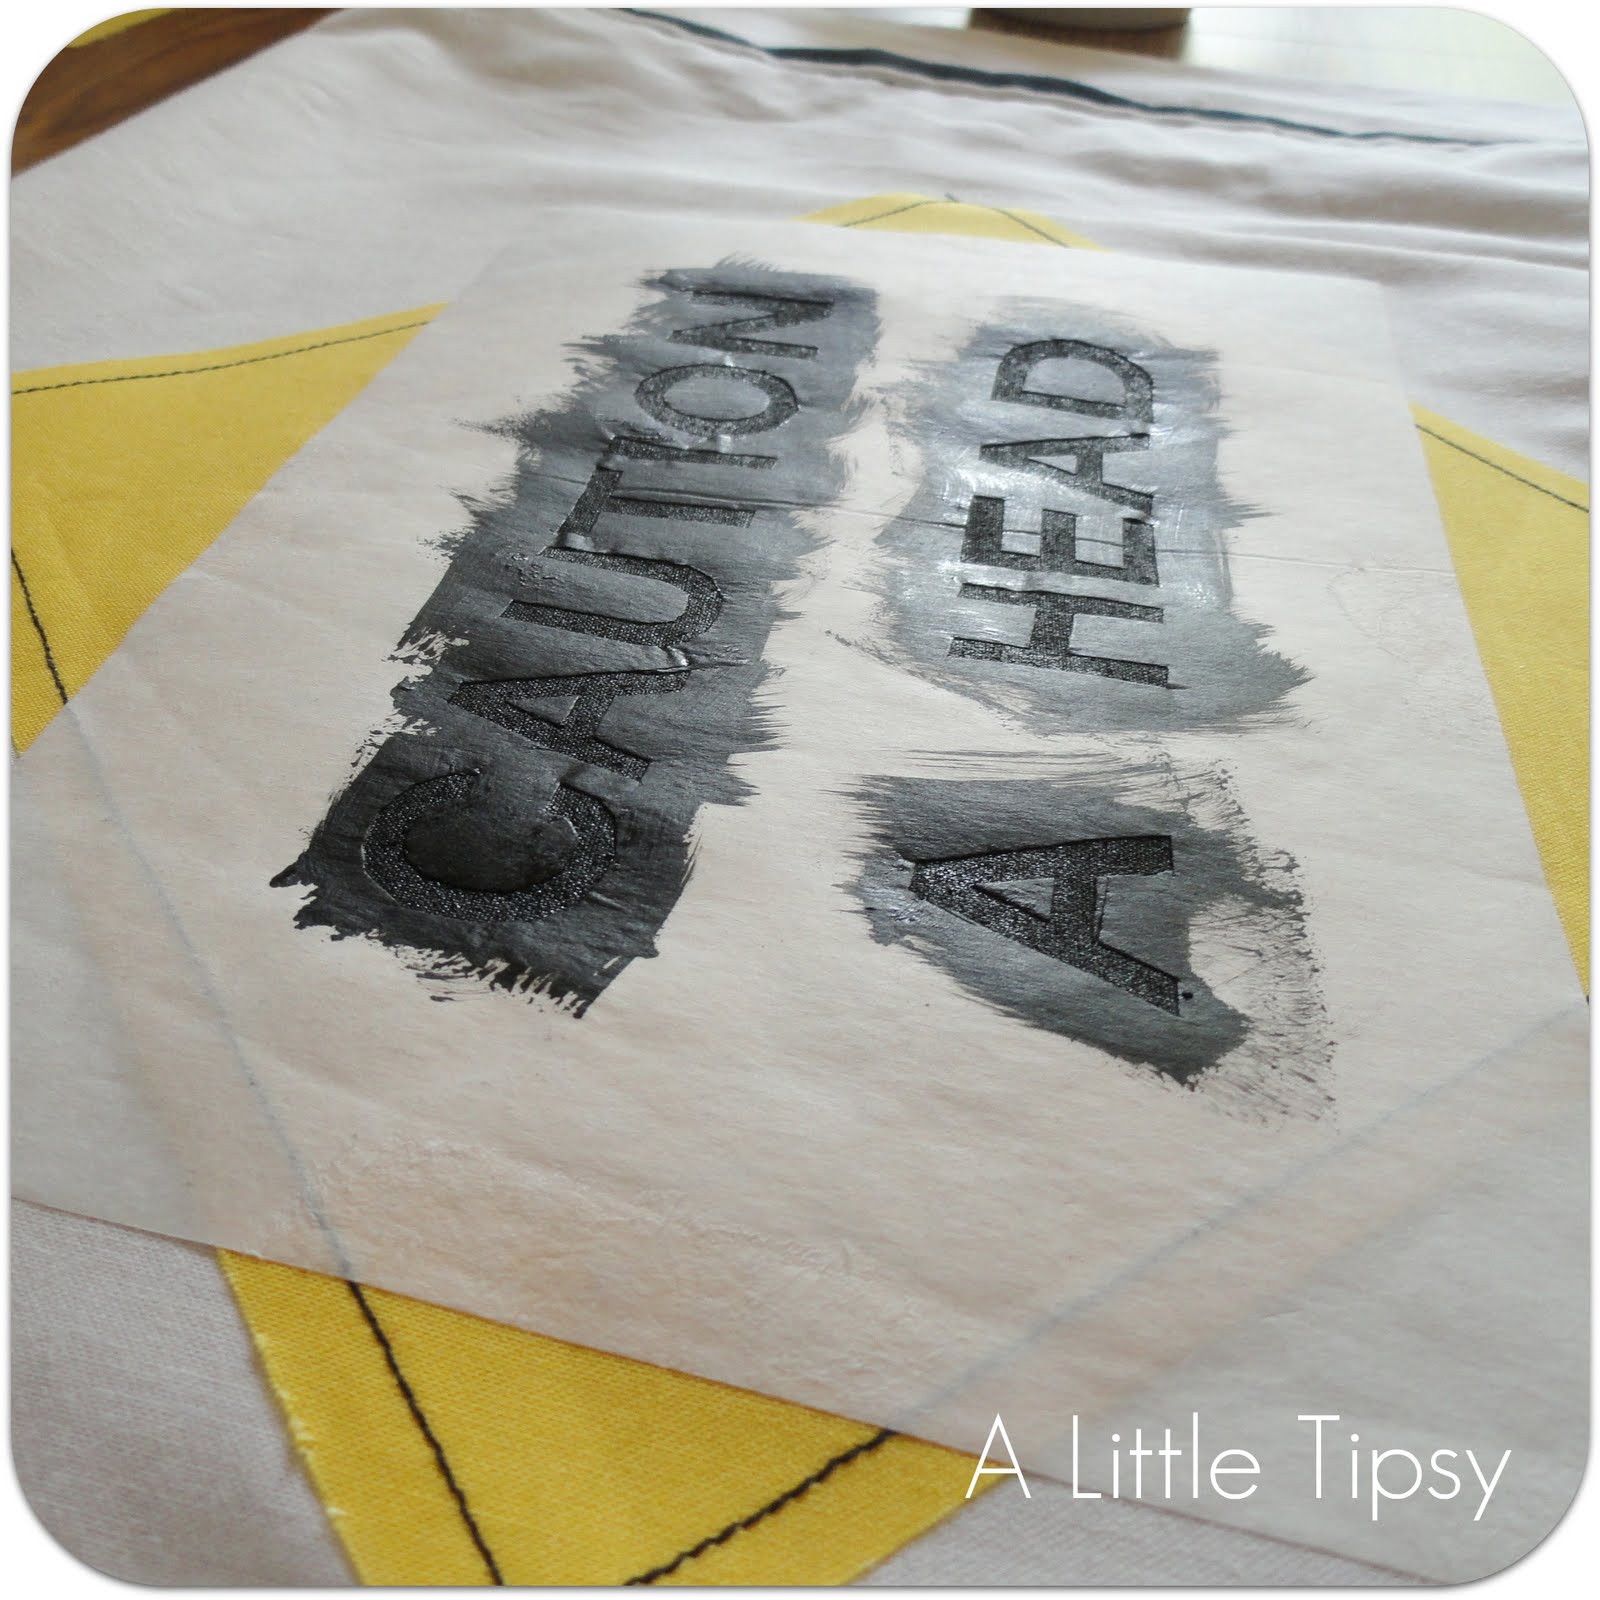
9. Find a font that looks like a street sign (I used Vrinda 100pt bolded) and size it to fit your diamond. Print a test sheet on normal paper. If it is the right size, cut your freezer paper to 8.5 x 11 and print on the matte side.
10. Tape freezer paper to a cutting board and cut out letters with an exacto knife. Be sure you keep the loose middle of the letters.

Then, with.

13. Paint a light coat over each letter making sure you get to the edges.

15. Follow directions on paint to make it permanent and washable. I had to iron over mine and let it dry 7 days. It has dried one so far. 😉
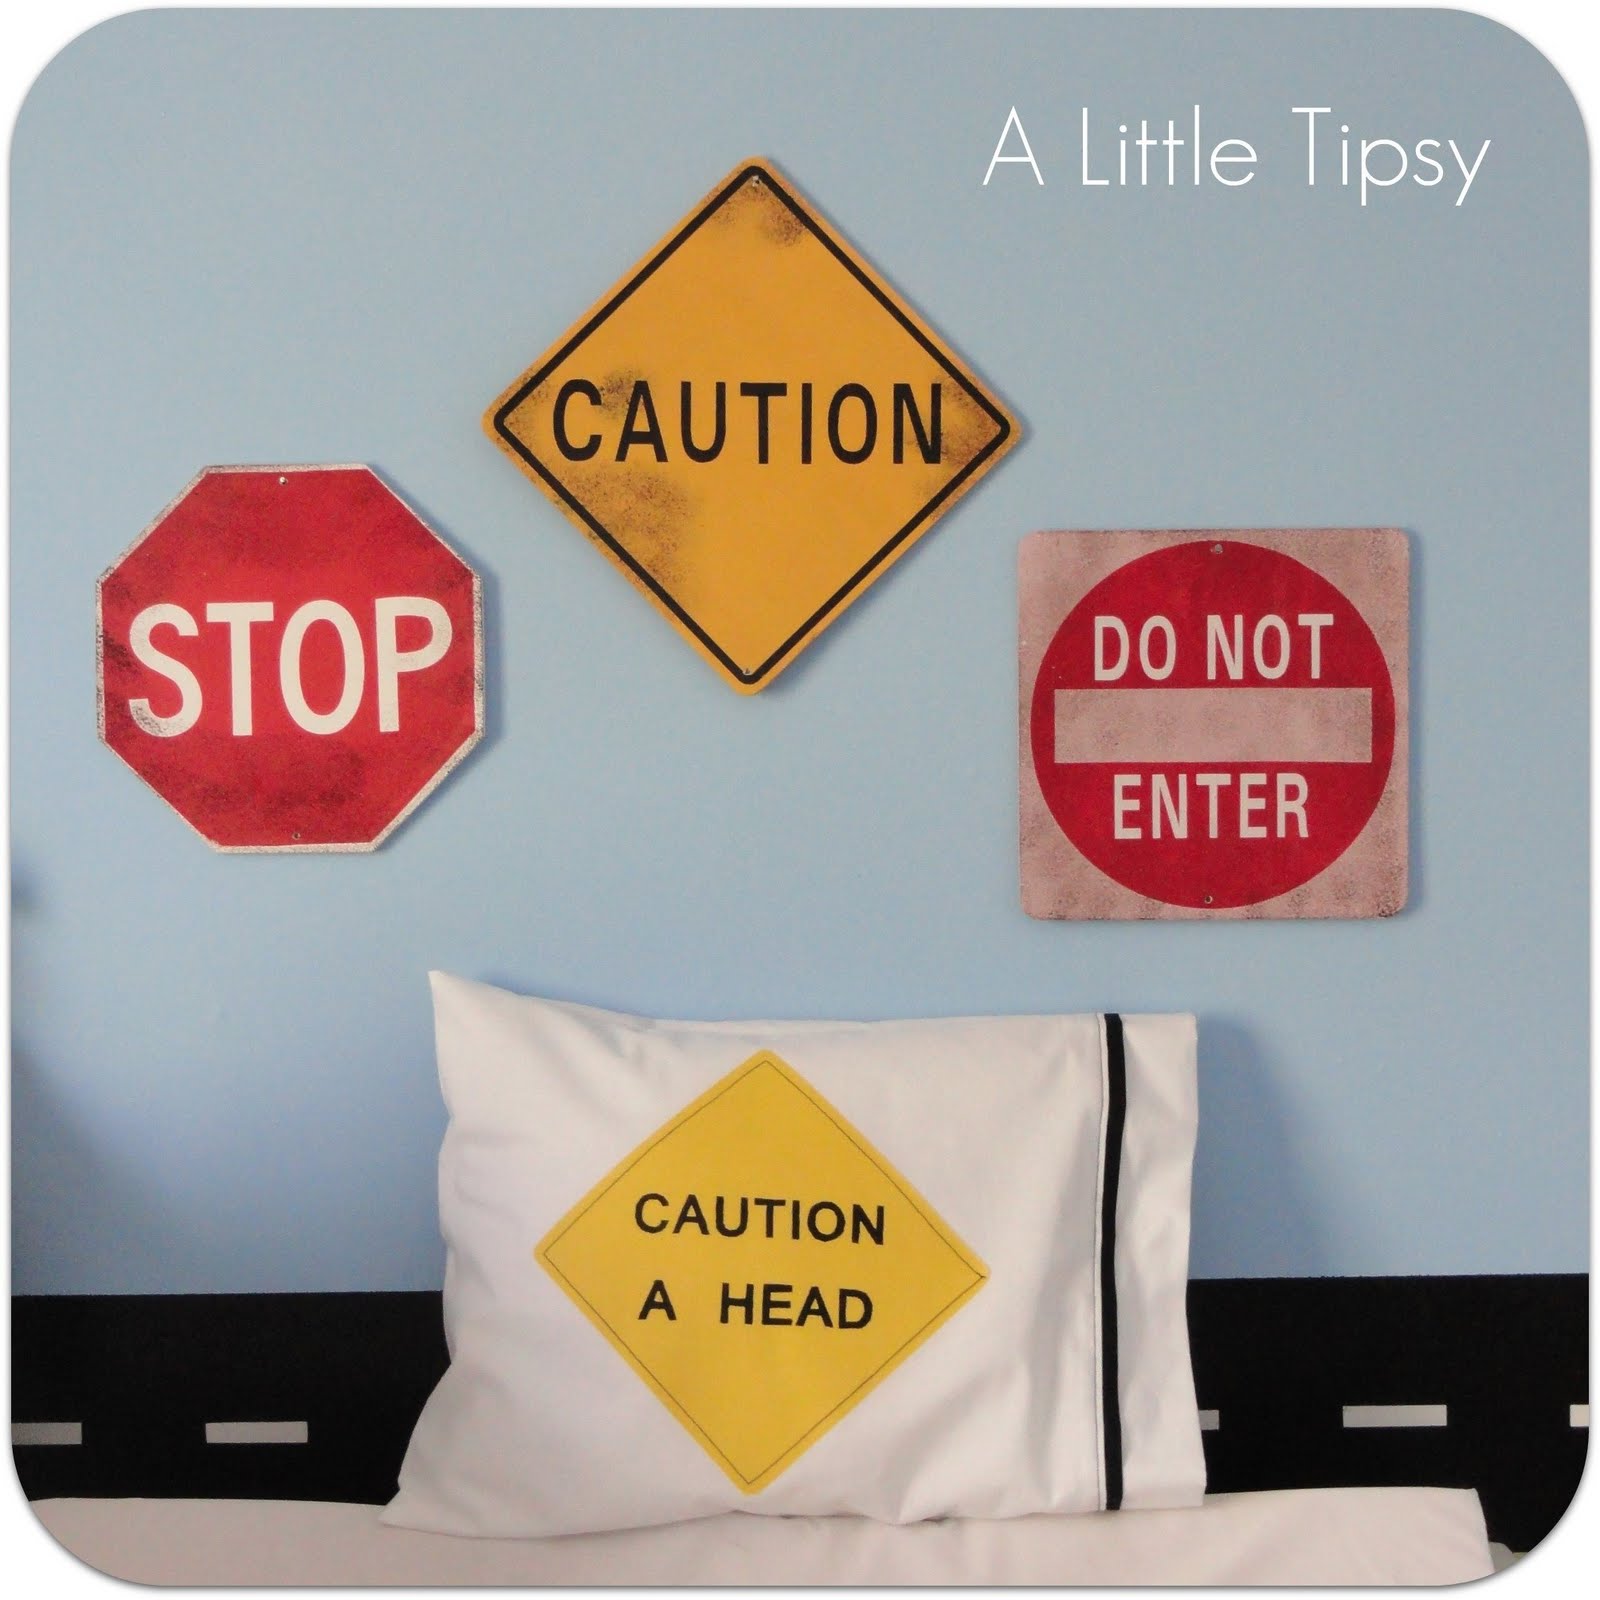
It is perfect for a planes, trains and automobiles room.
But, could also be really fun for a teen’s room!
P.S. Don’t forget to sign up for free Tipsy updates via RSS or email.
Michelle, this is darling! I love it. And it makes me smile every time I see it too!
xoxo,
Amy
This is so cute, Michelle! What a clever idea. I love how you finished the pillowcase opening with the strip of black near the edge. Awesome tutorial!
You are so clever Michelle. What an awesome pillow.
What a fun play on words. This was very clever and PERFECT for ANY little boy’s room. Love it!
I love the pun! My son’s room is all cars & trucks, so this would be an awesome addition!
Oh, if you ever want a “substitute” guest poster for “Point of View” when one of the “regulars” can’t participate, I’d love to join in. 🙂
Love it Michele! perfect for a little boy!
thumbs up 🙂
Linda